JG McQuarrie
Jul 24th, 2022Adobe Audition is a great recording tool for capturing all your audio. While the tool is powerful, getting started is simple. This introduction will show you how to record in Adobe Audition.

Adobe Audition makes it pretty easy to start recording audio files. By default, Audition launches in Audio File mode.
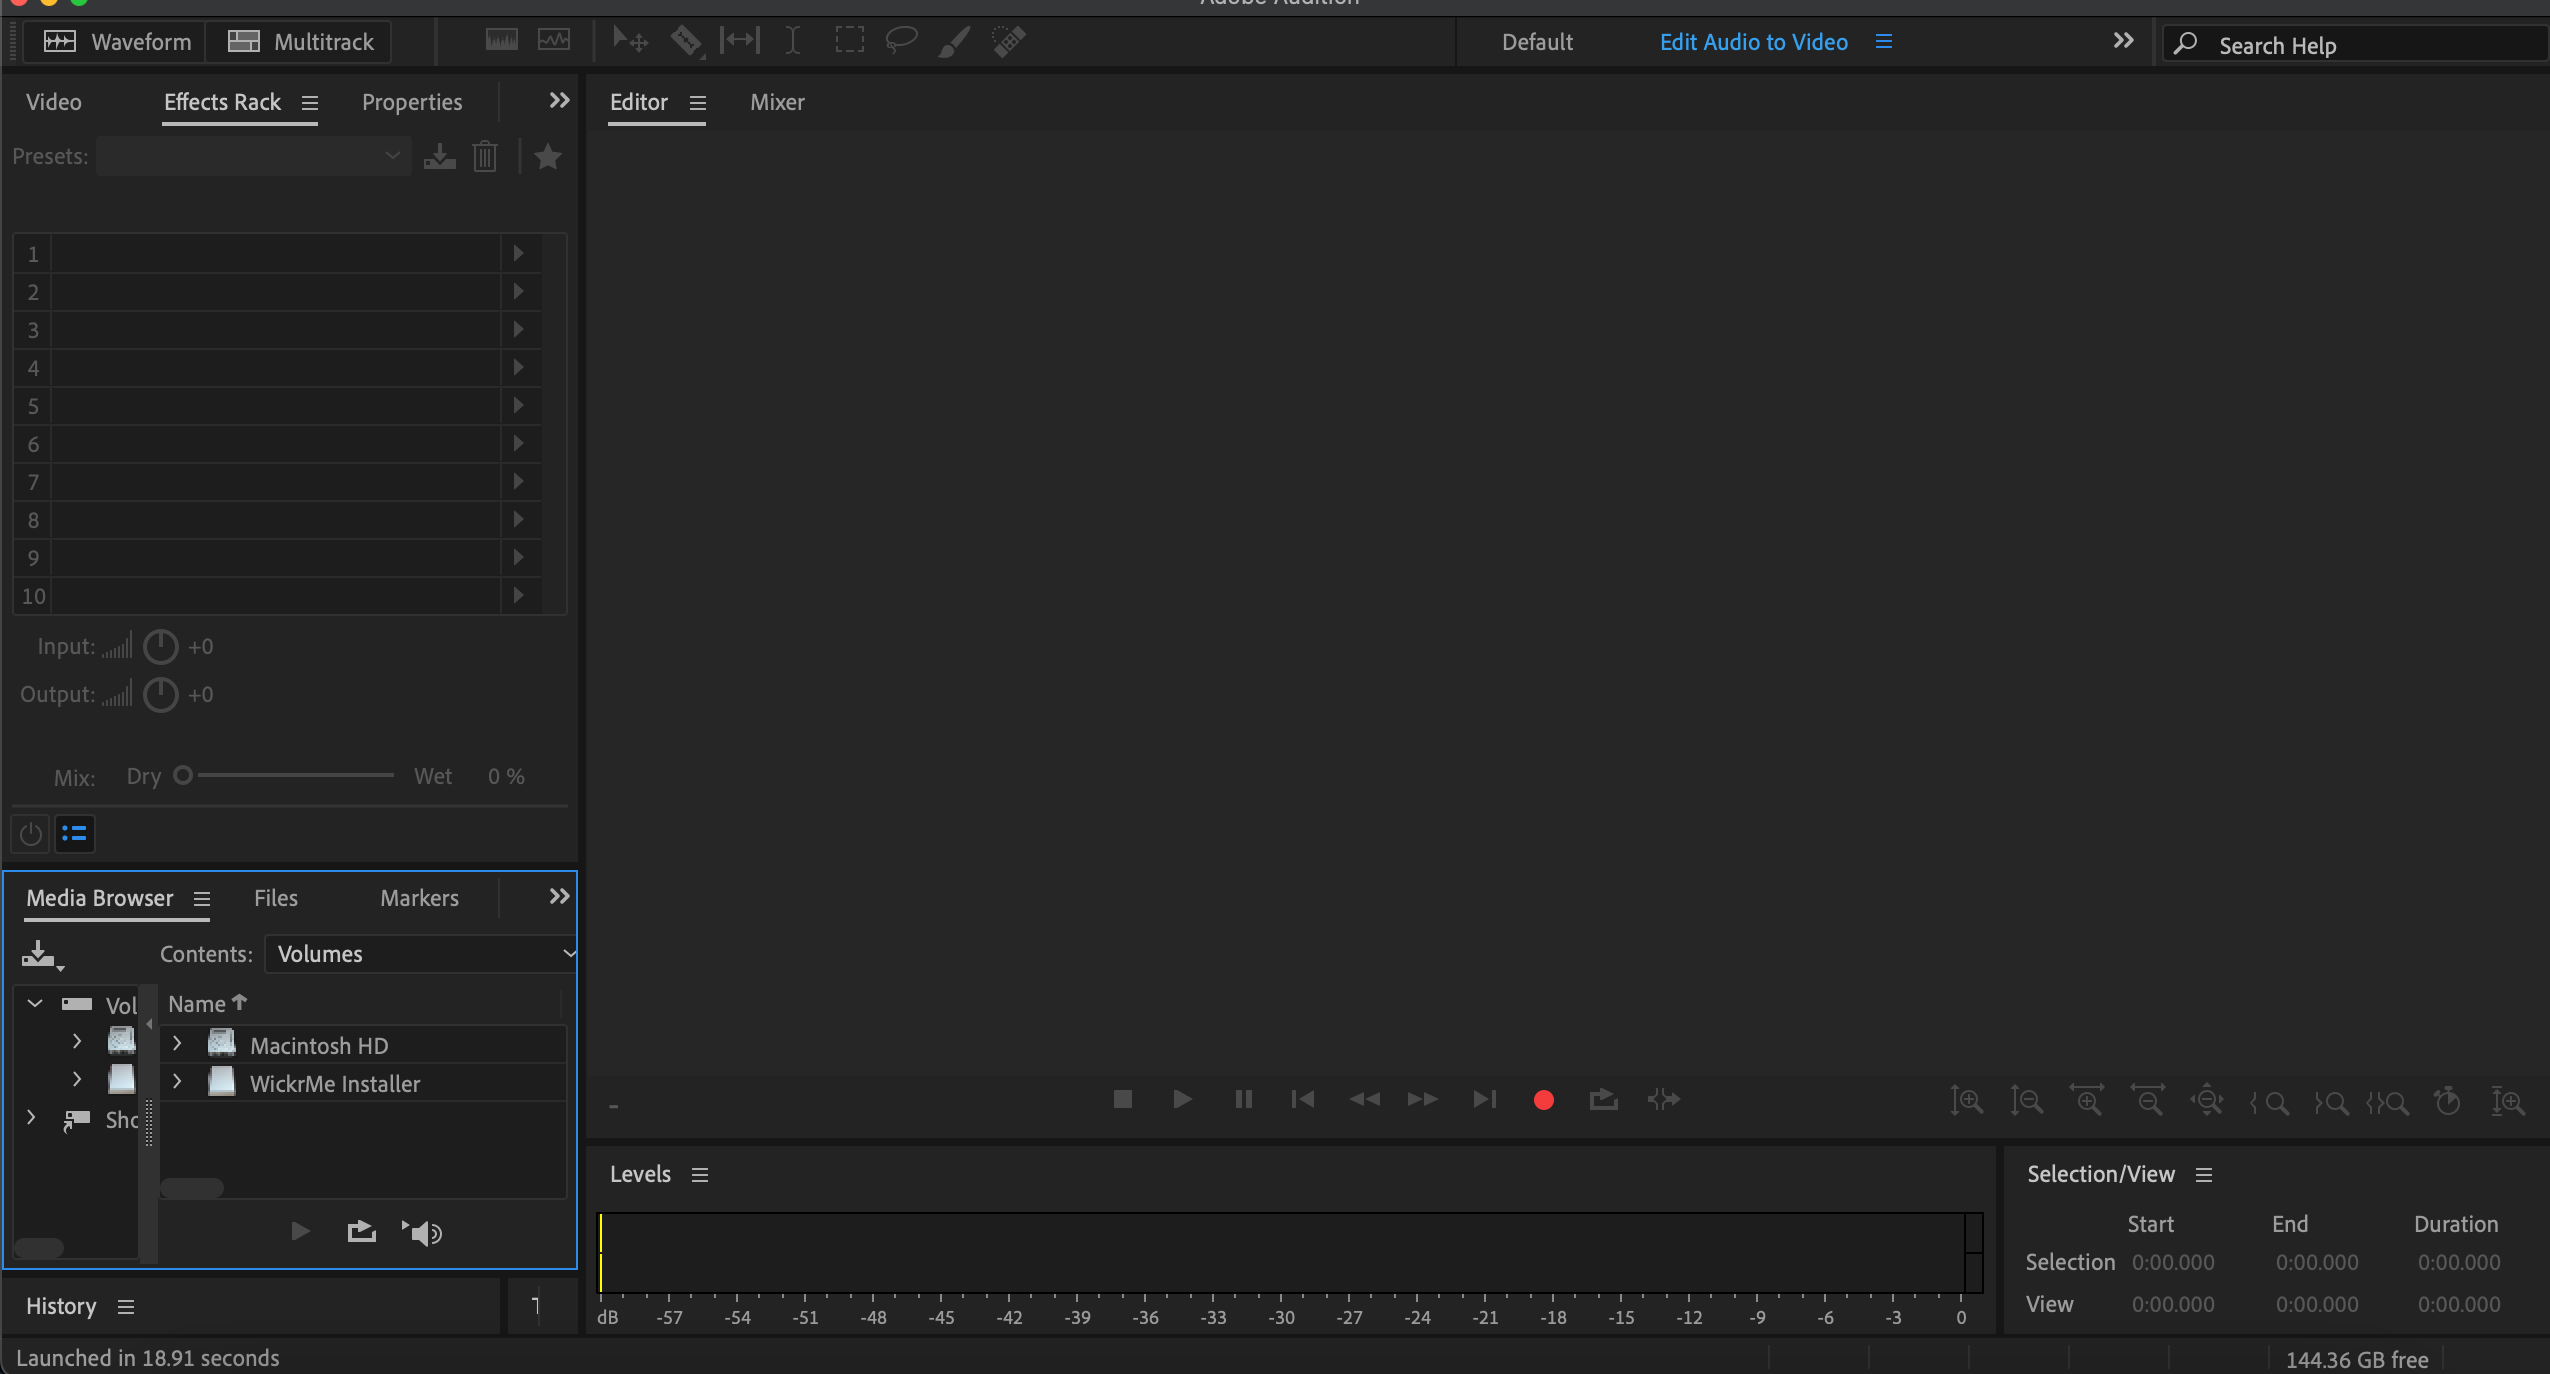
Hitting the red recording button is all it takes – that’s how to record in Adobe Audition!
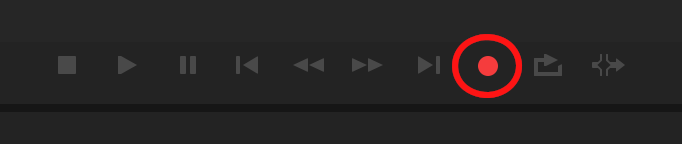
To stop recording, click the square Stop button.

Of course, there’s more to it than that.
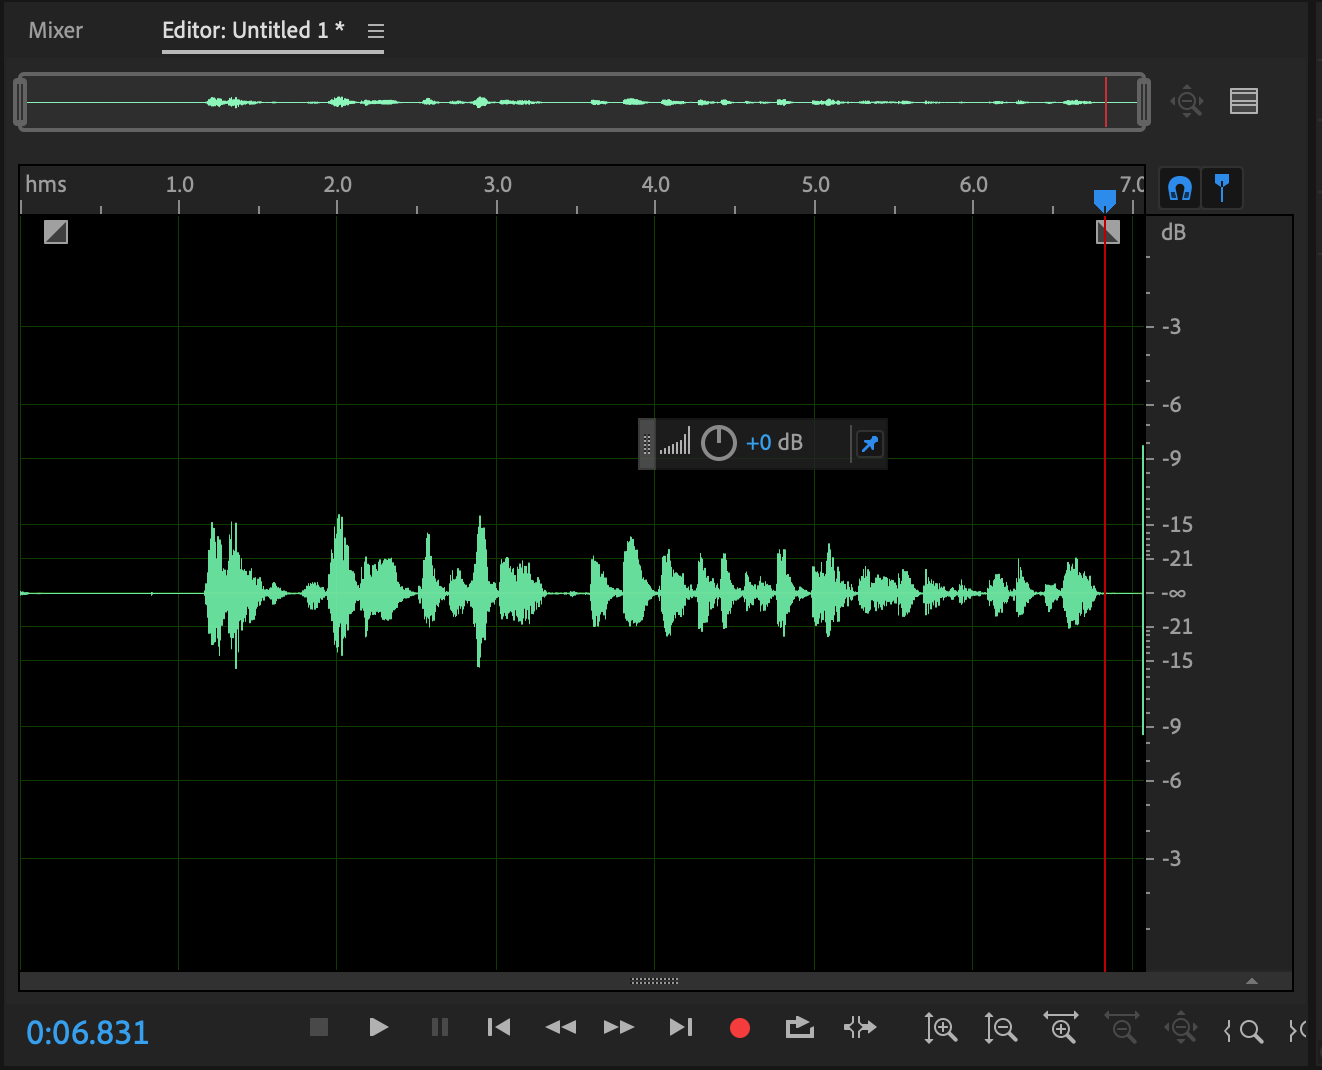
You will see the current-time indicator start to move when the recording begins. This red line tells you where you are. Once recorded, your audio will appear as a wave, a visual representation of your audio data.
However, when you start recording in this mode, the software will only capture one audio input. This is useful in situations such as needing to record a single voice for a podcast using only your own audio.
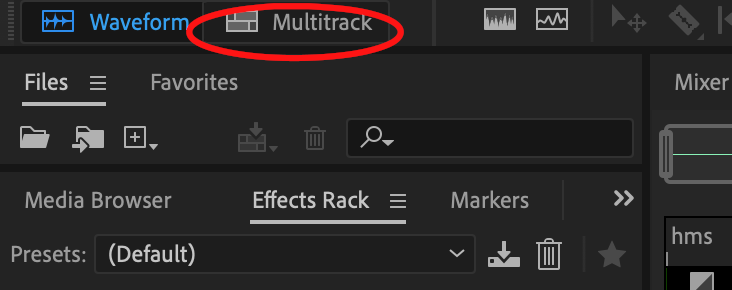
If you want to record more than one track, you need to click on the Multitrack option.
There you can assign a track name, select a location to save it, and adjust some settings (you can use the Default settings for now).
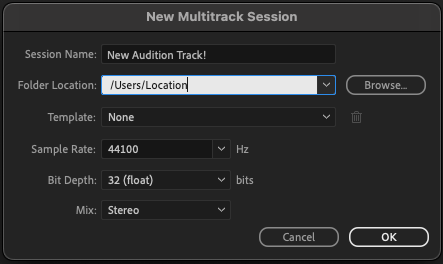
When done, click OK, and Audition will open the multitrack editor.
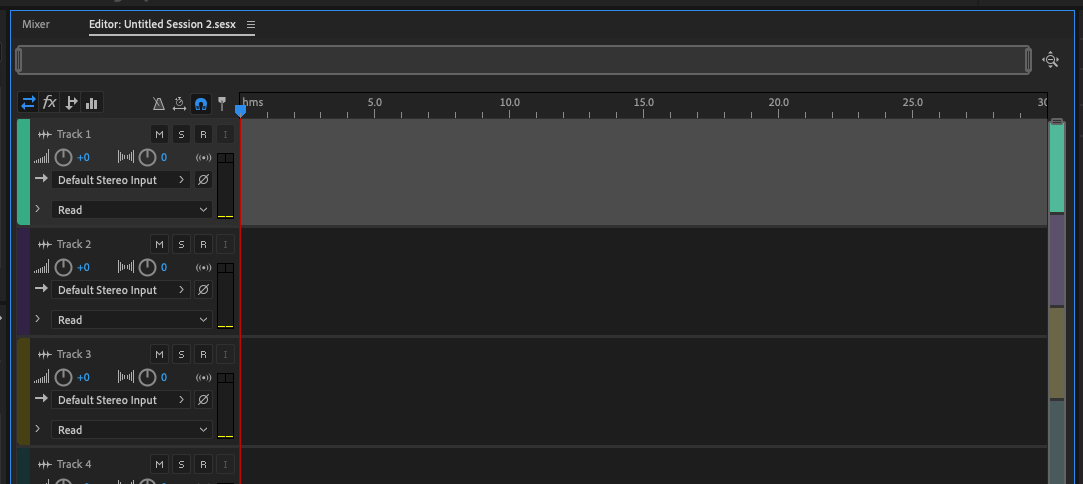
Using the multitrack editor, you can record from a number of different sources such as a built-in microphone, a USB mic, or an audio interface.
Firstly, you need to choose the input device or audio interface. Click on the Mix button, then select Mono or Stereo. This will select the audio device or audio interface for each track.
If you have an audio interface, Audition will see different audio inputs for each channel but won’t be able to tell whether you have an instrument or microphone attached to them. Choose the one you need, but you need to know what is connected to each input!
In the multitrack editor, clicking on the red record button won’t actually start recording. First, you need to arm the track. To do this, click on the R button. It will turn red to indicate it’s ready.
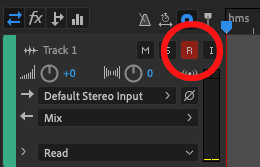
When it’s armed, a volume meter appears. This shows how loud your sound is when it’s recorded.
You are now ready to start a new recording with the multitrack editor. Click the red record button and you’re off. As you record, you will see that Audition generates a wave within the track.

When you have finished, click the Stop button and Audition will stop recording.

You can record multiple tracks at the same time with an audio interface. For each track, go through the process of selecting the input, as you did for the first one. For example, if you are recording a podcast you may want to put each microphone being used on separate tracks.
Remember, every track must be armed by clicking on the R, otherwise Audition will not record audio to that track. Then just click on the record button.
Once you have completed your recording you will need to save it.
Choose Save As from the File menu. Audition will bring up a dialogue box where you can name your file and choose a folder location on your computer. This will save your entire session.

To play back your recording, drag the current-time indicator back to the start. Then click the play button, or press Space (this is the same on Windows and Mac.) The recording will then start to play from your current-time indicator.
To move through your sounds, you can either scroll using the scroll bars or you can use your mouse.
Using the scroll wheel on your mouse will zoom in and out, and you can hold down the Shift key while using the scroll wheel to move left or right.
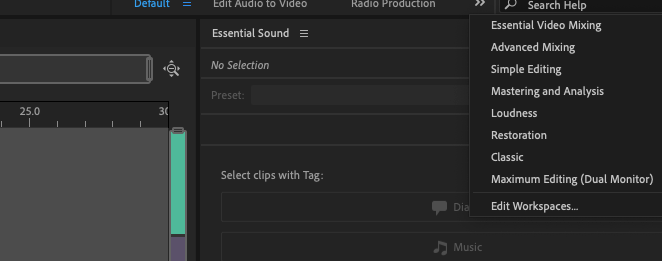
On the right-hand side of Audition is a drop-down containing a list of workspaces. You can choose the one for the type of project you are working on. These provide automated workflows.
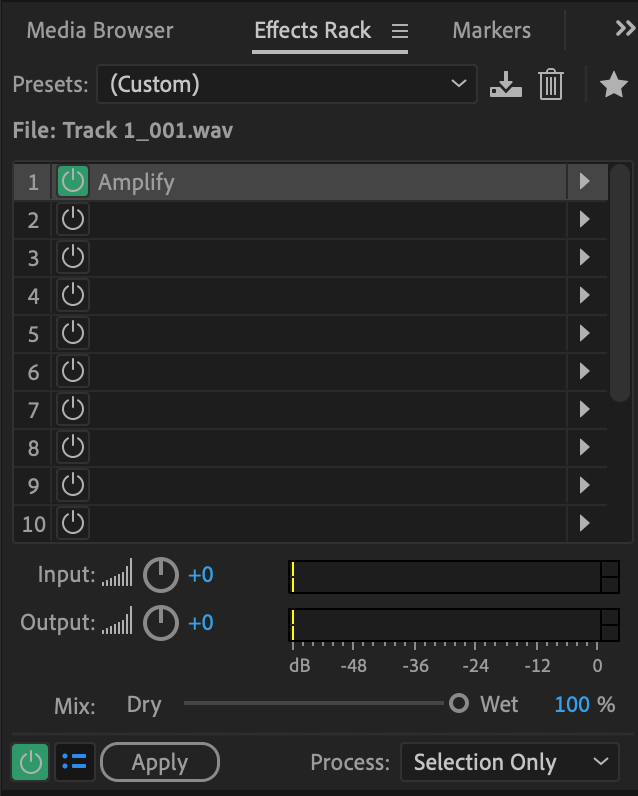
To add effects to your sound, Adobe Audition has an Effects Rack on the left-hand side of the sound panel. This allows you to choose the effects you want to apply.
You can either add the effect to the entire track you have recorded or a section of it. When the power button is green, the effect is active.
To add effects to the whole track, click on the track title to select it all.
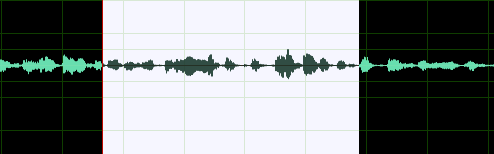
To select a section of the track, left-click your mouse and drag to highlight the section you want to apply the effect to. You can see this in the waveform editor.
To find out what your changes will sound like, click the Preview button.
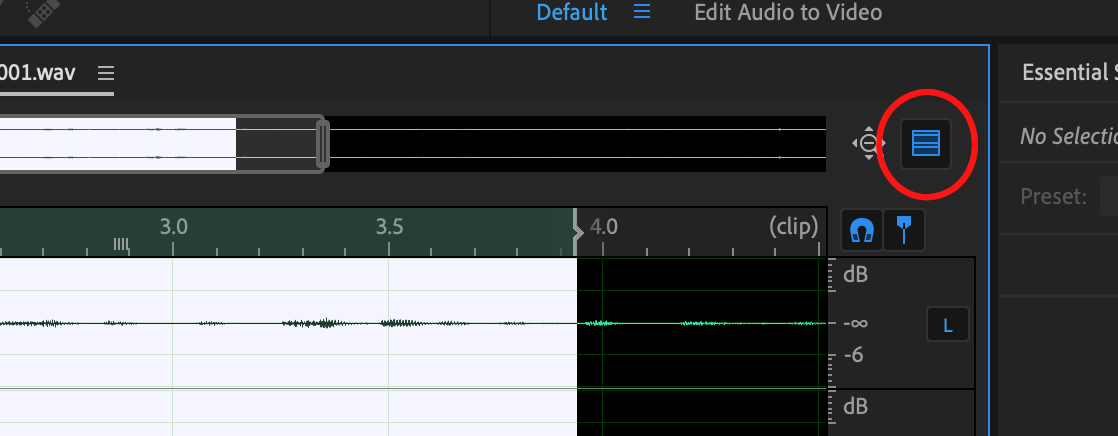
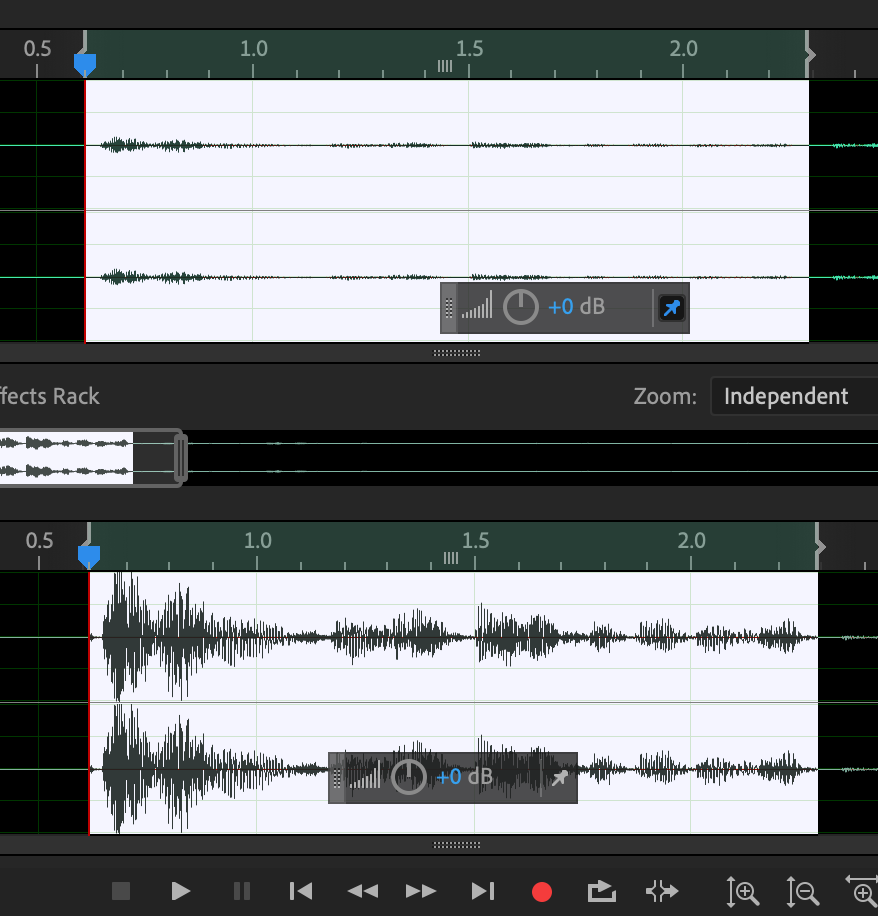
This will open a second window with your waveform in it, with the original on top and the preview beneath.
In the example below, a quiet voice recording has been increased in volume using Amplify. The difference is clear.
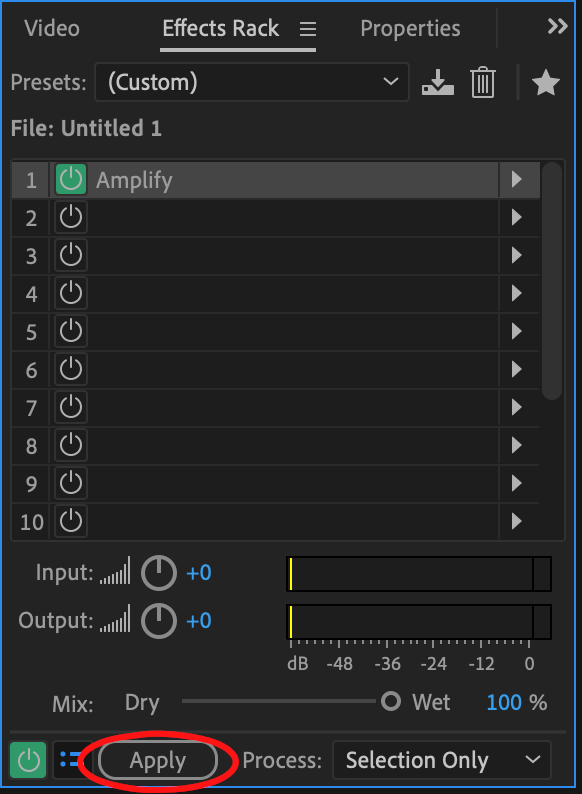
When you are happy, click Apply on the Effects rack and your changes will be made.
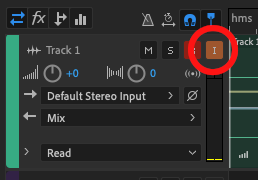
If you want to hear your effect as you record, you need to click on the Monitor Input button. Once you have clicked the R to arm the track, click on the I button. This will activate the monitor and you will hear the effect.
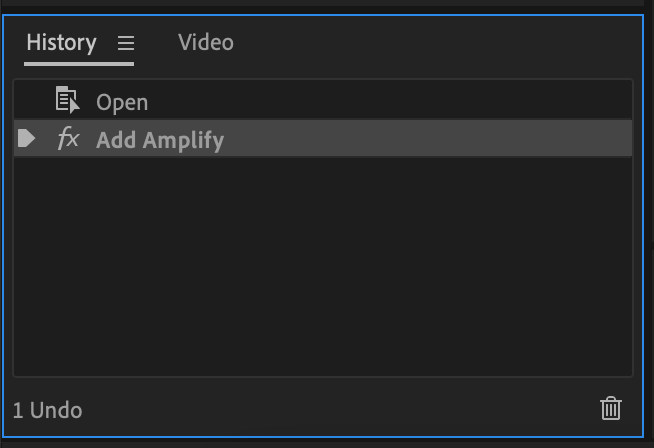
If you change your mind on any of the adjustments to your audio, don’t worry! The History tab is there so you can always revert your audio to its previous state.
Adobe Audition is a powerful, flexible program but it’s also simple to get started. The best way to learn is to experiment, so fire up Audition and get to recording!


