Marco Sebastiano Alessi
Jul 21st, 2023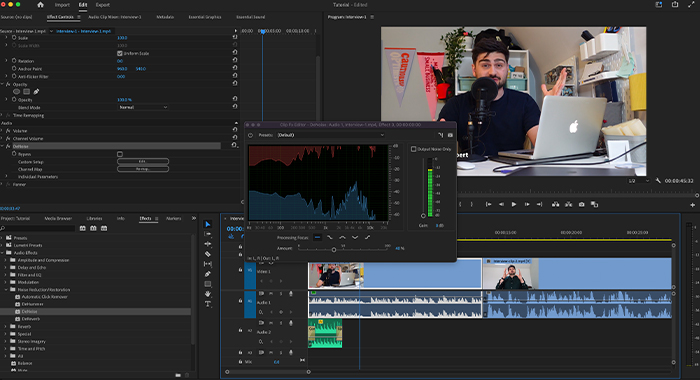
There are very few certainties in life: taxes, the inevitability of death, and that recording audio with unwanted background noise will make your videos and podcasts sound unprofessional.
There are many reasons why unwanted background noise, hisses, and low ambient noises might appear in your recordings: it might be the location is windy, you’re using a long cable which causes hiss and little background noise, the microphone might be too loud and create self-noise, or your computer can generate hiss sounds.
If you work with audio regularly, you probably know how to reduce hiss in GarageBand. But what if you’re a filmmaker, unfamiliar with the intricacies of audio production?
Learning how to remove hiss from audio with a software is generally a no-brainer, and today we’ll explain how to do this in Adobe Premiere Pro. Adobe’s video editing software, with its intuitive user interface, offers a few solutions for noise reduction in post-production that can be done without using an external audio editor software like Audition, Audacity, or others.
Download and install Adobe Premiere Pro and let’s learn how to edit audio and remove background noise!
Let’s start by importing the audio files with the background noise you want to remove on Adobe Premiere Pro.
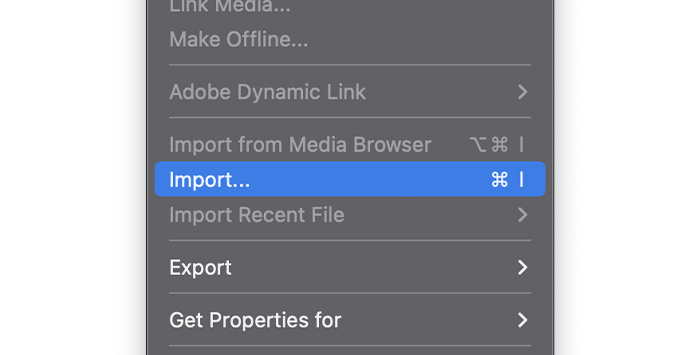
1. Go to File > Import and select the files from your computer.
2. You can also import by dragging your files into Adobe Premiere Pro from your computer’s folder.
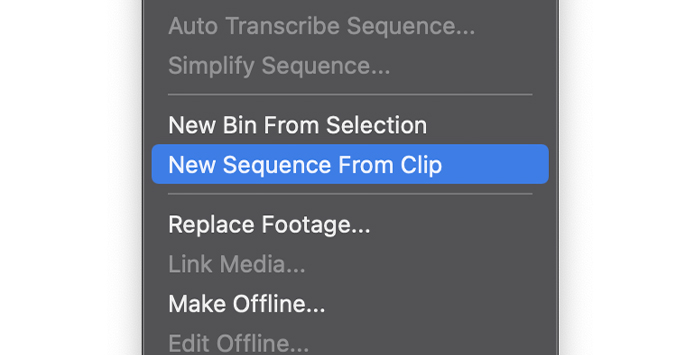
3. Create a new sequence from the file. Right-click the file, select New Sequence from Clip, or drag the files into the Timeline.
4. Repeat the process if you have multiple audio clips that have unwanted background noise and require noise reduction.
For this step, you must ensure the effects panel is active.
1. Verify this in the Window menu and find Effects. It should have a checkmark; if not, click on it.
2. In your project panel, click on the Effects tab to access all effects available.
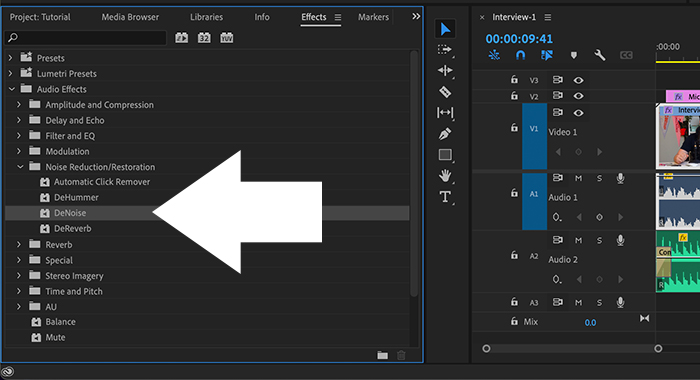
3. Use the search box and type DeNoise.
4. Click and drag DeNoise to the audio track with the background noise that you want to edit.
5. Play the audio to listen to the effect in action.
6. You can add the effect to all the clips that need to reduce background noise.
Every time you add an effect to your clips, it will show in the Effects Control panel, where you can adjust custom settings for each in case the default settings do not sound right.
1. Select the clip where you add the DeNoise effect and go to the Effects Control panel.
2. You should see there is a new parameter for DeNoise.
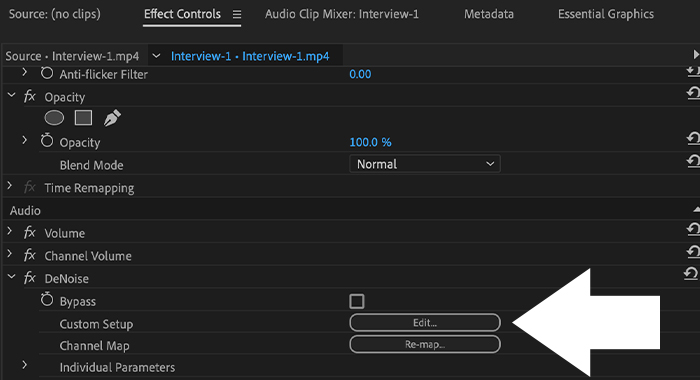
3. Click on Edit next to Custom Setup to open the Clip Fx Editor.
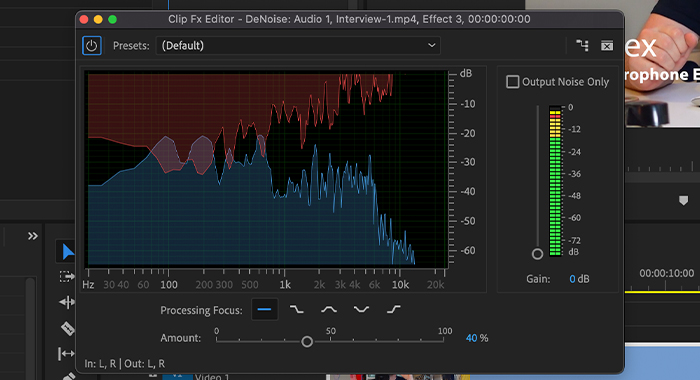
4. This window will allow you to modify the amount of DeNoise you want to apply to the audio track to remove background noise.
5. Move the Amount slider and preview the audio. Listen carefully to how much the hiss is being reduced without affecting the overall quality of the voice.
6. Use the Gain slider if the audio volume gets lower when the background noise is reduced.
7. You can also try one of the presets depending on how heavy the hissing sound is.
8. Close the window to apply the noise reduction to the audio clip.
The DeNoise effect is a great option to remove background noise, but sometimes you need more control over the settings to remove low-frequency noises. The following steps will help you in those situations.
The Essential Sound panel will provide you with more tools to remove background noise and hisses affecting your recordings. The first time you access the Essential Sound panel, it might look confusing. However, if you understand what to do in each parameter, you’ll be repairing audio and removing hiss with more control than with the DeNoise effect.

First, ensure the Essential Sound panel is visible in the Window menu. Just as we did with the Effects, make sure Essential Sound is marked.
Select the audio with a hiss.
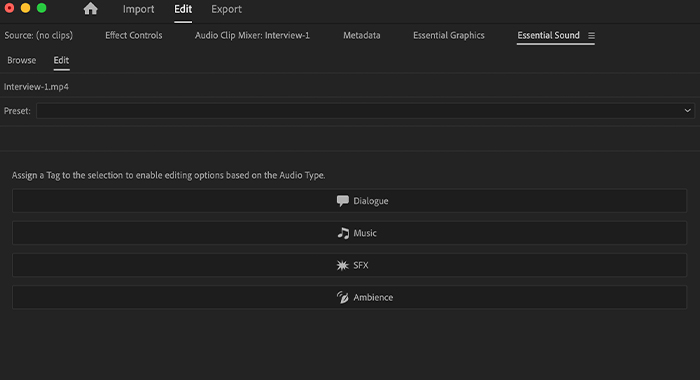
In the Essential Sound panel, you will find different categories: Dialogue, Music, SFX, and Ambience. Select Dialogue to access the repair features.
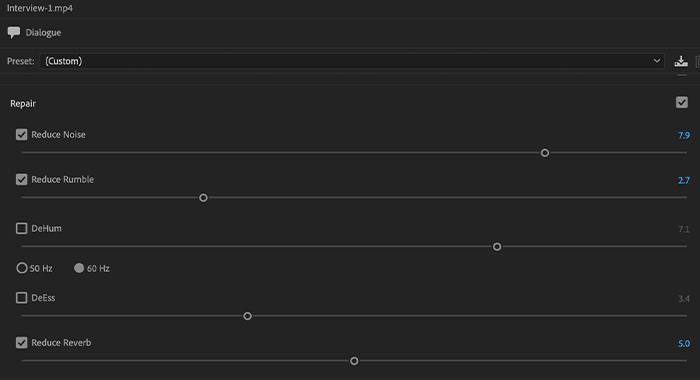
After selecting the clip as Dialogue, you’ll see some new tools. Go to the repair section and use the Reduce Noise and Reduce Rumble sliders to adjust the amount of repair you want in the audio file. Reduce Rumble is a fantastic way to isolate and eliminate a rumbling sound.
Preview the audio to listen if the hiss has been reduced without making the voice sound unnatural.
In the Essential Sound panel, you can reduce noise and hum sounds with the DeHum slider or harsh sounds with the DeEss slider. Adjusting these and checking the EQ box in the Essential Panel will fine-tune the audio file better after reducing the hiss.
AudioDenoise is an intuitive and user-friendly AI audio denoiser effect that helps you eliminate hiss and rumble from your audio using Adobe Premiere Pro CC. With little adjustments, AudioDenoise can provide exceptional results by combining multiple audio effects to remove hiss.
Follow these steps to apply this denoiser effect and save your footage.
AudioDenoiser is a powerful tool to eliminate hiss and achieve high-quality audio in Premiere Pro. It’s a an effective denoiser that removes hiss, hum, and other complex noises efficiently.
The last resource is adding background music to your audio when possible. Some hiss sounds are impossible to remove, but you can cover them with music if still audible after adding DeNoise or reducing it in the Essential Sound panel.
Import a new audio file with music in Adobe Premiere Pro and add it as a new track in the Timeline under the main audio clip.
When it comes to removing background noise, remember that the best way to reduce noise is to record audio with good-quality gear, treat the room where you are recording and, if recording outdoors, use windshields, sound-absorbing panels, and other accessories to reduce reverb, unwanted background, and hiss. Audio Plugins for Premiere Pro and Premiere Pro itself will do the rest and remove background noise once and for all!


