JG McQuarrie
Mar 29th, 2023
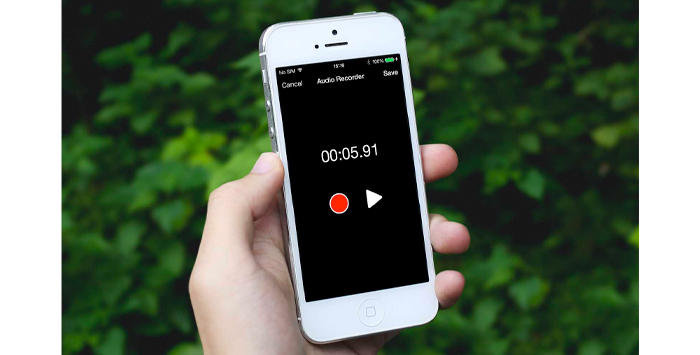
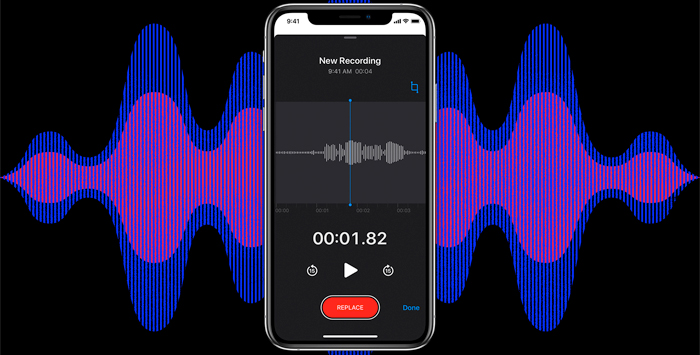
If you record audio on your phone, the chances are you know that the quality of the audio recording is unlikely to be as good as if you had a dedicated microphone. This is annoying and poses a problem when it comes to getting good-quality sound from your phone recordings.
However, even though many different types of audio can be captured on mobile devices, there are plenty of ways the audio can be cleaned up. Whatever type of unwanted noise you have on your recording, there will be a solution for it!
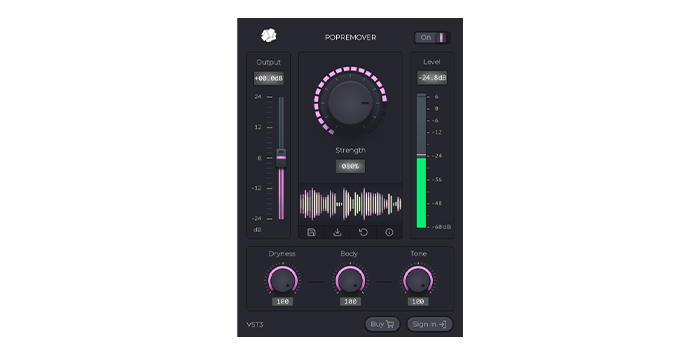
Clicks and pops are a perennial, annoying problem on many audio recordings. Clicks can be caused by anything from a pen to a door closing. Pops are usually caused by plosives — the “p” and “b” sounds you hear when you listen that, when pronounced harshly, cause the microphone to pop and overload.
Even just brushing against the phone’s microphone can cause issues with the audio, and it’s easy to do if you are holding the phone in your hand.
Most digital audio workstations (DAWs) will have a declicker or depopper option. This allows the software to analyze the audio and remove the problematic clicks and pops.

Reverb can occur in any room or space. It is caused by echo, and the more flat, reflective surfaces there are, the more reverb you can pick up on your phone recording. A large table, uncovered walls, glass in windows can all be sources of echo and they all lead to unwanted reverb.
With reverb, the best approach is to try and deal with it before it happens. If you are recording on your phone at home, close the curtains — that will help stop the windows from acting as a source of reverb. If you can, cover any other flat surfaces that might reflect sound. It may sound simple, but something as straightforward as putting a tablecloth on a table can help reduce reverb and echo and will make a real difference to your audio recordings.
However, if you are unable to do this — if, for example, you are in a meeting room — then you will need to use software to clean up your recording. As with clicks and pops, there are a number of third-party tools to deal with reverb.
If you need a software solution to remove reverb, then CrumplePop’s EchoRemover will effortlessly achieve this. Just select the portion of audio that you need to remove reverb or echo from, hit apply and the AI will seamlessly remove any echo. You can adjust the amount of reverb and echo removal by adjusting the central dial to fine-tune your results. Either way, echo and reverb will be a problem that firmly belongs in the past.
Adobe Audition has a great DeReverb tool. Select the whole of your track or the part of your track that you want to remove the reverb from, then let it do its thing. There are controls that allow you some control over the end result, so you can tweak the removal until your audio sounds natural and echo-free.
Adobe Audition is, however, expensive and a professional piece of software. If you are looking for something cheaper and easier then there are plenty of free plug-ins available as well.
Digitalis Reverb is a Windows plug-in that is free and very good at removing reverb and echo from audio. There’s a high-pass and low-pass filter so you can tailor the results. For a free piece of software, it is very effective.
Echo can really ruin a recording because you might not even be aware of it when you are making it, but it is one of the easier noises to remove.
Hum is a perennial problem when it comes to an audio recording. It can be made by many things, from equipment noise to a background air conditioning unit you might not even be aware of when you are making your recording. Ambient, background hum is practically everywhere in the modern world.
Third-party solutions to hum, such as CrumplePop’s AudioDenoise plugin are also extremely effective at removing background hum and as always the key here is simplicity and power. Background noise is effectively done away with just by applying the effect, and hum, hiss and other background noises disappear.
DeNoise tools are a standard part of practically every DAW, and again Audacity has a great tool for dealing with hum. The first thing you need to do is get a noise profile. You do this by selecting a part of the track that contains the hum, ideally when there is no other sound (so only the hum is audible). You then go to the Effects menu, choose Noise Reduction, then click on the Noise Profile option.
Once you have done this, the software will analyze the selected audio to remove the hum. You can then select the audio you want to apply the noise reduction to. Then go back to the Effects menu, choose Noise Reduction again, and hit OK. Audacity will then remove the background hum. You can adjust the settings depending on how much hum there is and how you want the final result to sound.
As with the DeReverb plug-ins, there are plenty of cheap and free denoise plug-ins as well. The DeNoiser Classic from Berton Audio is a simple VST3 plug-in available on a pay-what-you-want basis. It has a clean, uncluttered interface and uses very little processing power so it’s light on resources. It works with Mac, Windows, and Linux and allows you to adjust frequency bands individually for the best results.
Hum may be everywhere but with the right tools, it can be banished.
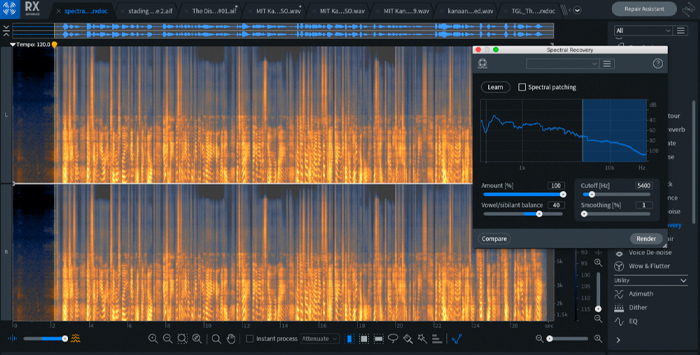
Phone microphones and conferencing tools can often be band-limited on phones. This means that sometimes your recordings can sound thin or hollow and “tinny” when listened back to.
A Spectral Recovery plug-in can be the solution to this. Spectral Recovery tools recover “lost” frequencies that have been cut out during the recording process. This will make the recording sound fuller again, and the resonance will be much more natural.
iZotope’s Spectral Recovery tool is very effective at being able to recover the missing frequencies. Firstly, load your audio file into the tool. Then select Learn and Spectral Patching. You can then dial in the gain to give control over the amount of recovery which is applied to your audio.
Once this has been done, hit Render and the effect will be applied to your audio. The frequencies lost during recording will be applied and you will immediately hear the difference in quality on your recording.
Although iZotope’s product isn’t cheap, it’s incredibly effective and one of the best tools to make even the tinniest of recordings sound full and whole again.

Zoom is one of the most popular video conferencing tools available. It is widely used, both in corporations and for personal use, and is a great tool.
The same recording issues can still come up when you are capturing your audio on your phone though. Cleaning up Zoom audio is something that can be done easily and will make your recorded audio sound much cleaner.
The best approach to cleaning up Zoom recordings is to export the file from your phone and load it into a DAW. A DAW on your computer will have more powerful software for cleaning up your audio recording than anything you can get on your phone.
The first thing to do is load the audio you recorded on your phone into your DAW. Once you have done this, you can start to apply the processing.
Begin by applying some EQ and compression. Every DAW will have an EQ and compression tool, and they can help remove any frequencies which might be causing your Zoom recording to sound poor. Applying EQ will allow you to reduce frequencies that are problematic while increasing the frequencies you want to hear.
So if you have hiss or rumble on the recording, you can lower the top and bottom ends of the recording to reduce these, while increasing the middle frequencies which contain speech.
Compression will help level out volume differences between different parts of the recording so that the sound is more even across the whole recording. This will mean the volume is consistent across the Zoom recording and will sound more natural.
Once you have dealt with the basic track, removing echo and reverb is the next best step to take. De-reverb and echo removal tools will help you do this and removing these environmental sounds will make the recording sound more professional.
Now the recording is in better shape, apply a spectral recovery tool. This will flesh out the sound of the recording and make it fuller and more like the original.
As a final note on cleaning up Zoom recordings, it’s worth following these steps in sequential order. The order in which effects are applied can make a big difference to the final result. Following the above steps through in this order will ensure the best outcome and the clearest-sounding audio.
Recording audio on your phone is simple, quick, and convenient. The results aren’t always as good as other audio recording methods and background noise can be annoying but sometimes quality can be the price one pays for convenience.
However, with just a few tools and a little knowledge, phone audio recordings can be cleaned up and will sound as clear, clean, and easy to listen to as any others.


