JG McQuarrie
Jan 19th, 2023
Whether you are preparing the latest cinematic epic or putting together a podcast for a few friends, getting good-quality audio is very important.
Problems capturing audio can occur no matter who is doing the recording or what the situation is. It’s just one of those things that happens. It can happen in a professional recording studio or in a home environment.
However, it is possible to take steps to improve audio quality, both at the time of recording and afterward in post-production. And with a little knowledge and skill, you will be recording great sound in no time at all.
There are many ways to record good audio and improve audio quality. Here are our top seven tips.

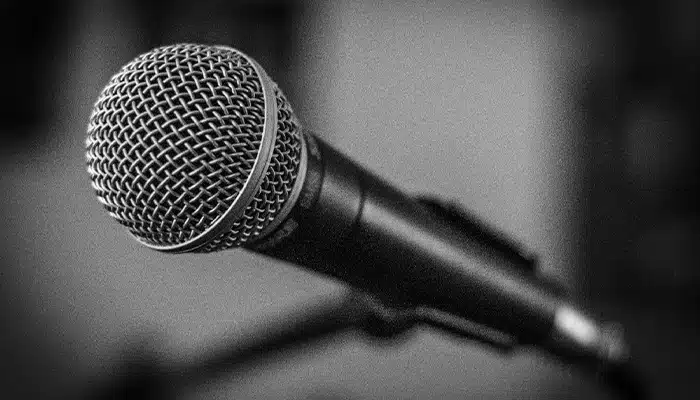
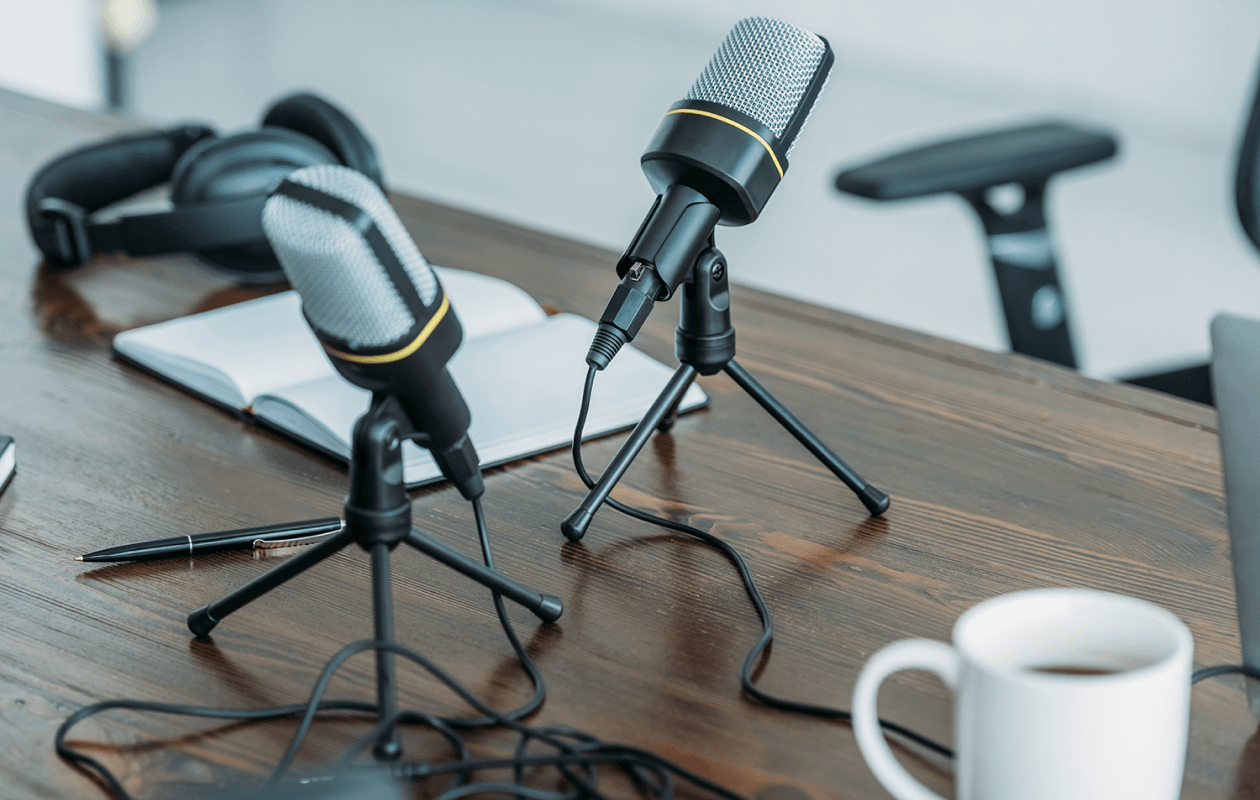
The first step to improving the quality of your recording is to choose the right microphone. Getting a good-quality microphone will make a big difference.
Many devices, from phones to cameras, will have built-in microphones. However, the quality of these microphones is rarely better than average, and investing in a proper microphone will ensure far better quality recording.
It is also important to pick the right microphone for the right situation. If you are interviewing someone, then lavalier microphones are a good investment for voice recordings. If you are podcasting, a microphone on a stand or arm will be a good investment. Or if you are out and about, field recording microphones are a good investment.
There are as many types of microphones as there are situations to record, so taking the time to understand and make a good selection will really pay dividends.
In addition to selecting the right type of microphone for what you will be recording, it’s also important to choose which has the right polar pattern. The polar pattern refers to how the microphone receives sound.
A microphone that is omnidirectional takes sound from all directions. A microphone that is unidirectional only takes sound from the top.
Both have their advantages, depending on what you want to record. If you want to capture everything, then an omnidirectional microphone is the one to choose. If you want to record something specific and cut down on background noise, then a unidirectional microphone would be a better choice.
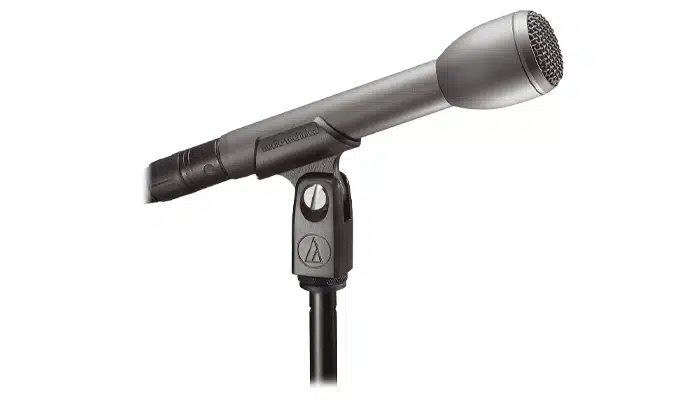
Unidirectional microphones are a good choice for recording voices and anything in a live setting. Omnidirectional microphones are good for on-camera recording, or any circumstance where a microphone might need to be attached to something, such as a boom.
Making the correct choice will make help ensure your audio is captured just the way you want it.
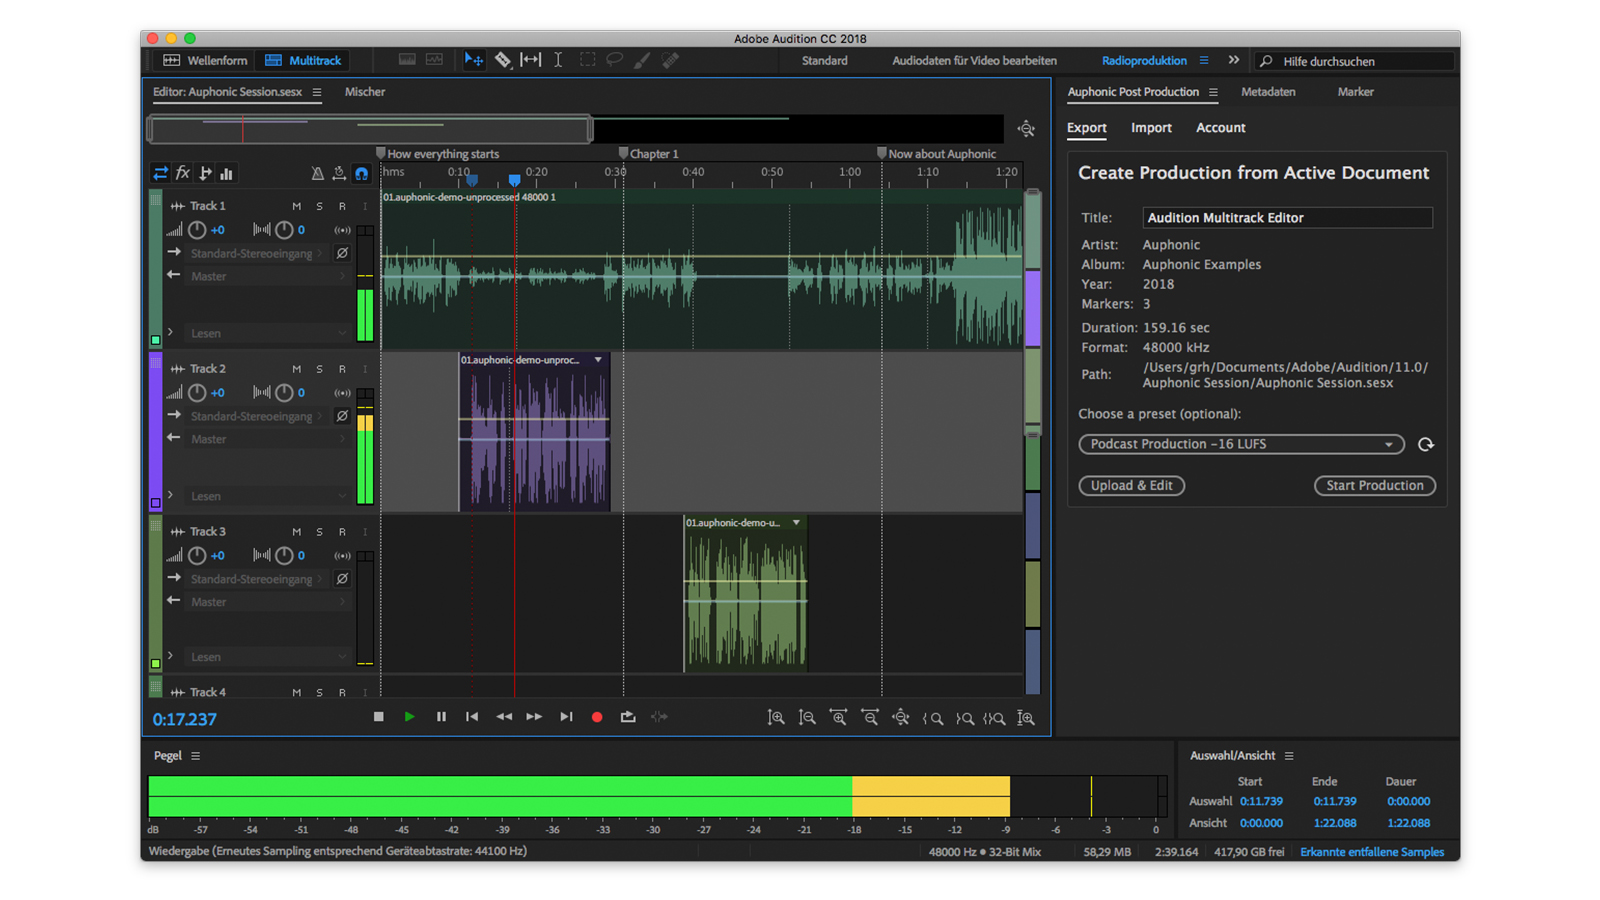
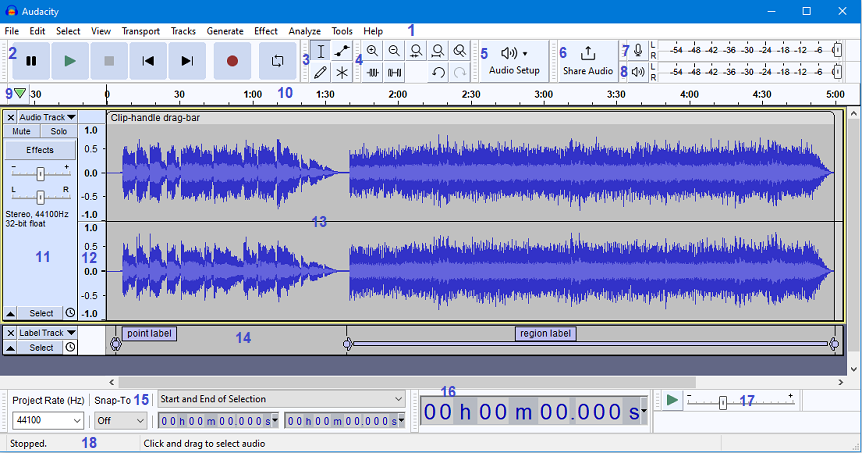
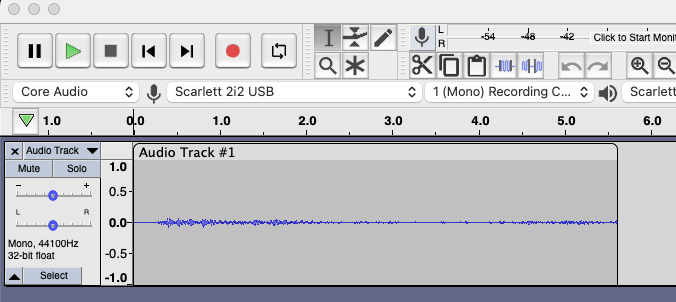
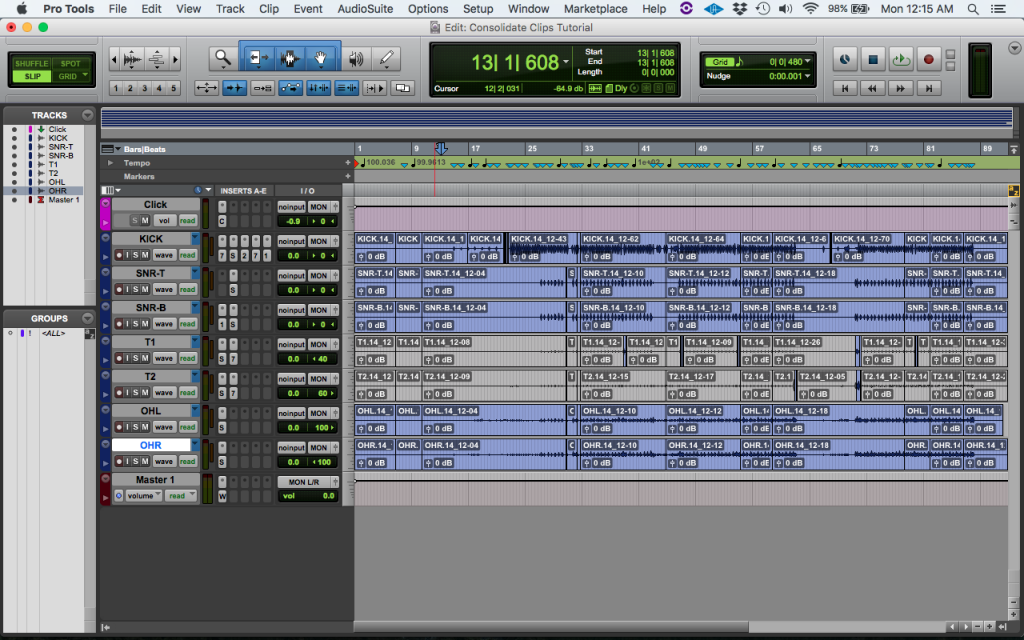
Once you have recorded your audio, you are probably going to want to clean it and edit it in a digital audio workstation (DAW). There are a lot of DAWs available on the market, from high-end professional tools like Adobe Audition and ProTools to freeware such as Audacity and GarageBand.
Editing is a skill in itself, but one that it’s well worth mastering. No recording is ever 100% perfect, so knowing how to edit around any errors, mistakes, or fluffs can make a substantial difference to the sound quality of your audio file.
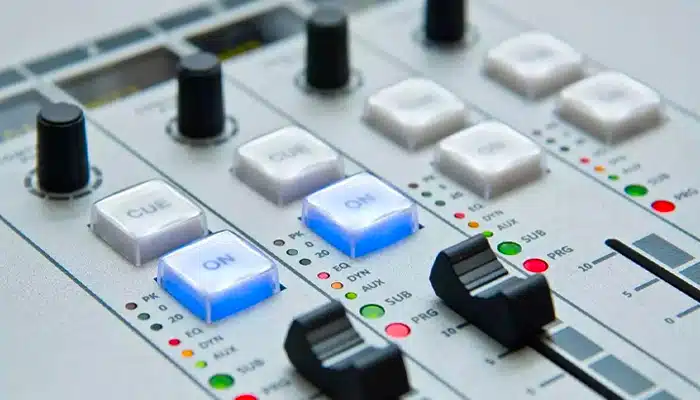
All DAWs will contain some kind of tools to support the editing and cleaning of your audio. Noise gates, noise reduction, compressors, and EQ-ing can all help make a huge difference to how your audio sounds.
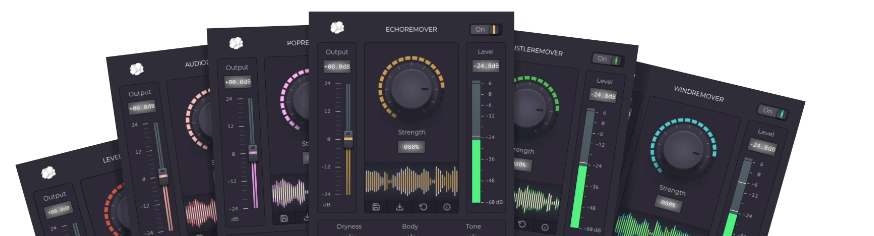
There are also many third-party plugins available as well that will enhance your DAW’s tools. These include CrumplePop’s Audio Suite, which contains a range of tools to help improve your audio quality.
These are deceptively simple yet incredibly powerful. If you recorded in an environment full of echo it’s easy to get rid of with the EchoRemover. If you have an interviewer who’s wearing a lavalier mic and it’s brushing against their clothes, the brushing sound can be removed with RustleRemover. If the recording is full of background noise or hum it can be eliminated with AudioDenoise. The whole range of tools is remarkable and will improve the sound quality of any recording.
Whether you use your DAW’s built-in suite of tools or one of the many third-party plug-ins, there’s bound to be software out there to help you create perfect-sounding audio.
The best way to improve your audio is, of course, not to have any problems with it in the first place. That way, you will have much less work to do when it comes to editing and producing your final piece.
And just a few simple choices can make a world of difference to the quality of your sound.
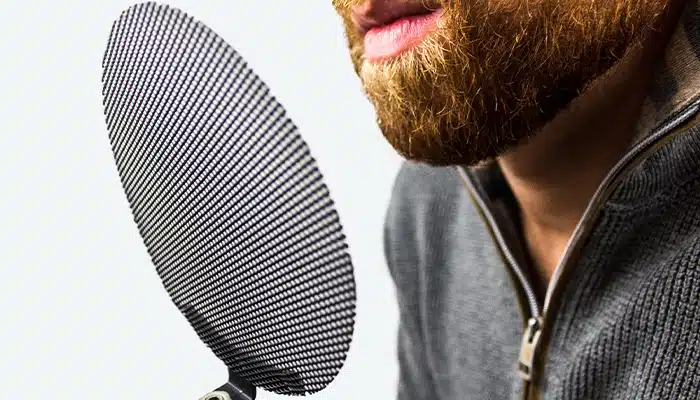
Investing in a pop screen for your host or singer can eliminate plosives, sibilance, and breath noise. These can be a real issue, especially when it comes to podcasts, but investing in a pop screen is a cheap and easy way to improve your audio.
Make sure you are close to the microphone when you are recording. You want your mic to be able to pick a strong, clear signal, and the closer you are the stronger the recorded sound will be. Around six inches from the microphone is ideal, and if you have a pop filter between you and the mic then so much the better.
The louder you sound when recording the lower the gain can be set on your audio interface or recording software. This helps keep background noise, hiss, and hum to a minimum too.
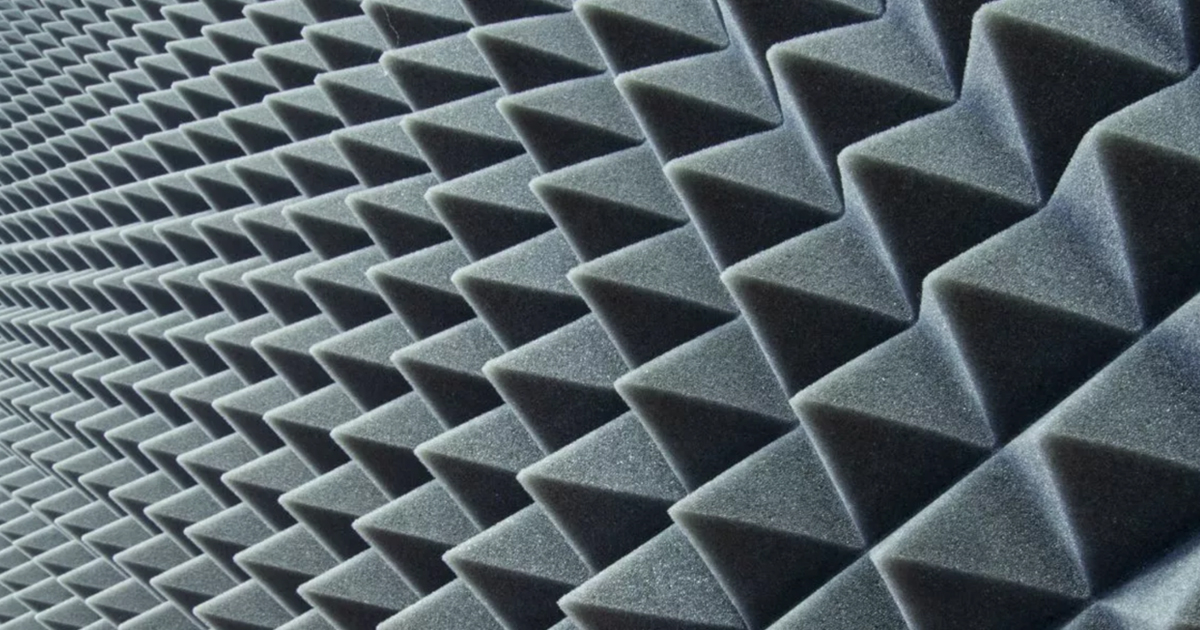
Ensuring you have a quiet environment around you will make a big difference as well. If you are out in the field there may be a limited amount you can do to control the sound around you, but if you are recording at home or in a studio it pays to ensure that you have as quiet a recording environment as you can produce.
Even something as simple as paper rustling — if you have notes or lyrics in front of you, for example — can ruin otherwise-perfect-sound recordings. Taking the time to pay attention to details like that will help any budding producer.
Similarly, ensure you turn off any electrical equipment you have in your recording space. Not only can they generate noise in terms of things like internal cooling fans, but they can also produce self-noise which can be captured by your recording. This can show up as a hum or hiss on your recording and is one problem nobody wants to have to deal with.
Being prepared in advance for the recording is really important. The more you have thought of, the fewer problems you will have when you hit the big record button.
Doing a test recording is a great way to ensure that you are properly prepared. There are two ways you can go about this.
Record without saying anything, then listen back. This is called getting the room tone and will allow you to hear anything that might cause problems when you come to record. Hiss, hum, background noise, people in another room… they can all be captured, and once you know what potential problems there are you can take steps to deal with them.
Recording room tone can also help your DAW’s noise reduction tools boost sound quality.
If you capture the room tone, the software can analyze this and work out how to remove background noise on your recorded audio. That way it can boost the sound quality of your audio file.
Record while either singing or speaking, depending on what it is you are recording. This allows you to adjust your gain to ensure you are getting a good signal.
It’s worth paying attention to this. If your gain is too high your audio will distort and be unpleasant to listen to. If it’s too low then you might not be able to make out anything at all. Calibrating the gain correctly takes a little bit of practice and will vary depending on who is using the microphone — people talk at different volumes so they also produce different quality audio!
You want to ensure your recording is as loud as it can be without going into the red on your level meters. That way, you get the strongest signal on your audio track without distortion and better recording quality overall.
If you are recording a vocalist, things are pretty straightforward. You can record them singing on one track, and edit that track afterward.
However, if you are recording multiple sources, such as guests on a podcast, it’s best to try and capture them on separate audio channels. This will produce high quality audio which is easier to work with.
This will make life much easier when editing. You can control the gain and any effects you want to use on each separate track of your audio recording, rather than all of them together.
And if you are recording hosts who are in physically different locations, each is likely to have its own set of characteristics that need to be dealt with, such as background noise and hum. By keeping each one on a separate track you ensure that you can edit and clean up each one just as it is required.

Recording audio is a challenge, and many things can cause problems, from hosts with sibilance to background noise you have to edit out. Whether you are a professional sound engineer or just doing it for fun, you still want to get the best sound quality you can.
However, with a little practice, foreknowledge, and patience, you will be able to improve your audio quality no end!


