Marco Sebastiano Alessi
Dec 08th, 2023
Are you starting a new project that involves high-quality audio recordings? As you probably know, an immersive sound can enhance the power and beauty of your footage, so you want to make sure the audio recording process and post-production are as professional as possible.
One of the most popular audio recording software is Ableton Live. However, running Ableton Live for the first time can be confusing if you haven’t used a digital audio workstation (DAW) before.
In this article, you’ll learn how to record high-quality audio in Ableton Live, plus some tips to improve your workflow.
Let’s dive in!
One of the best features of Ableton Live is the option to use different views to record and produce: the Arrangement View and the Session View. The arrangement view is the traditional workflow in other sequencing programs where you record and edit audio in a timeline.
The Session view helps improvise, play live sessions as a DJ or performer, or get inspired using loops. The main difference in the Session view is that you can record clips in any order and then use them to build your songs.
You will benefit from using Arrangement view if you want to record multiple tracks simultaneously and see your recording in a linear timeline, like with most audio editors. However, the Session view will be better for recording live and launching clips. Test them both out and see which one fits your workflow, or alternate them with the TAB key.
With Ableton Live, you can record audio from a microphone, instruments, and MIDI. You’ll need a microphone, audio interface, or mixer to convert the analog audio signal to computer data for voice or instrument audio, plus a MIDI device and your computer’s keyboard if you use MIDI. Alternatively, you can manually add the notes in the piano roll for MIDI recording.
First, ensure your audio devices, like audio interfaces, mixers, and USB microphones, are plugged into your computer and have all their drivers up to date. Connect your microphones and instruments into a channel in the audio interface and adjust the Gain in your device. In most audio interfaces, you’ll see the Gain indicator when the audio interface receives the signal.
Go to your audio preferences in Ableton Live with the CTRL+, or CMD+, shortcut, then click on the Audio tab and choose the audio device you will use for recording in “Audio Input Device.”
By default, every new Ableton Live project creates four audio tracks. You can insert more tracks from the Create > Insert Audio Track or Insert MIDI Track. Select one of the tracks depending on the type of audio you want to record.
Now, focus on the track’s panel. The first option is to choose from where Ableton Live is receiving the audio signal. Select “Ext. In” in an Audio track for an external input like an audio interface. MIDI tracks will be defaulted to the active MIDI device. To enable your computer keyboard to function as a MIDI input, press M or select the keyboard icon in the top right corner of Ableton Live.

Under your input device, you can see the channel of your audio interface from where Ableton Live will receive the audio signal. Depending on how many audio inputs your audio interface has, you’ll see different channels. Choose the channel in which your microphone or instrument is plugged in. If your device is plugged in correctly, you should see a green light on the input channel. Adjust the input gain in your audio interface if you can’t see the levels in Ableton Live green.
The next option, under channels, is the Monitoring settings. Enabling monitoring will tell Ableton Live to send the audio from that track to your output device to listen to what’s being recorded. Selecting “In” will start monitoring your input channel instantly. “Auto” will monitor the audio only when the audio track is armed for recording, and “Off” will deactivate it.
Monitor when you need to hear how Ableton Live captures the audio. However, beware of latency: if you hear a significant delay, test your microphone first to ensure it picks your voice correctly, and then turn it off and on if the problem persists.
To record your audio track, you must first arm it to tell Ableton Live that this track is ready for recording.
If you’re working on the arrangement view, click the circle button at the top right corner. You should read Arm if you hover the mouse over it. In the session view, the arm button is at the bottom of the track mixer.
The metronome is a helpful tool musicians use to stay in sync while recording. Enable the metronome from the Metronome button on the top left corner of Ableton Live’s screen.
Within the metronome features, you can enable the count-in option. Setting a 1 bar value will count 1 bar before Ableton starts recording. With this active, you don’t have to worry about pressing Record and playing your instrument simultaneously.
To record in the Arrangement view, click the Record button (the red circle) at the top of Ableton Live. The DAW will start recording in the position where the playhead is in the timeline. You can then start to speak, sing, or play an instrument or MIDI keyboard. Press Stop next to the Play button to end the recording session.
If you want to record multiple tracks, ensure each track has the proper input device, and the Arm button for each is on.
To start recording in the Session view, select a slot on a track with Arm enabled and press the record button at the beginning of the slot. The Stop button in the Session view is at the bottom of the slots.
Once you finish recording, you can continue editing your audio tracks and add sound effects like noise remover, EQ, compression, and others to enhance the quality.
To get the best from your audio recordings, here are some tips to improve your audio quality and workflow.
Use CrumplePop Plugins. CrumplePop Plugins offer a seamless and powerful solution to elevate your audio quality with their advanced AI tools and user-friendly interface
Use the Info View. The info view will provide information on what your mouse is hovering and display it in a window at the bottom left corner. You can use it to learn what a button does or what an area in the interface is for. Enable it with the “?” key.
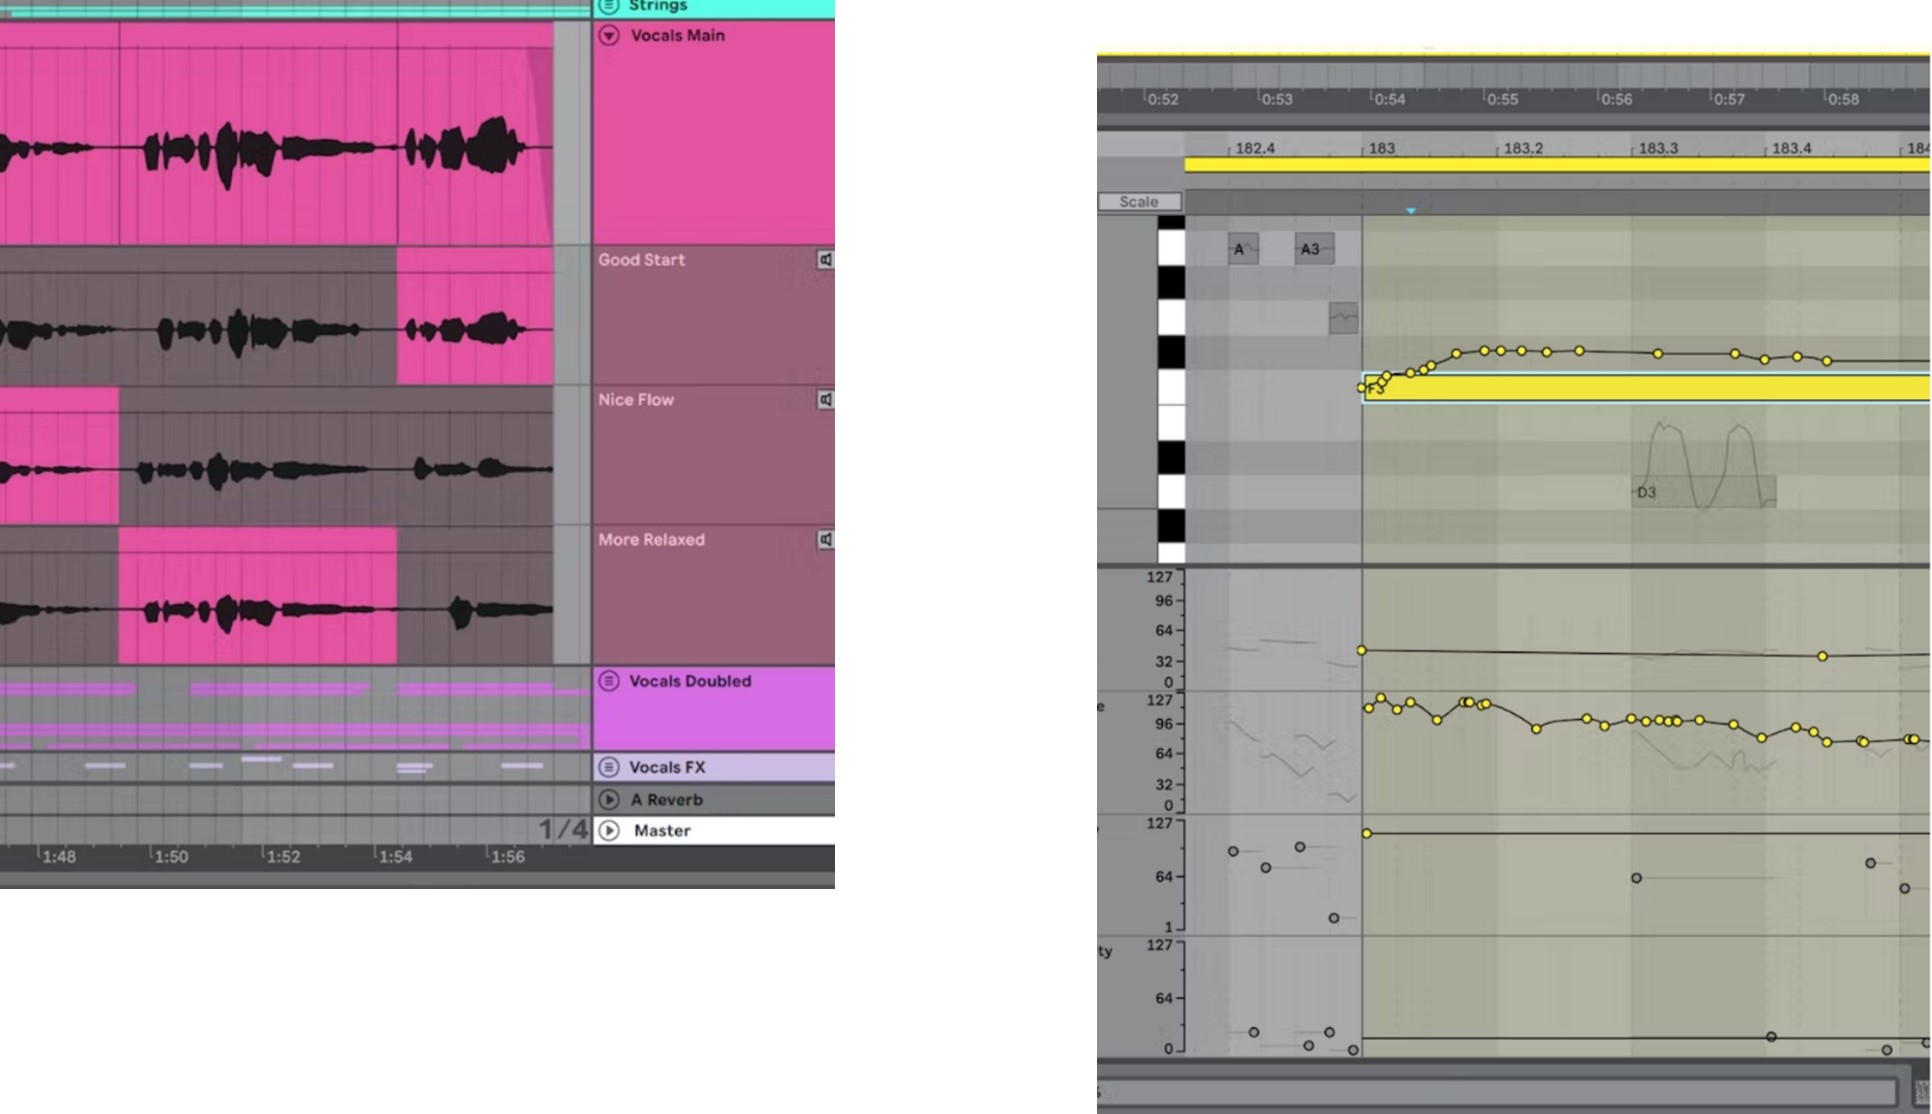
Rename tracks. Renaming your tracks before recording will save the recorded audio with the track’s name to help you stay organized. Right-click the track header, select “Rename” from the dropdown menu, and type a new label to identify that track.
Check the room acoustics. Adapt your recording space to make it quieter and reduce background noises and sound bouncing.
Microphones matter. Choose the best microphone for your projects and recording space. For vocals, condenser microphones are excellent, but they will capture more background noises than a dynamic microphone if you don’t have a quiet home studio. Test your microphones and place them in different directions towards the source sound to capture the best quality possible.
You made it! That’s how you record audio with Ableton Live. All you need is to set up your audio devices, select them as input audio inside Ableton Live, arm your tracks, and hit the record button. Get ready to share your creative work with the world.
Good luck recording!


