JG McQuarrie
Apr 22nd, 2023
Adobe Premiere Pro is an amazing piece of video editing software. There’s a reason it’s so popular — it’s very good at what it does.
However, Premiere Pro is also good for recording an audio track as well as video editing. This can be particularly useful if, for example, you want to a voice-over record or some kind of narration. Rather than having to fire up a separate piece of software or another tool you can just record a voiceover directly in Premiere Pro.
Firstly, start by launching Premiere Pro. Once you have done this, find the clip that you want to add your voiceover or narration to.
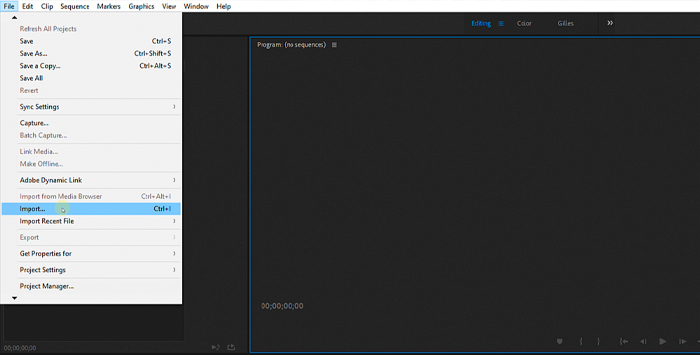
Import the video into your timeline. If the original video clip comes with an audio track, mute the existing audio track (or remove it altogether, depending on how you want to handle it.)
Right-click the timeline header, then you can choose “Add Tracks”. Once the voice-over record settings are selected you will then see the voiceover record icon at the audio track header. If you don’t, you can right-click the header again, choose “Customize” and then you will be able to select the voiceover record icon.
Make sure your microphone is connected and that you are ready to do your voice-over recording. You are then ready to begin recording.
Go to Audio Panel, then Audio Track Mixer.
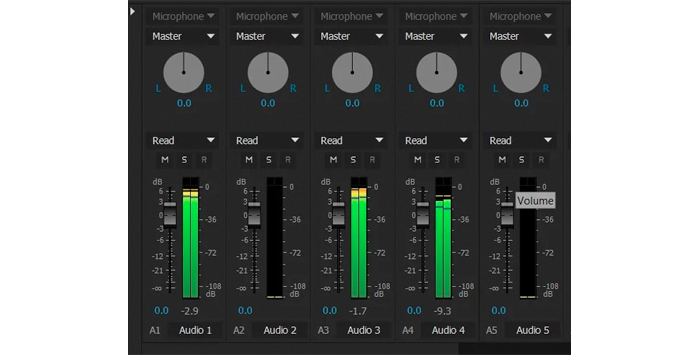
Once on the audio track mixer, find the audio track you want to add your voiceover to. If there is no audio recording on the video clip you have selected then there won’t be audio track to find. You can also adjust other voice over record settings here such as levels, to ensure that everything sounds its best when you are recording audio.
Arm the track for recording by clicking on the “R” voice over record icon to enable track recording. This won’t start the recording process, it just tells Premiere Pro that you are ready to begin recording.
Move the play head to the position where you want to start your recording. This can be at any point along the timeline as long as it is before the end.
Right-click the audio track’s header again and select the Voiceover Record Settings. This will show a live track of how your voice sounds when you are speaking.

You can also select the Countdown Sound Cues option here. This will play a beep to let you know the status of the recording (these beeps are not part of the audio file, so if you’re recording audio with it turned on won’t affect anything, it’s just a cue for you.)
On the audio track’s header, click the Voice Over Record button to start recording. When the voice over record button has been clicked, the recording will then begin.
It’s a good idea to have whatever it is you want to say prepared in advance so your voice sound is as professional as possible, rather than winging it — unless you’re going for a more spontaneous, podcast-like approach of course! Either way, you want your captured audio to sound its best.
The software will record audio until you tell it to stop, which you can do by either clicking the voice over record button again or simply pressing the spacebar.
And that’s it! Recording an audio track in Premiere Pro is pretty straightforward and the software makes the process as painless as possible.
While Adobe Premiere Pro makes recording audio easy enough you might want to use a different video editor to record your words of wisdom.
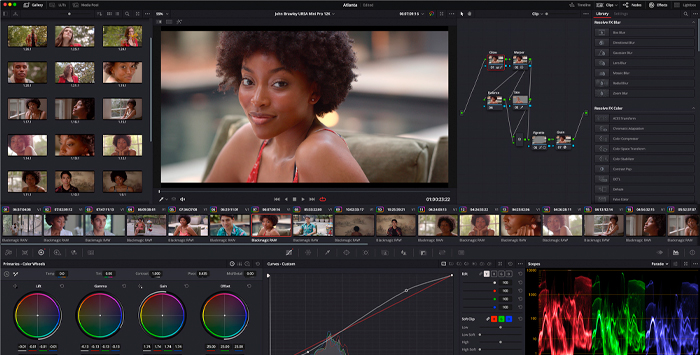
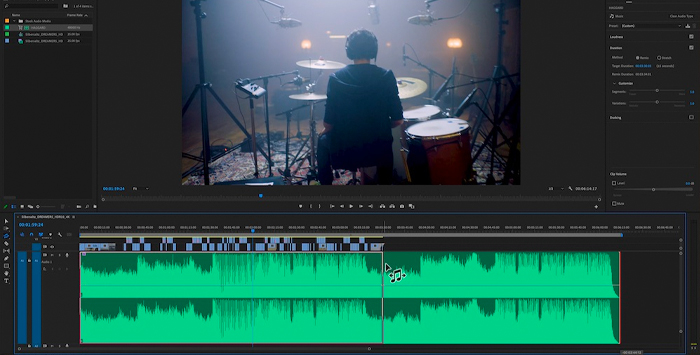
DaVinci Resolve is one of the best-known names in the business when it comes to powerful video editing software. It’s a powerful piece of software and one that lends itself to recording a good audio track as well as video. The voice over record setting is easy to use even for someone new to the software.
The video editing abilities are renowned though, and DaVinci Resolve is a great piece of software for any kind of color correction in addition to video editing. There are also some great collaborative tools for those working as part of a team.
The free version of DaVinci Resolve will support any 8-bit video format too, which is a real win, and resolutions of up to 4K.
Overall, DaVinci Resolve remains a powerful video editing software solution for amateurs and professionals alike.
Pros
Cons
Cost
The free version can be downloaded from Blackmagic’s website. The paid version is $295.00.
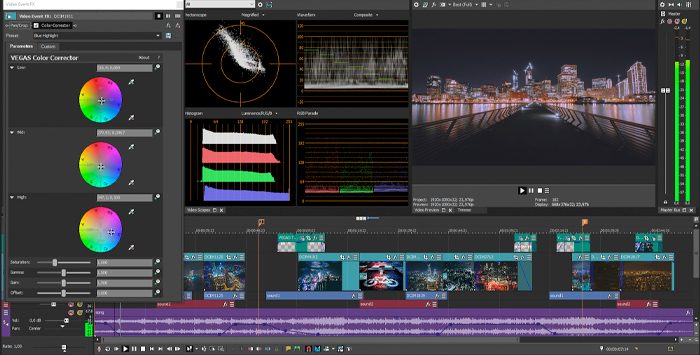
Vegas Pro isn’t the best-known name in the video editing industry but it’s still a great piece of software. If you are just setting out on your video editing journey or are looking to get into the world of video editing, then Vegas Pro makes a great starting place.
Although the design is slightly old-fashioned, there’s a lot going on under the surface and most of the tools any budding video editor could need are present and correct. On top of that, the tools are simple to learn and easy to get the hang of.
When it comes to audio, Vegas Pro has mixing and audio compositing tools built in alongside the video editing tools. That means, as with Premiere Pro, there’s no need to use separate software and everything you need to do with your audio track can be done natively within the application.
Vegas Pro is a great starting point to learn the skills of video editing and it makes a great choice for anyone who needs to get to grips with editing, but doesn’t want to invest a fortune to find out if it’s for them.
Pros
Cons
Cost
Vegas Pro is available via a monthly subscription of $19.99 or $15.99 if you pay an annual subscription upfront.
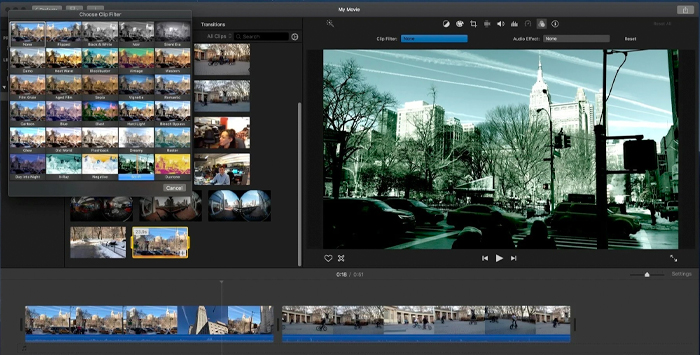
iMovie has one thing over the competition right from the get-go — it’s free! If you have a Mac of any flavor then you can download iMovie for absolutely nothing.
As with Vegas Pro, iMovie is a great place to learn the skills of video editing. The interface is Apple’s usual blend of powerful and intuitive and it makes picking up the craft of editing an absolute breeze.
However, even though it’s free it’s still a real contender when it comes to video editing, and it can handle audio tracks just as well as the competition. And of course it makes full use of the Apple’s audio hardware. Exporting videos with composite audio tracks and video tracks is very straightforward.
Apple has a reputation for being able to pack in features that take full advantage of its proprietary hardware and iMovie is no exception. It’s a great piece of software.
Pros
Cons
iMovie is a great tool for learning, but if you really want to step things up a gear and move to a more professional platform (and are on Apple hardware) then Final Cut Pro is the way to go.
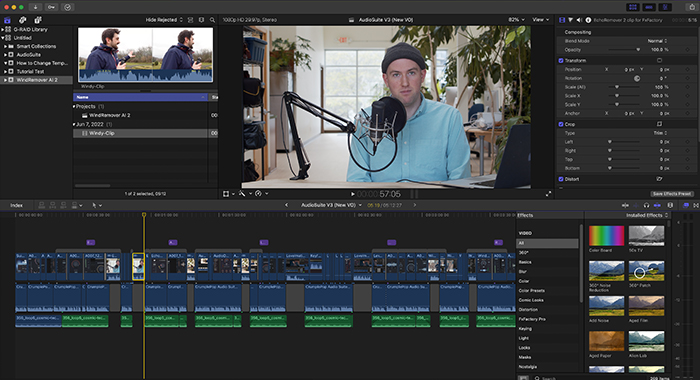
Final Cut Pro is a professional-grade video editing suite. It has, of course, all the tools that iMovie does but also so much more. Everything about Final Cut Pro is dedicated to delivering top-quality video editing, from green screen tools and effects to audio track capabilities and mixing.
If you are coming to Final Cut Pro from iMovie then the design, layout, and controls will all be familiar to you. However, even if you are a newcomer, Apple has made it easy to pick up and learn the software, with intuitive controls and clear, easy-to-understand tools.
Pros
Cons
Cost
$299 available from the App Store on Macs. A 90-day free trial is also available.

Premiere Pro is a great piece of video editing software. However, it is also surprisingly flexible when it comes to recording audio.
If you need a way to record audio and don’t want to mess about with other apps and loads of importing, then taking advantage of Premiere Pro’s native tools is the way to go
Yes, you can record audio in Premiere Pro!
It is worth remembering that although you can record audio in Premiere Pro, it is not a fully-featured digital audio workstation (DAW). While Premiere Pro will allow you to record audio and its recording abilities are very useful for things like voiceovers, its main focus is as a video editor.
However, in addition to being able to record audio, Premiere Pro also supports VST3 plug-ins and, on a Mac, AU plug-ins. This means that as well as being able to record audio you can also do plenty of audio post-production work.
Premiere Pro is a very flexible piece of software and being able to record, edit, and produce audio, is an incredibly useful part of the tool.
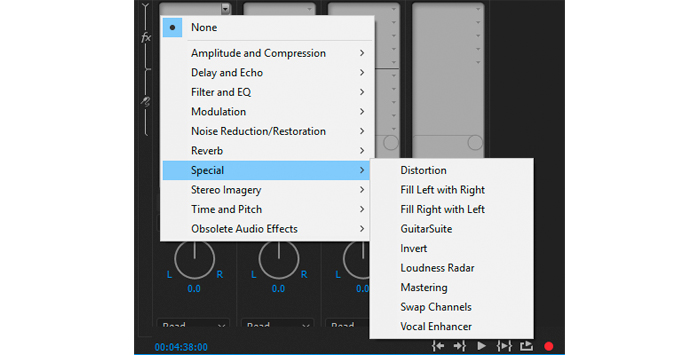
One thing you might want to do is move your audio from the left to the right channel or vice versa. Premiere Pro makes this very simple to do.
Go to the menu and select Window > Effects. Under Effects, select Audio Effects.
Scroll down until you see the options Fill Left with Right or Fill Right With Left. This will then allow you to record an audio file on either the left-hand or right-hand channels.


