Marco Sebastiano Alessi
Jul 21st, 2023
Noise is the most all-encompassing issue when it comes to audio recording and sound reproduction. It can appear on your computer speakers, amps, studio monitors, and headphones. Noise can come from your new audio system, CD player, turntables, or be caused by an electrical issue.
It can be frustrating when you want to focus on the movie’s special effects or listen to your favorite music and instead hear a buzzing noise. Even worse is when you’re working on an audio or video project that might be compromised by unwanted sounds.
In today’s article, I want to focus on two types of noise: hum and hiss. I’ll discuss what they are, their nature, and how you can fix them to have and have the best sound quality coming out of your speakers, studio monitors, and headphones. We’ll talk about the importance of checking speaker cables, having a USB noise filter, and what could go wrong with your USB audio interface.
Finally, I’ll provide solutions to remove hiss and hums when re-recording is not an option.
Let’s dive in!
Hum and hiss are noises that can be caused by your audio equipment. I’m sure you’ve encountered them a few times: they often cause a buzzing sound ranging from a low noise to a high pitch-annoying ear-piercing noise. This buzzing noise can be divided into a low hum and a high-pitch hiss.
The humming noise is a low noise between 50 to 60Hz. Humming noises can occasionally be inaudible for some people and therefore are considered more bearable. Some hum noises are easy to mitigate in post-production after recordings are complete. Home appliances like fridges or fans can cause this humming noise in recordings that sometimes sound like a constant bass note.
Compared to humming, hissing is louder. Hiss can sound like white noise, rain, or a higher pitch. It’s the sound you think about when you imagine a disturbing high-pitch noise. Generally, a hissing noise ranges between 100 and 120Hz.
The hiss is easy to notice and is the kind of noise you want to avoid recording at all costs, as it could blend with other sonic elements in your recording and be hard to remove. But thanks to modern technology, there are digital tools that can help you reduce hiss.
Before diving into the different solutions available, you need to find out what’s causing these noises. It could be noise intrinsic to the audio signal, such as the hiss from analog equipment, analog tapes, or the self-noise from an amplifier or audio interface. Though, in most cases, you can’t completely remove these noises, there are tools to do it in post-production.
Another type of noise can come from the environment, like fans, background noise from the outside, natural reverb, and more. You can avoid those noises by treating your recording room or removing them in post-production.
However, the nature of hum is often divided into two principal causes: mechanical and electrical.
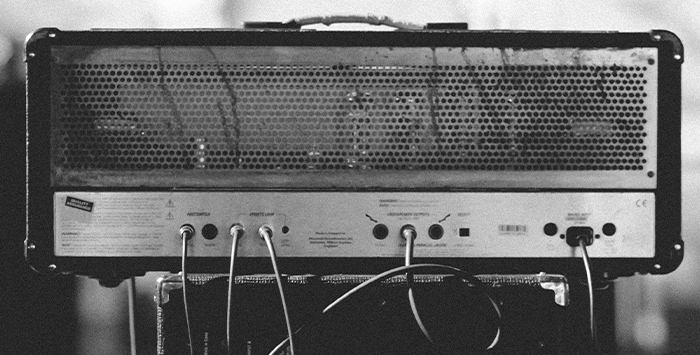
Mechanical refers to an induced hum inside the sound system, amplifier, audio interface, mixer, speakers, and other audio equipment. When you have a mechanical hum, it’s usually the transformer or faulty electronics components which cause it and not the speakers of our audio system.
Damaged wires, ground loops, AC line hums, RF interference, USB cables, audio equipment self-noise, and computer noise can cause an electrical buzz that results in audio noise. Ground wire loops are the most common cause of this type of hum, and we’ll delve deeper into the topic in a moment. Before that, I want to cover every possible electronic cause so you can come across them when you encounter those issues.
Now let’s go over each noise type in more detail and discuss solutions. I’ll start with intrinsic noise, followed by mechanical and electrical-induced noise. If you have identified your type of noise, feel free to jump to the specific section.
Noise from analog equipment is not considered unwanted noise for many audiophiles, but for others, it can be a nuisance, especially when listening to music at high volume. If the noise is unusually high, the first thing to verify is that there is no damage in the components of your audio system and ensure your gear is in the best possible condition.
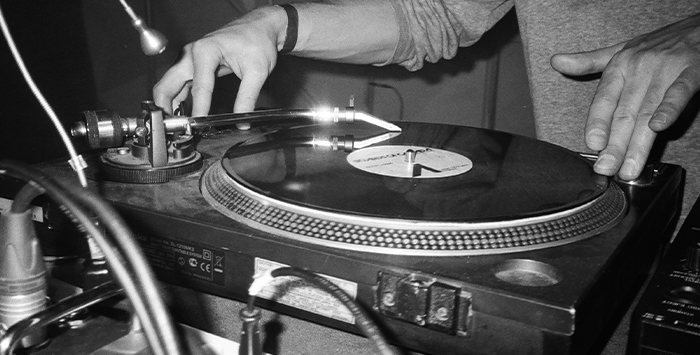
To fix analog noises, keep your audio system clean, change worn-out pieces like the stylus of the turntable, and treat your audio systems with care. Trust me, most unwanted noises will be reduced simply by keeping your audio equipment in good condition.

Environmental noises can produce hiss and hum that you might not be aware of until you listen to your audio tracks on your computer back in the studio. These noises might be caused by background sounds in your recording room, like fans, air conditioning, hums from other electronic devices near the microphone, or your mic amps.
The best way to fix this type of noise is to turn off every device that generates noise when you start recording. Follow acoustic treatment to reduce unwanted noise as much as possible. If all else fails, use noise reduction plug-ins in your DAW.

Most mic preamps in audio interfaces have an inherent self-noise, and even stand-alone preamps do. You’ll notice this noise when you turn the gain dial to over 70 or 80%: if you are recording with low-input microphones, this becomes an issue since those mics require so much more gain than others, and you’ll need to set the gain level to 100%.
Fix this issue by getting preamps with enough gain for your low-output microphone. Another method would be an inline preamp, which can provide up to +25dB of clean gain. Inline preamps boost your mic volume before reaching the mic preamps, so you can turn down the gain from your audio interface, thus reducing self-noise noise. If none of these solutions works, clean your audio using your DAW and professional noise-removal plug-ins.
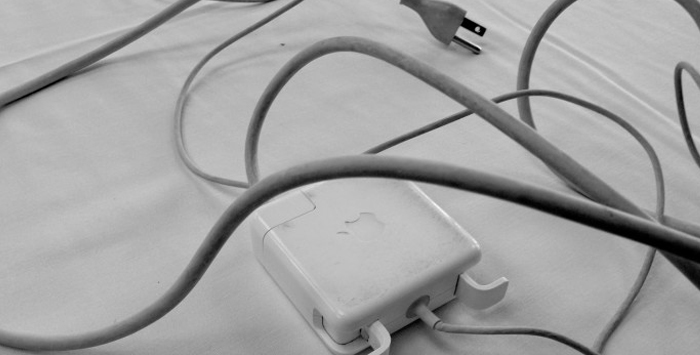
AC line noise occurs when there is electromagnetic interference caused by any electronic device. This noise appears on the TV screen as static and in audio systems as distortion and hums like a ground loop. Any electrical device can create AC line noise, so elimination is the best way to determine which one is causing the problem.
The solution to AC line noise will be not using those electronic devices when using your audio system or during recording sessions. If you need those devices while recording, you can reduce noise with the help of an Online UPS, isolation transformers, or a high-quality power supply.
One of the most frequent problems with audio systems is ground loops, which affect audio by creating a humming noise but also affect video signals in cable TV. A ground loop occurs when various devices from your multimedia setup, from a videogame console to an HDMI-connected audio component, are plugged into distinct AC outlets and connected via RCA or HDMI cables.
A typical setup will be having your TV and videogame console plugged into the nearest AC outlet and your audio system connected to another, with your audio and videogame console then connected to your TV via HDMI.
This scenario causes all these electronical devices to share ground but with different potentials. The current then flows in a circular ground connection or ground loop that ends in hum noises in your audio system or TV.
Breaking the loop is the best solution against ground loops. Here are some things you can try:
Unplug all devices and connect them one by one to find which one is causing the ground loop.
Connect all devices in the same wall AC socket using a power strip or surge protection.
If you can’t connect all devices in one AC socket, then you can use a ground loop isolator. A ground loop isolator is a compact gadget that you can easily plug between your amplifier and the audio device you’re connecting, breaking the loop safely.
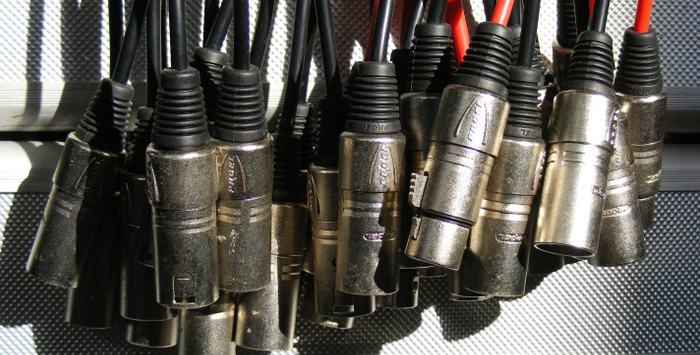
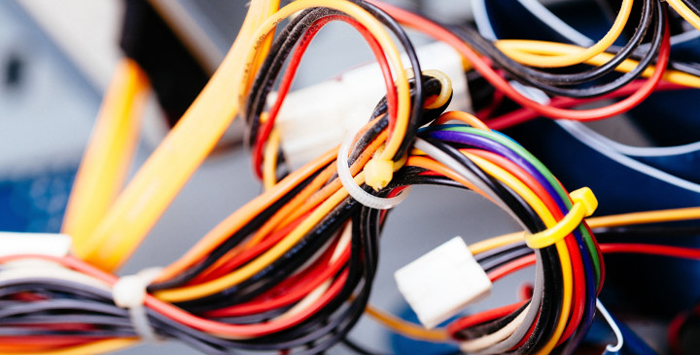
Wiring issues are another common noise source caused by bad wiring or damage in your audio signal cables. An audio cable must be in good condition to provide the best audio quality to your system: if you hear a humming noise, try using different cables or gently twist it to listen if it creates noise.
Keep in mind the following tips when dealing with wires:
Do not run cables near or across audio wiring cables and antenna wiring.
Three-wired balanced cables are less susceptible to humming noises than two-wired cables.
Use balanced cables, when possible, over non-balanced ones.
Choose good quality cables, but do not overspend on expensive metal cables, as they do not perform better.
To fix wire issues, use the correct inputs: balanced cables with balanced inputs and outputs. Avoid using adapters for XLR and jack cables. Check for damage in the cord and change them for new ones.
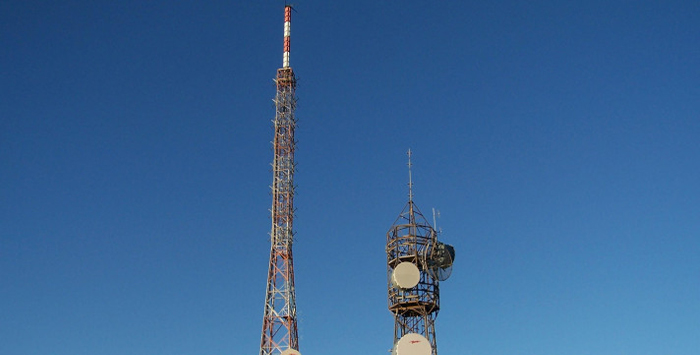
Another type of electromagnetic interference is RF interference, caused by devices that use RF to transmit wireless data, such as mobile phones, Bluetooth devices, Wi-Fi, laptops even smartwatches. You may have more than one of these devices in your recording room that may be the noise source.
A simple and quick solution is keeping all your RF devices far from your sound equipment or out of the room when recording audio. Using a ferrite noise suppressor sleeve in your cables will help you eliminate or minimize this type of interference. Finally, you can install RF filters in your studio if RF interference is a constant problem during your recording sessions.

Internal sound cards from computers and laptops are susceptible to noise because they can pick up sounds from all electronics inside a computer and are easily affected by electromagnetic interference.
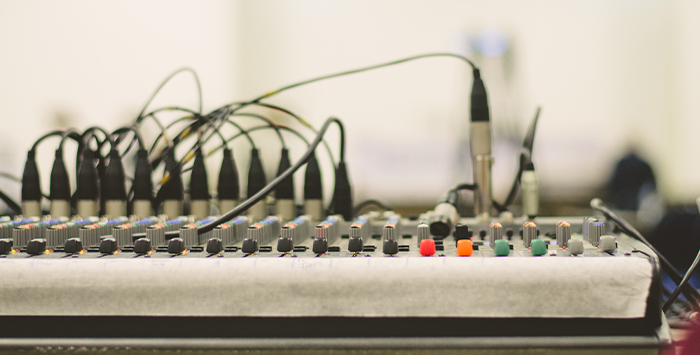
Your best solution will be using an external audio interface to record and play audio. A dedicated audio interface will give you more features for your home studio than using your built-in sound cards, such as better preamps, more inputs, and less noise.
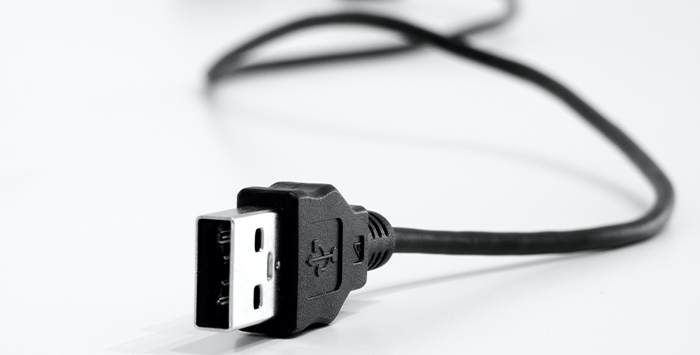
Like a power cable or a signal cable, USB and HDMI cables are susceptible to noise due to cable shielding, damage, or building quality. You can solve this with a ferrite noise suppressor sleeve, using a less resistive cable, or adding a USB filter to split the shield connection.

The primary source of mechanical noise resides within the audio device itself. The first thing to identify this noise is by listening and ensuring it’s not a ground loop, AC line noise, or RF interference. Transformer noise is caused by irregularities in the AC line voltage, which causes a variation in the audio signal.
Fix transformer noise using a power regulator to help the AC voltage stay regular during its use.
Continuing with mechanically induced noises is a blown transducer, caused by deterioration or burnt, which produces a distortion noise in your audio equipment.
In this scenario, a replacement will be the best solution by contacting the manufacturers or buying a replacement transducer. Just remember to be careful while handling electronic components on your own.
Another cause of mechanical noise is the quality of the building design. Lower-quality components will cause the digital-to-analog converter to produce more humming noises, which will be hard to remove in post-production.
Get a high-quality audio interface, cables, and good-quality microphones if you are serious about your music production projects to avoid these issues in the future.

If you’re only using your computer or laptop, the noise might be due to missing drivers or incompatibility between your computer and your audio hardware. Always keep your drivers up to date to avoid inconveniences; usually, you can download the newest drivers from the manufacturer’s website.
Removing humming noises doesn’t have to be tricky, but finding the source and the type of noise is definitely the most challenging part. Once you know how to detect every kind of noise and how to solve it, you’ll be ready for any situation.
I hope this article helped you understand the possible causes of unwanted noises in your audio systems and audio recordings and will help you fix humming noises in the future.
To conclude, I recommend having a good set of noise removal tools in your DAW to help you clean those noises that still find a way to your audio tracks.
Good luck!
When audio has already been recorded, and you hear unwanted noise in the audio track, it can be reduced in post-production using noise removal plug-ins like our AudioDenoise tool. Our professional tools help you remove hiss, background noise, and hum from noisy audio recordings: it’s easy to use and works with different DAWs and audio editors such as Premiere Pro, Logic, GarageBand, and Audacity.
The most common source of electrical buzz is a ground loop, which can be reduced by plugging all audio devices into one AC socket with a power strip or using a ground loop isolator to connect your devices.


