Marco Sebastiano Alessi
Oct 12th, 2023Many people enjoy listening to podcasts in their spare time, but what if you wanted to start your own show? In that case, the first thing to consider is setting up a suitable podcast studio.
While you can begin with your mobile device and some free editing software, investing in high-quality equipment is necessary to produce a podcast with clear and crisp audio. The success of a podcast largely depends on the audio quality, so it’s essential to have the right tools and equipment to achieve the best sound possible.
In this article, I’ll explain how to choose the proper room, how to create a good podcast studio setup, and the audio equipment necessary to build an excellent podcast studio.
Let’s dive in!
The first thing you need is your own recording space where you’ll be recording your show. Audio engineers always say that it’s better to have clean audio recordings from the start than to try to fix them in post-production, so try to find the right podcasting space in your house or office where there’s not much reverb or noise coming from outside.
Preferably, pick a room with carpets and furniture, such as bookshelves and fabric couches. In this way, you’ll reduce echo and resonance, making it easier to record high-quality sound.
If you’re on a tight budget, you can use the old trick of recording inside your closet: the fabric from the clothes will prevent the sound from bouncing, and you’ll get clean recordings. On the other hand, it might be hard to invite special guests to record an episode in your home podcast studio!
Soundproofing your room will keep outside noises from getting in your room and thus avoid background noise. It also keeps the noises inside the room from getting outside, so you can record with confidence whenever inspiration strikes.
Acoustic treatment is a way of controlling how audio frequencies behave inside a room. Sound will usually bounce on walls and floors, so using acoustic panels can reduce the sound from bouncing and getting into your podcasts as feedback.
In short, analyze your space, add bass traps and acoustic panels, place furniture, carpets, mats, and pillows to control the sound.
A computer is crucial for podcast production. This is where you’ll have your recording and editing software, store all your episodes, and publish them online.
You can use any computer or laptop you already have as long as it has enough CPU power to run your audio software and enough storage space to save data.
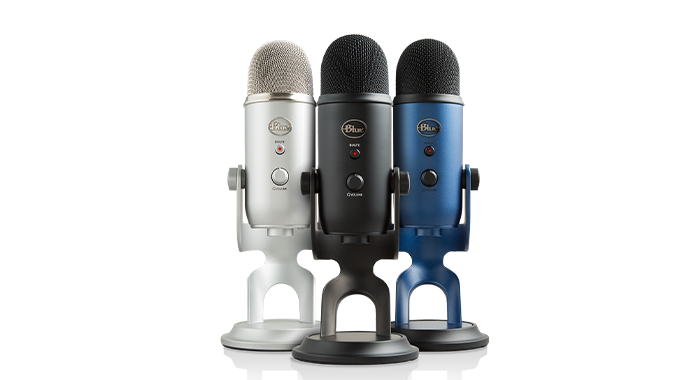
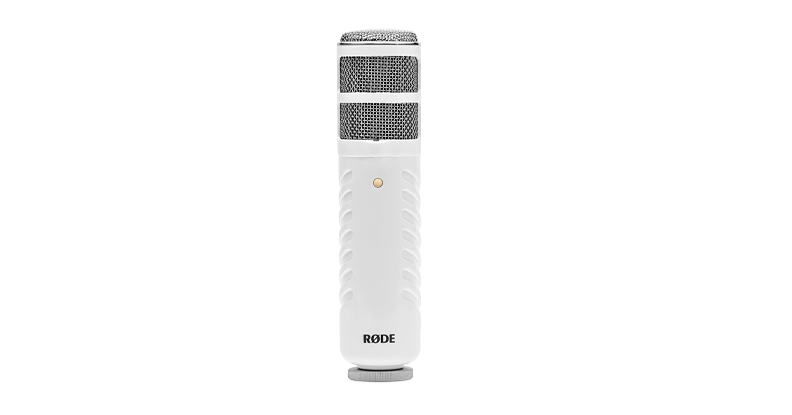
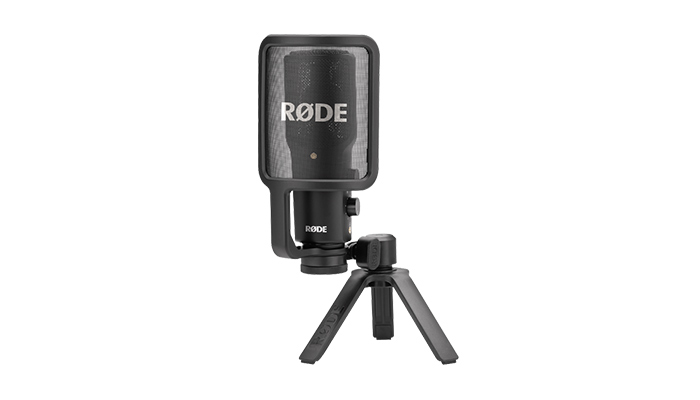
You need one or two dedicated microphones for your podcast. Condenser mics and dynamic microphones are the two most common options for podcasters of all levels.
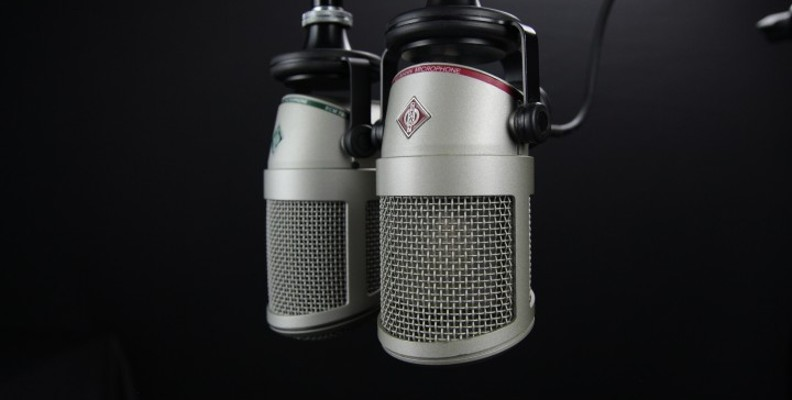
Condenser microphones are excellent for capturing vocals and acoustic instruments. The downside is that they are too sensitive to background noises, so you must have a treated room to make the most of this microphone type.
Dynamic microphones are more forgiving, so I’d recommend starting with a dynamic microphone if you still need to adjust the acoustics of your room.
Another thing to watch out about microphones is their inputs and outputs. You can have USB microphones plugged directly into your computer or XRL microphones, for which you’ll need a mixer or audio interface.
Here are some well-known microphones you can easily find in a professional podcast studio:
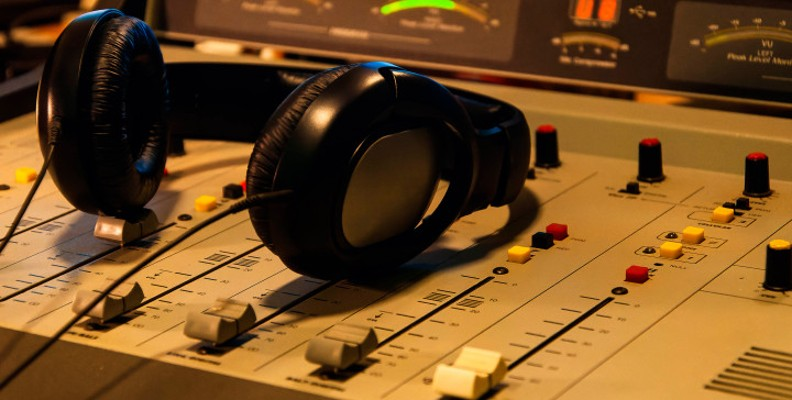
An audio interface converts analog signal captured from a microphone to a digital signal to be processed by your computer. It also does the inverse process, converting the digital signal from your computer to an analog signal. You can listen to yourself with nearly zero latency to monitor your voice when you record a podcast.
A mixer and an audio interface will allow you to connect your XLR microphones, but you don’t need to get both. Audio interfaces usually provide inputs for mics and instruments, allowing you to mix and edit each channel inside your DAW. Mixers let you process each input in real-time, which is ideal for live streaming and broadcasting, and include EQ and effects to modulate the tone of your voice before it reaches your computer or speakers.
Here are some budget-friendly audio interfaces that can help you achieve a great sound:
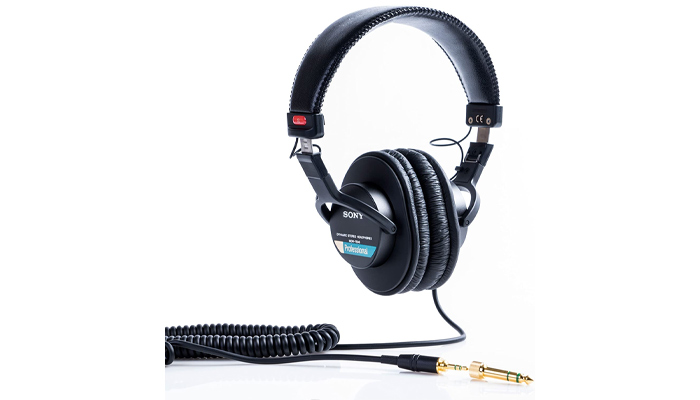
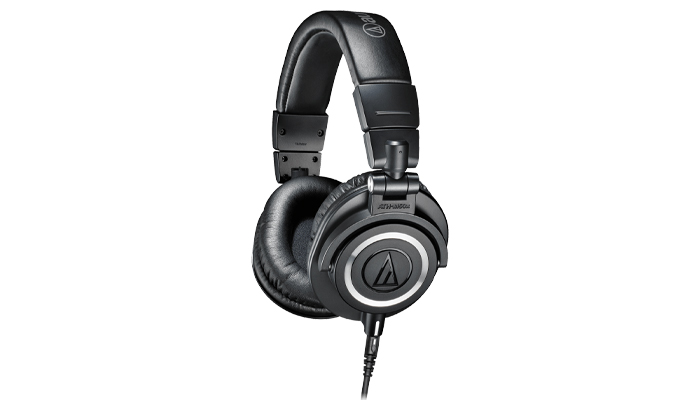
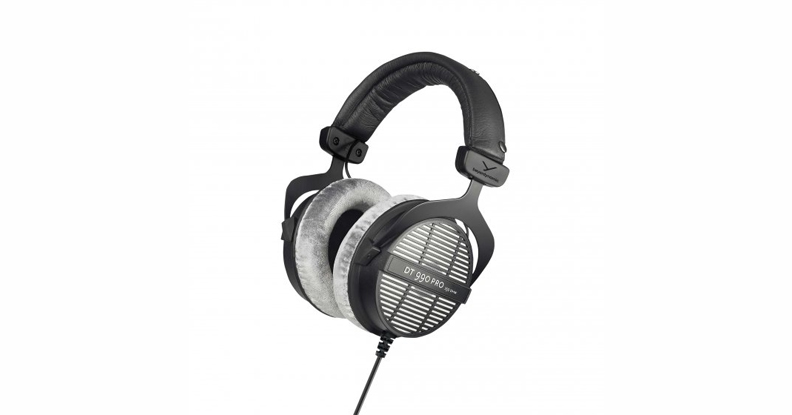
Your headphones will allow you to monitor your voice when recording and let you hear everything the microphones capture. In post-production, good-quality headphones will help you catch noises that you may only listen to with headphones.
Here are some headphones I’d recommend for podcast production:
These are the three accessories I recommend getting as soon as you can.
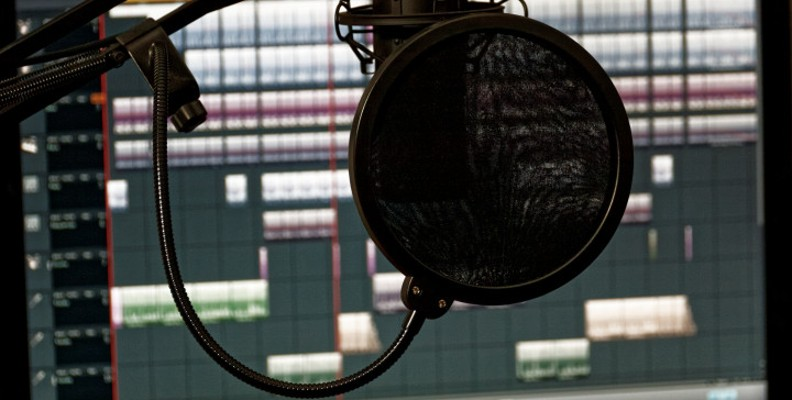
Mic stand or boom arm to keep the microphone steady and avoid noises from rumbles and mic movement.
Pop Filter to reduce the plosive noises from your speech.
Shock mount to prevent the vibrations from transferring from the boom arm or stand to your microphone, causing interference in your audio recordings.
You now have your computer, microphones, mixer, and accessories. Now, it’s time to start recording your podcast. Every podcast recording studio needs a digital audio workstation (DAW) or audio editing software.
The choice of software is up to you. If you’re familiar with any, rest assured it will serve you well. If you’re just starting, you can try the two most popular free recording software for podcasts: GarageBand and Audacity.
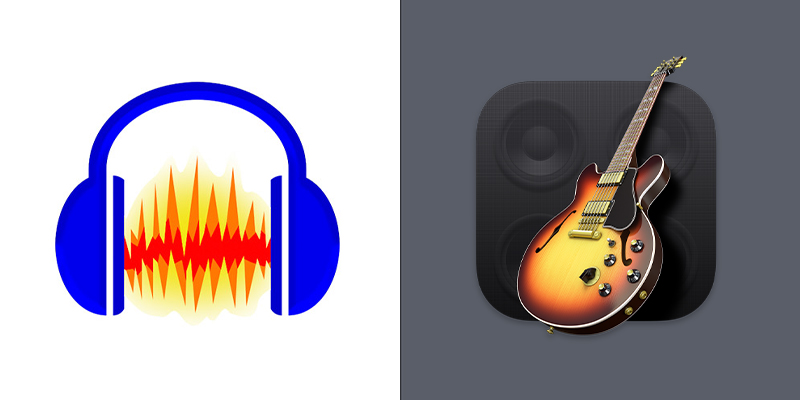
These two audio editors are perfect for an entry-level podcast studio because they are free and offer plenty of tools to make recordings sound professional. GarageBand is only available for Mac, iPhone, and iPad, and Audacity is available for Mac, Windows, and Linux.
Another good option is Adobe Audition, which you can get from the Creative Cloud subscription. Its interface is simple and offers many built-in tools to edit your audio professionally.
Other paid options for your professional podcast studio include:
Besides recording and editing, you’ll also need to write your podcast scripts. Note apps like Google Keep or Notion are great for having your scripts at hand for all your participants when recording. If you’re doing interviews online or having remote guests, you can record the call with Zoom or Skype.
Audio plug-ins will be the bread and butter of your editing sessions. You will work with EQs, noise reduction, pop and clip removers, compressors, and more. Most of the essential plug-ins come built-in in your DAW of choice.
If you want a complete solution to the most common issues happening during podcast recording, CrumplePop Plug-ins will get you covered.
Remove background noise, hiss, and hums with AudioDenoise.
EchoRemover will be essential in your podcast studio if your room has too much reverb.
PopRemover will help you attenuate plosives if you don’t have a pop filter in your podcast recording studio.
RustleRemover is a must-have if you’re using lavalier mics to remove the rustle noises caused by fabric.
TrafficRemover and WindRemover will be your best options when you have to record outdoors, removing traffic and wind noises from your podcast episode.
When you come across clipping distortion, you can fix it with our ClipRemover plug-in.
Keep the levels safe using Levelmatic to level the audio in your podcasts.
After recording and editing your podcast, the last step is to upload it to podcast platforms. As part of your podcast studio, consider uploading your podcast through a podcast hosting service.
A podcast host will store all your audio files in their database and provide you with the RSS feed to share your podcast to streaming platforms.

Spotify for Podcasters is one of my favorite podcast hosts because its interface is friendly and straightforward. Just log in and start creating podcasts in your virtual podcast studio.
Spotify for Podcasters not only hosts and distributes your podcast to other platforms, but it also allows you to create a show directly from the app. It’s like a podcast studio where you can record from scratch or edit an audio file previously recorded with Audacity. It also offers exclusive features for Spotify, such as Q&A and polls.
BuzzSprout is a good choice for beginner podcasters because it allows you to upload up to two hours of audio monthly for free. If you’re figuring out your podcast episode length and content, this is an excellent option.
Buzzsprout gets your podcast to Apple Podcasts, Spotify, Google Podcasts, Stitcher, iHeartRadio and more, and provides analytics to track downloads, show you where your most hardcore listeners are, and which platform they use to enjoy your show.

PodBean submits your podcast episodes to all the most popular podcast apps and offers a podcast web page to showcase all your episodes, comprehensive analytics, and live-stream features.
The PodBean free plan includes 5 hours and 100 GB bandwidth monthly. The paid plans offer unlimited bandwidth and storage starting at $9 monthly, among other premium features like monetization.
SoundCloud is a sharing platform that allows you to upload and share your podcast tracks online. It’s easy to use and gives you more marketing control; however, other dedicated podcast hosting services can reach a wider audience and offer more exhaustive analytics.
Starting a podcast might feel like a daunting task, yet once you have the basics covered, you’ll be able to record and produce exceptional audio material in no time.
Invest some time figuring out your objectives and budget, and plan your content in advance so that you’ll be able to release new content consistently. Ultimately, having a dedicated podcast studio will help you take your sound to the next level.
Good luck!