Marco Sebastiano Alessi
Aug 10th, 2023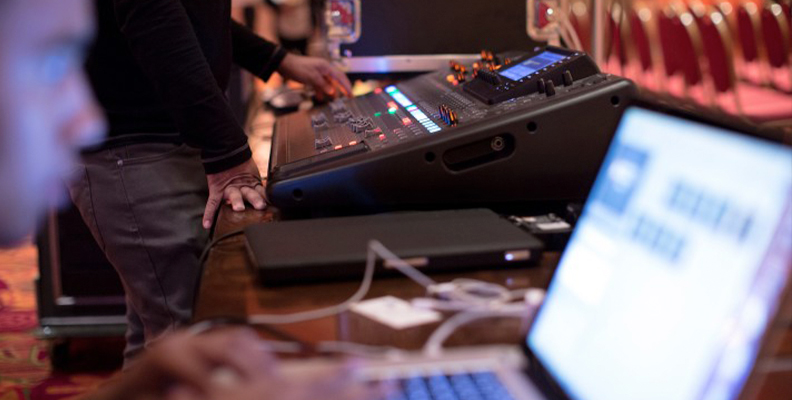
Often, we find ourselves totally immersed in a movie, as if we were part of the adventure. Most of the time, that’s due to exceptional sound design.
Sound is a crucial element in movies, so much so that movie enthusiasts often buy home theaters, professional headphones, and other audio equipment to experience movies in the best possible way.
As a filmmaker, creating such experiences takes more than just recording a scene with a microphone and syncing it with the picture. It requires creativity, acoustic knowledge, hard work, and patience.
If you’re starting to work with audio production tools or want to learn more about sound design, continue reading to learn the different steps in the audio post-production workflow and everything a sound team has to do to deliver an excellent audio production for film, TV, and music.
Today, we’ll look into the process of creating high-quality sound effects, what equipment you’ll need, and what audio post-production tasks are required to achieve exceptional results.
Let’s dive in!
Audio post-production is an essential component of audio engineering, which often involves various analog and digital technologies. It’s the process of creating, editing, and polishing the audio for a video, studio, or live recording.
The process begins with the sound engineer, who records an audio source. It can be something from a live or studio performance, a film, a voice-over, a radio show, or a podcast. After recording, the raw audio is edited in a digital audio workstation (DAW) to remove background noise, add sound effects, edit dialogue, or add music. Then it’s mixed and mastered to produce an enhanced stereo version optimized for television, radio, streaming platforms, CD players, and mobile devices.
The audio engineers starts working with the director since pre-production to identify which sounds will be required, find sounds in various libraries, or if they will need to record the sounds or create them from scratch.
Usually, the audio team or audio engineer first meets with the director. In this first meeting, they’ll identify what sounds are necessary to bring the director’s vision to life.
The pre-production process includes everything an audio engineer needs to do before the actual filming starts, as well as before recording any sound.
Here are the three main objectives in pre-production.
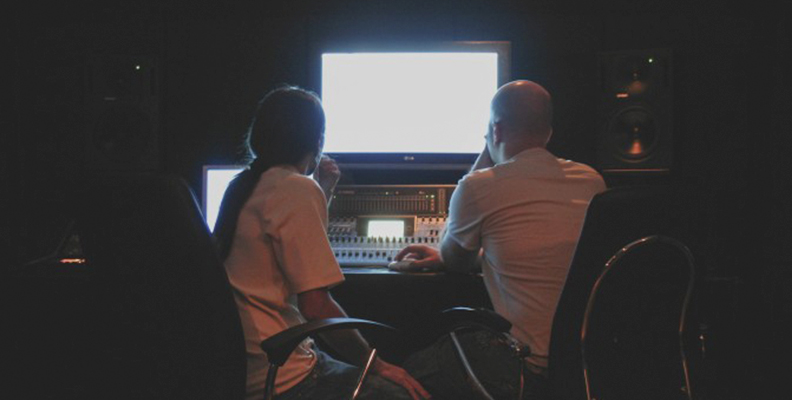
In audio production, there are different tasks to fulfill. In larger projects, several audio engineers might be necessary. However, one multi-tasking sound professional can perform all the duties in smaller projects or production teams.
A sound team should include the following:
Sound supervisor. The head of the team will coordinate all communications between the director and production team, and sound team to create the final mix that will embody the director’s and producer’s vision.
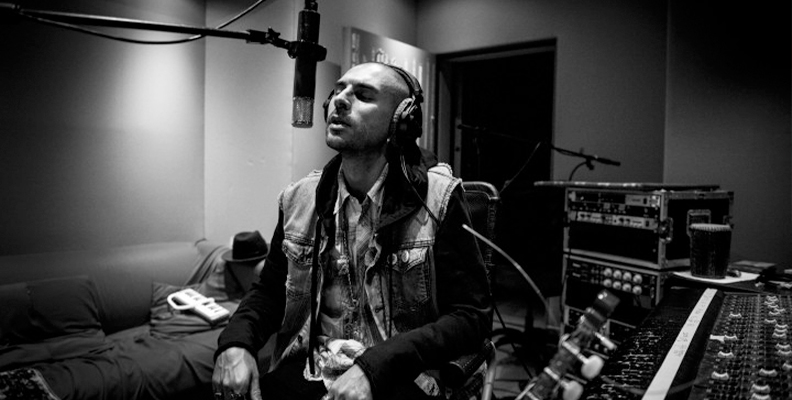
Audio recording engineer. The person who will perform recordings, including special effects (SFX), foley sounds, field recordings, location sound recordings, and studio and live recordings.
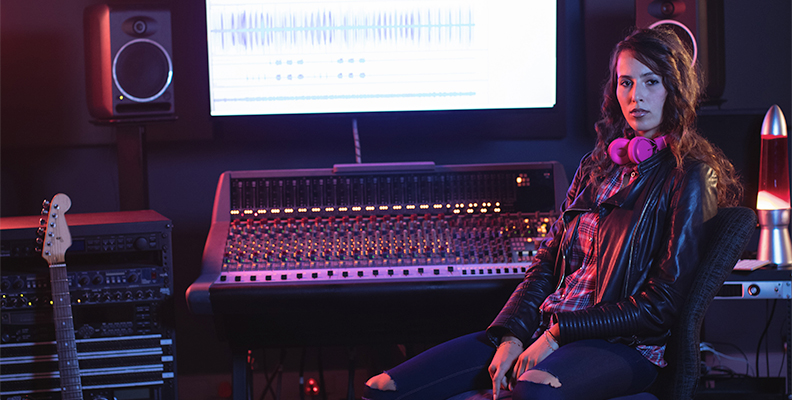
Sound designer. The one responsible for telling a story through sounds. The task of a sound designer is to create and modify existing sounds to evoke emotions in the audience using sound effects. A sound designer works with the recording engineer to record foley and special effects and with the audio editing engineer to craft the perfect sound in audio post-production.
Audio editing engineer. They edit the existing recordings such as the dialogues, SFX, foley, and music, ensuring the audio files are clean and in a perfect state for mixing by removing background noise from dialogue, adding effects, EQ, and syncing audio with the video.
Audio mixing engineer. The mixing engineer can perform the tasks from the re-recording mixer, foley mixer, and ADR mixer. They ensure all aspects of sound, like balance or stereo image, are well blended with the picture. When the location recordings are not good enough, they will record ADR (automated dialogue replacement) and mix it with the rest of the dialogues.
Audio mastering engineer. They receive the final mix and ensure the loudness levels follow the industry requirements.
In this phase, you can start thinking of the ideal sounds to use or how to create them. You may realize it’s time to use that sound sitting in your sound library or what type of sound you’ll need to create or record. Also, this is when you identify which audio equipment you will need: microphones, boom arms, senders, and receivers.
You can make notes on each scene and sketch ideas to define the best sounds required. It will also work as guidance for the production team to know what kind of locations to search for.
The audio recording engineer visits the locations with the sound supervisor to observe and analyze the place’s acoustics. The sound team will look for situations that may affect the recordings and think of solutions beforehand.
Doing the scouting can help you start building and recording sound effects to enhance the final mix and listen to the type of background noise that will be problematic during post-production.
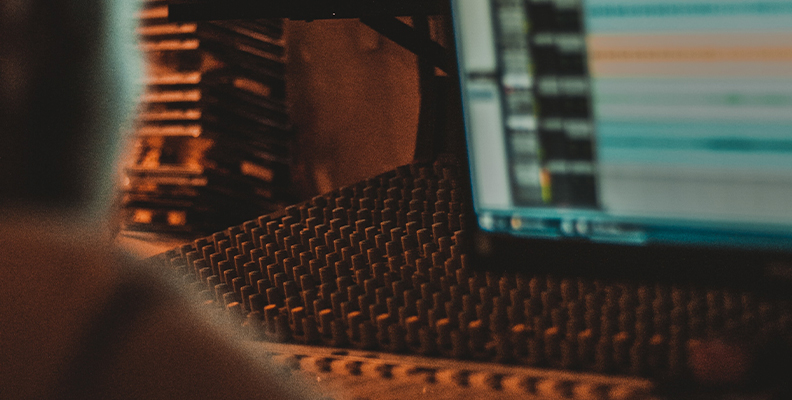
The essential audio equipment you’ll need for audio production is not unlike the one you use in music production, with the addition of some extra sound effects, foley libraries, and specific recording technologies for sound design.
· Computer. A computer with enough CPU power to process audio and video software with multiple tracks and plugins. Remember to have enough storage as post-production files are heavy.
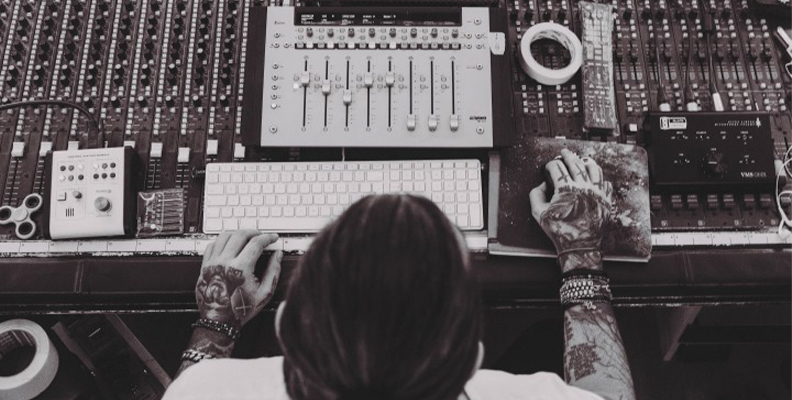
Digital audio workstation (DAW). A DAW is a computer software you can use as a sound effects editor, where you create recordings, editing, mixing, and mastering. The industry standard is Pro Tools, but you can use Logic Pro X, Cubase, and other popular DAWs.
Audio interface. You’ll need to connect microphones and instruments to your computer for recording; that’s when an audio interface comes into play. It lets you plug multiple audio devices to record directly into your DAW.
Microphones. Sound designers use a range of specialized microphones to capture sound sources in the studio, outside, to place around a set and on the actors. Generally, sound designers should know how to operate each type of mic.
Field recorders. A field recorder is a primary tool for sound designers who prefer to record everyday sounds to build their sound effects libraries. Field recorders are ideal for recording high-quality outdoor sounds.
Headphones and studio monitors. A pair of flat response speakers or headphones will allow the mixing engineer to listen with more detail to the audio tracks and find things to correct.
Sound effects libraries. You can find and buy these libraries online or create them from scratch and edit them to adjust them to your current project. These can be gunshots, sci-fi noises, explosions, and more.
Plug-ins. Plug-ins are add-ons for your DAW, including effects like EQ, noise reduction tools, compression, and virtual instruments. Most DAWs come with the essential plug-ins to get the job done. Still, it’s worth looking at some third-party plug-ins for more specialized plug-ins for audio restoration, dialogue enhancement, reverbs, and synth sounds.
Before recording, creating a session template in advance is good practice. It will help you keep your project organized and have a more intuitive workflow. Add enough tracks, label them, and add colors to differentiate from music, effects, SFX, dialogues, voice-over, ambient sound, etc.
Once you get the raw recordings, you’ll have your session ready to start importing the audio files into your DAW.
The recording includes everything that needs to be captured to generate different sounds but also recording the dialogues in a film and voice-overs for commercials. When you know what sounds you’ll use, you can compile them before production begins. Your tasks in this step include gathering field recordings, foley recordings, and dialogue recordings necessary for the project.
Field recording sessions require you to travel with your audio equipment to a location to capture sounds of nature and ambiance to deliver the most realistic audio experience for the project.
For example, if you’re recording a beach scene, you can go to the recording location when it’s quiet and empty to record the sound of the waves, birds, walking in the sand, and other ambient noises that could be hard to capture once the production begins. Then add the recordings to your post-production session for editing and mixing.
Foley effects are everyday sounds such as body movement, the rustle of clothes, footsteps on different floors such as wood, stone, sand, and grass, and other sounds like phones ringing doors or breaths. They are created in the studio where the foley artist will have all the props to record those sounds. Foley sounds are an essential element of filmmaking because they can intensify a scene’s atmosphere.
There are different techniques for dialogue recording. The most common are placing hidden lavalier mics on the actors, shotgun microphones using a boom arm, and condenser mics in the studio for voice-over. On-location recording usually uses a clapper to make it easier to sync the audio with the video in post-production.
You can create your sounds from scratch by making adjustments to your sound recordings or using a synthesizer. You can use many synth plug-ins in your DAW that will bring to life unique results.
The audio post-production process begins once the recordings are completed. Intensive sound editing sessions are probably one of the most demanding steps in audio post-production. However, it can be extremely rewarding to see every single track in place in your DAW session ready to be processed.
Audio editing includes working with all tracks: dialogue, sound effects, SFX, and music. You’ll use various techniques to adjust sounds, such as EQ, noise reduction, compression, and automated dialogue replacement (ADR) to replace audio recordings that are compromised.
Editing dialogue tracks is essential to make each phrase sound crystal clear. The audience must hear and clearly understand what the actors are saying, even in the most noisy action scenes. To achieve that, the dialogue editor must adjust volume, equalize, trim, cut, and paste parts from different takes, and repair dialogue tracks by removing background noise.
During the process, the dialogue editor can find that some tracks are beyond repair and will need to re-record those dialogues in the studio. Automated dialogue replacement, or ADR, is required when the dialogue track can’t be used.
ADR is a technique used to re-record dialogue in post-production, recreating as much as possible the filming location environment so it feels like it was recorded on set. The actors will perform their lines in the studio, re-enacting the scene.
Sound effects editors create unique sounds by combining and layering sound after sound to make every soundscape as realistic as possible. The sounds produced during audio post-production are:
Spot effects are specific sounds evident in a scene that must be enhanced or produced, such as glass breaking, punches, and vehicle sounds.
Ambient sounds (Atmos sound) are the background sounds used to immerse the audience in a scene. For example, adding wind noise to an open desert scene gives the feeling of being in a sandstorm. Ambient sounds also help create smoother transitions.
Foley can make the difference between a more vivid scene by adding the sound of the clothes and splashing footsteps while running under heavy rain.
Design sounds are custom sound effects that do not exist or can’t be recorded naturally, such as a dragon’s roar and laser beams.
Before mixing all the audio tracks, the audio editor must clean and repair all the selected audio tracks, including dialogue and sounds, by removing background noise and boosting or decreasing frequencies to mask noises, hisses, and hums. Computer software is essential with plug-ins specializing in specific noises, such as wind removal.
Once the audio tracks are ready, it’s time to move to the mixing process.
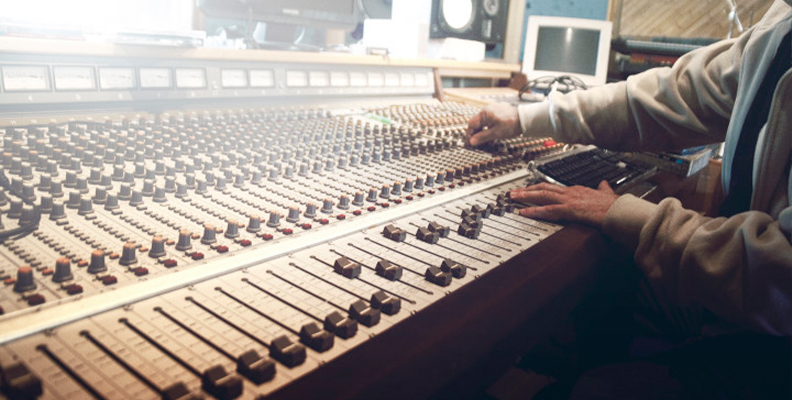
Here comes the critical process of audio mixing. The audio mixing engineer must take all previously edited tracks and make the final mix with all the sounds, SFX, dialogue, and music. The mix should be balanced, keeping an eye on loudness to avoid special sound effects to make dialogue inaudible.
During this phase, the mixing engineer must create a single track for each type of sound: dialogue, SFX, foley, and music, which will allow using part of each track to create teasers, trailer sound effects, and previews for episodic shows.
The final mix should be pleasant to listen to, cohesive, mixing atmospheric sound effects and delivering an immersive surround sound. But most of all, it should tell a story through sound.
Audio mastering is the last step in the audio post-production process. When you reach this step, your audio is almost ready to be played on movie theatres, TV, or streaming platforms. But it only requires some finishing and fine-tuning before distribution.
Audio mastering for video differs from mastering music in the way stems are used. For film and video, stem mastering is recommended to produce different versions of your master, which is crucial for those working in movies and television.
Instead of applying the processing to the stereo output, like you would do in music mastering, with the stem mastering approach, all processing must be applied to each stem so you can export them individually.
You must deliver the audio files in different formats depending on the product you’re creating and the client you’re working for. Usually, you’re required to send each stem for dialogue, sounds, and music via cloud services like Dropbox or Google Drive. In smaller teams, you can pass the audio files to the video editor in a storage device to complete the final cut.
Always keep in mind your client’s needs and requirements that must be established since the first meeting or during the post-production process, so when you begin editing, you’ll know if you’ll be mixing the stems and in which format you’ll need to export them.
The audio post-production process is crucial in filmmaking and requires smooth teamwork.
Arrange a first meeting where you establish and schedule all deadlines for each step. Visit the recording locations and get creative with the recording techniques to capture sounds in the best possible way to make your editing process easier, especially if you’re working solo, so you can complete the mix and mastering without feeling overwhelmed.
Finally, remember to send the mastering stems in the specified format to complete your job.
Good luck!
Audio post-production shapes and finalizes the audio that syncs with videos and movies. It includes editing dialogue and sounds, correcting errors, removing background noise, creating sounds from scratch, adding the soundtrack, mixing all the audio elements to create a balanced audio experience, and mastering the audio to deliver industry-standard sound ready to be distributed on DVD, TV, Cinema, or streaming platforms such as Netflix, YouTube, Hulu, or Apple TV.


