Marco Sebastiano Alessi
Mar 13th, 2023
There’s no doubt that sound plays a crucial role in the quality of visual content. Furthermore, the success of a video online has a lot to do with its audio quality, which depends on the type of microphones we use and how we balance multiple sound sources together to create a coherent soundscape.
Even if you’re not a content creator, you can learn some video editing tricks for personal projects or family videos, and adding music is one of the best ways to improve your content. There are many video editing software options for beginners and professionals alike. One of my favorites is DaVinci Resolve, a powerful tool perfect for beginners because it’s affordable, accessible, and available for Mac, Windows, and Linux.
In today’s article, I’ll explain how you can add music to DaVinci Resolve so you can make your videos look and sound more professional. I’ll also show you how to edit your audio tracks using DaVinci Resolve’s tools to blend the music smoothly and enhance your video clips.
Let’s dive in!
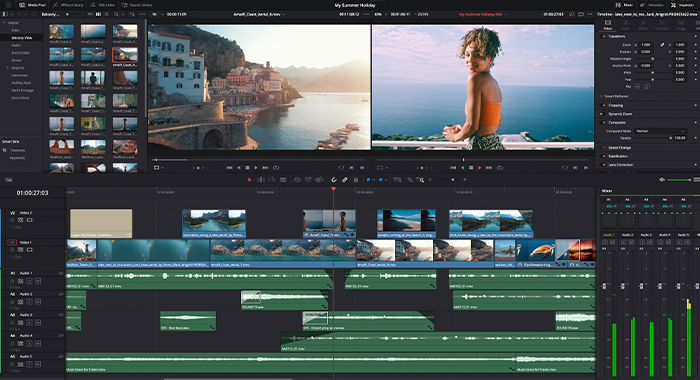
DaVinci Resolve is an all-in-one solution that allows you to edit videos with visual effects, add music to your content, apply color correction, and edit audio in post-production. Though there’s a free version and a studio upgrade, you can make good-quality edits using the free version of DaVinci Resolve, which includes features that others software would require you to pay for.
Adding music on DaVinci Resolve couldn’t be simpler.
Open a new or existing project and import all the media files you will use, like video clips, audio, and music. DaVinci Resolve supports the most popular audio formats, such as WAV, MP3, AAC, FLAC, and AIIF.
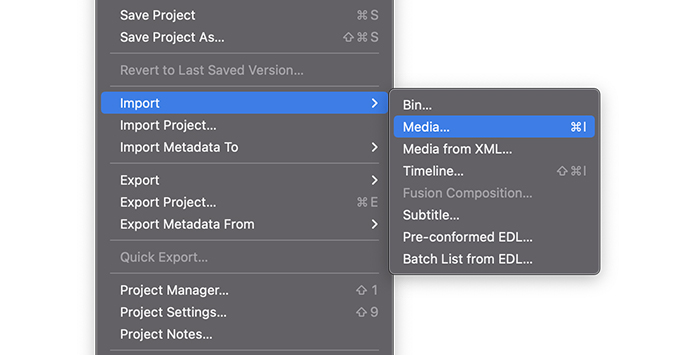
First, ensure you are on the Edit page by clicking the Edit tab at the bottom of your screen. Go to File > Import File > Import Media or use the keyboard shortcut CTRL+I or CMD+I on Mac. Or right-click in the Media pool area and select Import media.
In the import media page, search for the media files. Find the folder with the music file on your computer, select the music clips, and click Open. If you prefer, you can search the music file on your computer, and then drag the music clips from the Finder or File Explorer into DaVinci Resolve.
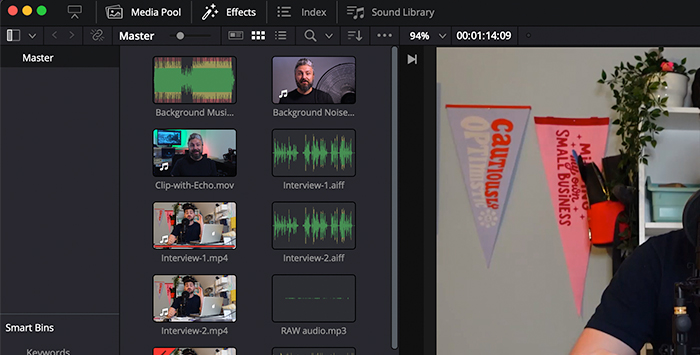
All files imported will be in your Media Pool on the top left side of the screen. Select the audio clip with the music and simply drag it to the project timeline. It will automatically be placed in an empty audio track in your timeline.
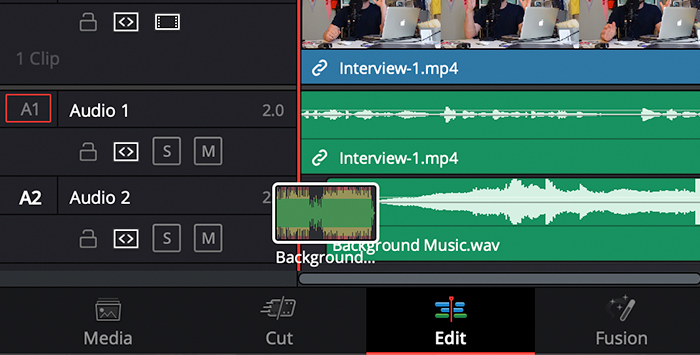
You can align the audio clip with the video track where you want the music to start. If you wish the music to play during the whole video, drag the clip to the beginning of the track. You can drag multiple audio clips to the same track and adjust the clips by dragging them across the timeline.
You may need to use some audio effects to make the audio fit your video. If the music is longer than the video, you’ll need to cut the music when the clip ends, adjust the volume and create a fade-out effect at the end.
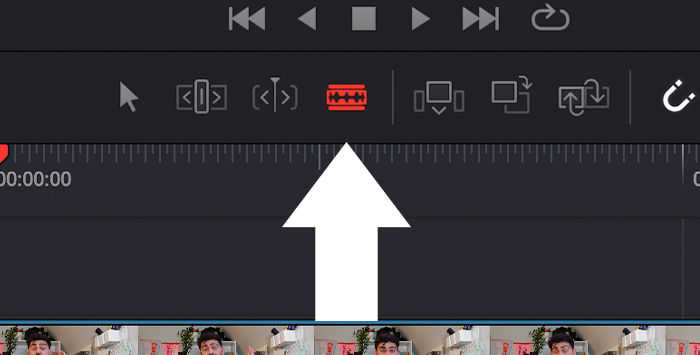
Select the razor blade icon at the top of the timeline to cut your music clip. Click where you want to create the cut to divide the audio file into two clips. Once you cut, return to the arrow tool and erase the clip you no longer need.
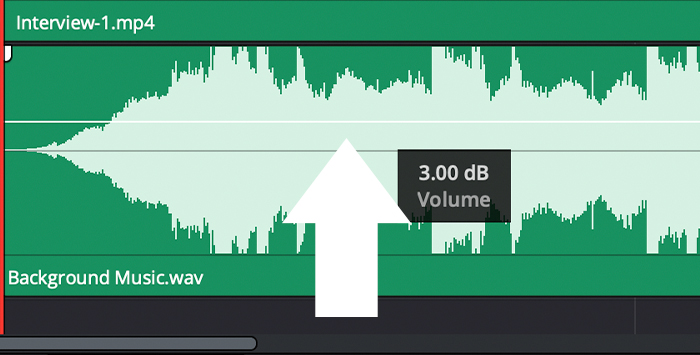
Music files are usually loud, and if you want to use the music as background only, you’ll need to lower the volume so you can still hear the original audio from the video. The easiest way to do it is by clicking the horizontal line in the track and dragging it up to increase the volume or down to decrease it. Add music fade-out
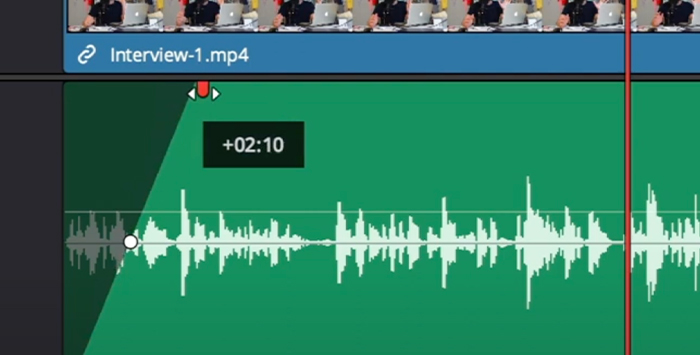
If you cut the music clip, the music will end abruptly at the end of the video. You can fade out audio in davinci resolve to avoid this and create a better sense of an ending. To do it, click on the white handles on the top corners of the track and drag them left or right. It will create a fade-out effect to your video, lowering the music’s volume at the end.
Save your project when you’re done editing, and then export your video.
Adding music and sounds to your videos with DaVinci Resolve can enhance and add depth to your project. Music can make it more entertaining, help create suspense in a scene, or cover unwanted background noise.
Add music files to your videos like a pro, even on smaller projects, and you’ll improve the quality of your work dramatically. DaVinci Resolve offers many other advanced features, including different effects for adding EQ, reducing noise, sound design, and various types of transitions for your music.
Good luck!