JG McQuarrie
Nov 10th, 2022Videos are everything and everywhere nowadays. Influencers and firms have made videos a key part of their business model to gain visibility and grow a following. Most businesses add videos to their ads to make them more eye-catching.
That means video editing has become an important skill to learn. And Final Cut Pro X is a great tool for editing video files.
However, to help people interpret the contents of the video, we sometimes need to add text to them. This means anyone who sees the video will understand what a particular clip is about or notice important information.
Final Cut Pro X is one of the best video editing software available today. One of the most frequently asked questions is, “how do I add text to Final Cut Pro X?”
It seems fairly easy, but we’ve put together this guide for anyone who still finds it difficult to add text to a video.

To make it easy, we’ll be looking at different ways to add text in Final Cut Pro.
We’ll also throw you a guide on how to edit, customize, and adjust your text until you’re satisfied with how it looks in your video.
1: Open the Final Cut Pro software.
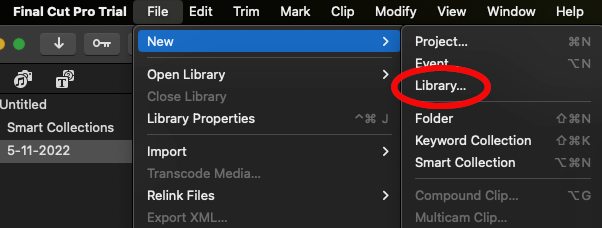
2: Navigate to the File menu, select New, and then select Library. Click Save after entering the library’s name.

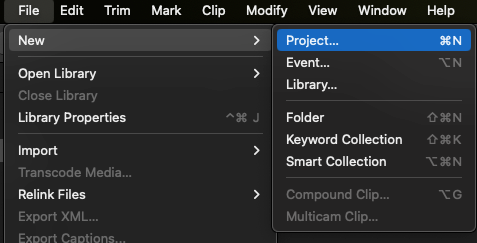
3: Next, navigate to the File menu, select New, then Project. Click OK after entering the project’s name.
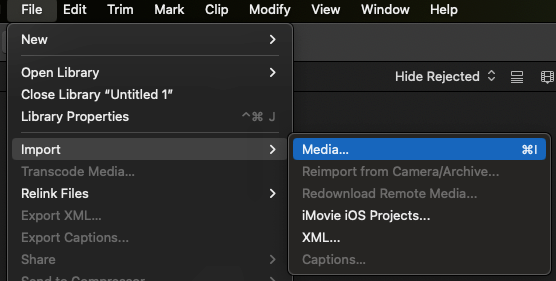
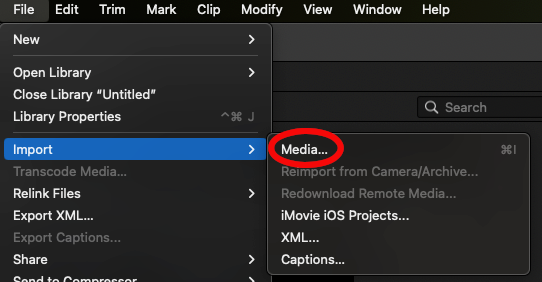
4: After this, go to File, then Import, and choose Media. Browse your computer for the video file you want to work on.
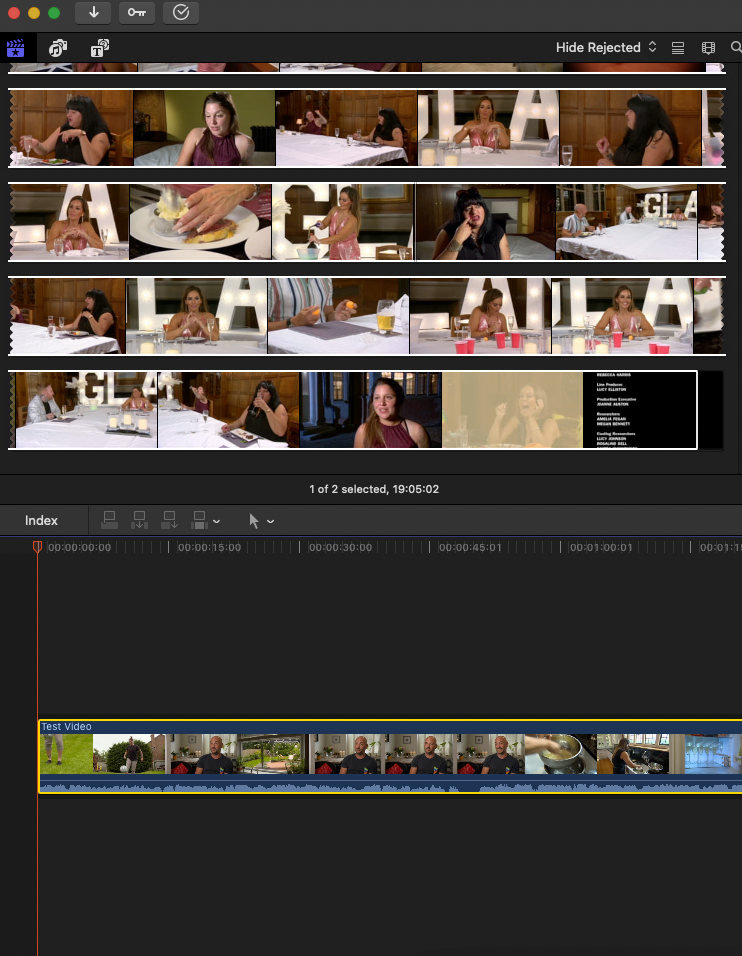
5: Once you have done this, the video will appear in the Final Cut Pro library.
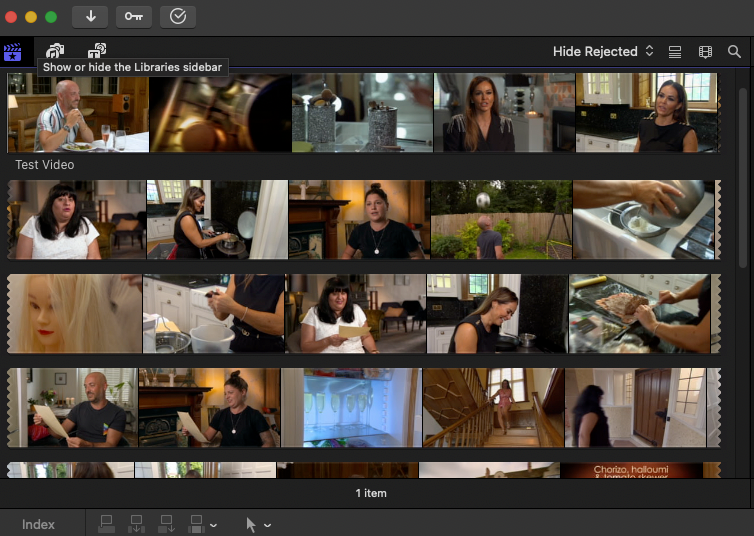
6: You can then drag it down to your timeline so it can be edited.
And that’s it! You can now add text to your video.
However, there are other ways to add text and other types of text that can be added to your newly created project.
Here’s how to add text as a title.
Step 1: First, import the video file onto Final Cut Pro X or choose import from the menu by dragging it there.
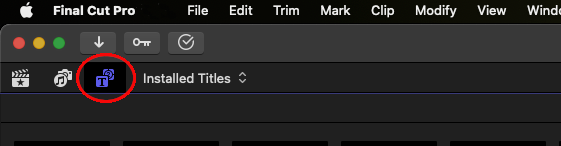
Step 2: To add text, select “Titles” by clicking the “T” button in the top left corner of the Final Cut Pro screen.
Step 3: Drag a text type from the list onto the timeline that is located below the screen.
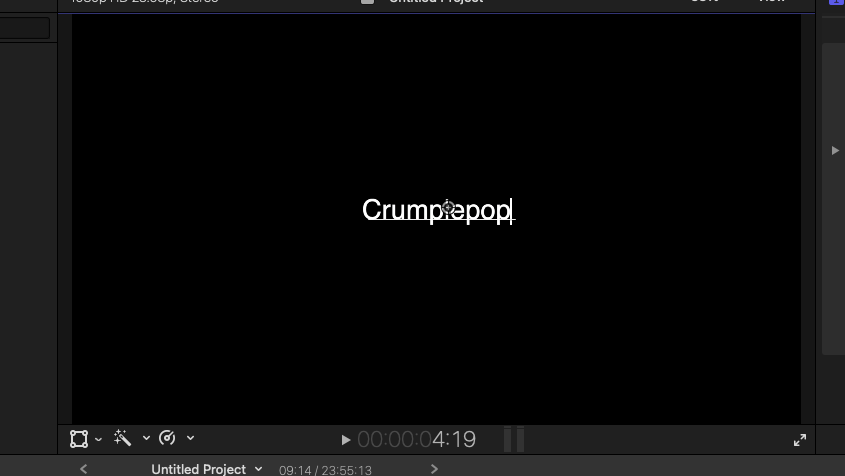
Step 4: To edit the text in the preview window, double-click on it.
Step 5: To change the text’s font and color, click the “Text Teacher” button in the top right corner of the screen.
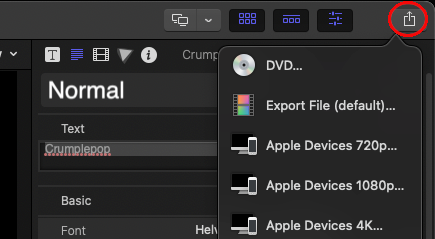
Step 6: Quickly check to make sure your video editing is accurate. Now you can hit the export button and save the customized Final Cut Pro video files.
If you want to add text as a title there are two ways to do this in your Final Cut Pro video.
A title can either replace an existing clip or be inserted between two clips if you have added more than one on your timeline.
Step 1: In the top left corner of the Final Cut Pro X window, click the Titles and Generators button. This will bring up the Titles and Generators sidebar which has a list of the categories available.
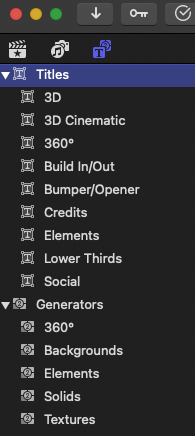
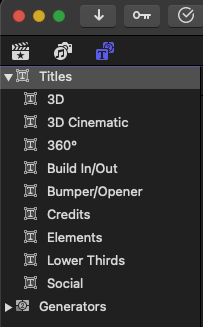
Select a category by clicking it. This will bring up the options within that category.
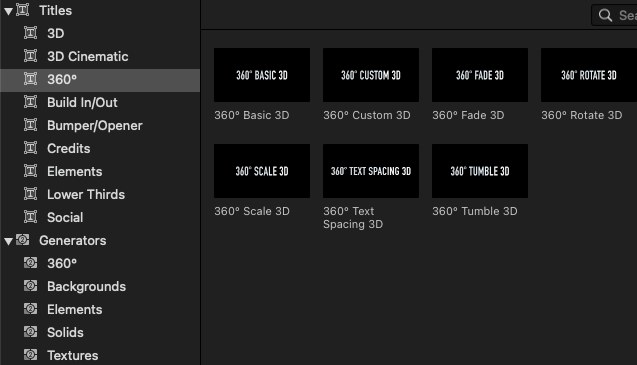
Step 3: You can then choose one of the following options:
Now that you’ve added a title clip to your video file in Final Cut Pro X, it’s time to add text to it.
Step 1: Choose a basic title clip in the Final Cut Pro timeline.
Step 2: Place your cursor over the chosen title clip.
Step 3: Double-click the title text, then enter the text for your title.
Step 4: You can repeat this for as many text titles as you need, depending on how many titles you have in your timeline.
Step 5: Enter your new text as needed.
Animated text is a great way to make a Final Cut Pro X video more interesting and appealing to the viewer. You can use it alongside your usual video editing to appeal to kids, augment product ads and educational videos, and much more. If you want to add text that’s animated, here’s how:
Step 1: Open the software and search for the library, if any. If you find one, you can close it by going to the File menu.
Step 2: Navigate to File > New > Library. Give the library a name, then select Save. Select File > New > Project. A new window pops up where you can add the name and then select OK.
Step 3: Select the video you wish to modify by going to File > Import Media. Drag the selected video to the timeline.
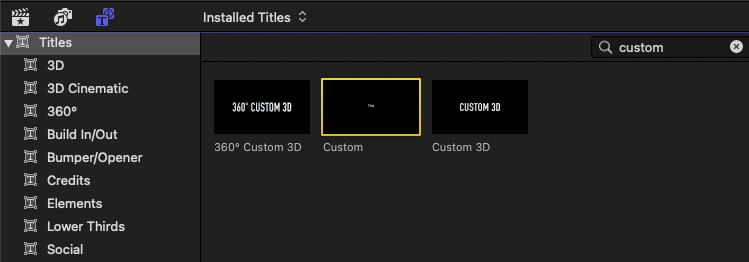
Step 4: Select the Title menu in the upper left corner of the window. Now, search and drag Custom to the timeline. You can also just search for Custom in the search box.
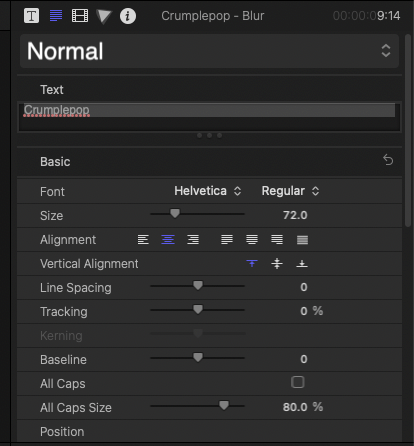
Step 5: Now you can edit the text. To do this, go to the Text Inspector. The text inspector is on the right-hand side of the screen. Numerous settings, like font, size, and color, can be changed.
Step 6: Navigate to Published Parameters (the “T” symbol in the Text Inspector’s corner).
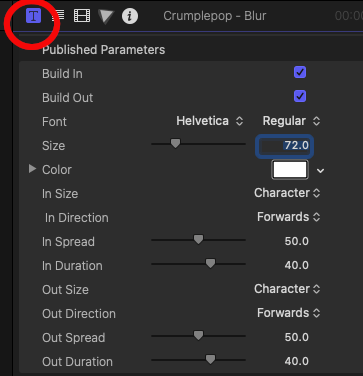
There are a number of In/Out animation settings for you to choose from. These affect how the animated title behaves.
For example, set the opacity to 0%. When you play the video, you’ll see that there isn’t any text at first, but it soon starts to appear. It’s worth playing around with these settings to see what works for you.
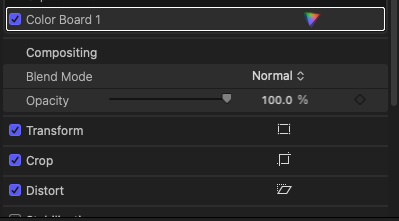
You can also use the Transform button to transform, crop, or distort the text.
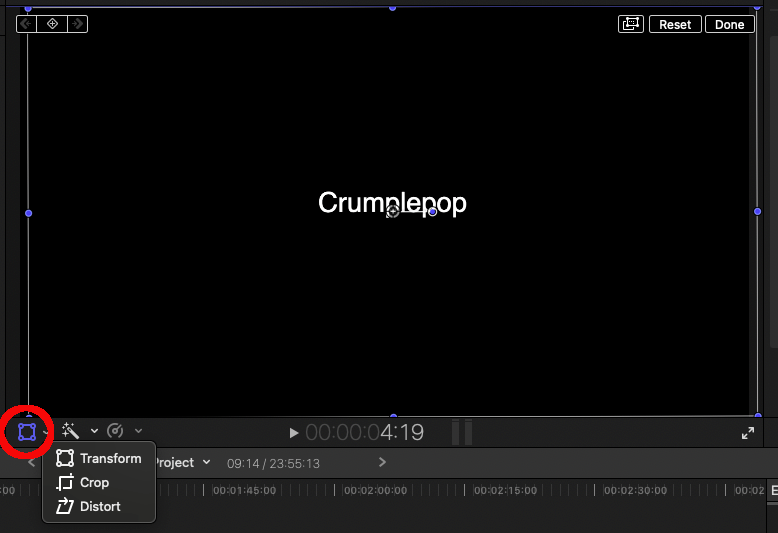
You can adjust the position of the text by dragging it where you need it with the X and Y positioning tool. You can also rotate the text using the Rotation tool.

You can substitute certain effects. Select the Effects tab from the toolbar on the right side of the timeline.
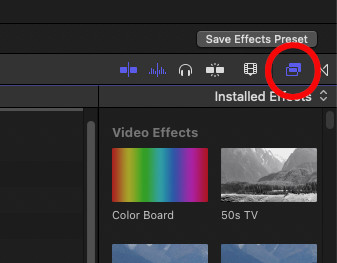
Drag any desired effect onto your text in the timeline after choosing it.
Effects have settings as well. Size, speed, opacity, position, and a number of other variables can all be adjusted. View the text preview once the effect has been applied.
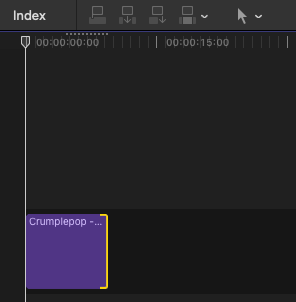
Step 7: You can change the duration of the text by clicking on the right-hand side of the text box in the timeline. This will turn yellow. You can then drag it left or right to shorten or lengthen the duration of the text.
Step 8: When you’re done with your video editing, export the video by clicking the Export button in the top right corner to export the video to your computer.

Step 1: To make changes after you add text, select your desired text.
Step 2: Using the Text Inspector, you can make any necessary adjustments. Options include font color, alignment, text styles, opacity, blur, size, and line spacing. All you have to do is choose the desired value. Additionally, the Inspector can alter the text’s outline and add a shadow.

Step 3: View the Position in the Inspector to make text modifications.
Dragging the text is the simplest method of moving it. Click and hold the text in the canvas to move it wherever you like.
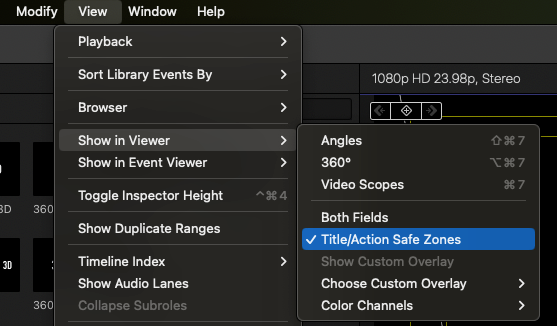
Select Show Title/Action Safe Zone from the View menu to move the text precisely while dragging.
Step 4: Preview the video when you’re done. If you’re satisfied with how it looks and done with your other basic editing, export your video to the appropriate location via the export video button. This will export the video to your master file.

These are some of the benefits of adding text to your video files through Final Cut Pro:
It’s common for a video to have key sections. These sections are typically divided by time stamps, but when you add text adjustments via Final Cut Pro, viewers will be able to tell when a new topic is being discussed. It is particularly useful for educational videos, tutorials, etc.
Even in a very serious video, aesthetics are important. People add text to videos to add appeal to otherwise bland content.
People are more likely to remember something when there’s a visual cue. In the same way that adding pictures to words makes it easy to remember, taking the time to add text to videos will help your content commit to memory better.
Adding text in the form of subtitles is like having the transcript for a video clip right in front of you. If you can add captions to your video, viewers will be able to interact better with your content and create a whole piece of work.
Editors can improve their job with the variety of features at their disposal. Final Cut Pro users can add text and create captions in fancy ways that are guaranteed to improve the quality of their work and the impact of their video.
Final Cut Pro is famous for its advanced editing, but sometimes users just want to add text. Through this guide, you now know how to add text, edit it, and create simple text adjustments in Final Cut Pro X.