JG McQuarrie
Oct 27th, 2023
Pro Tools is a fantastic digital audio workstation (DAW) and it has plenty of facilities available for the budding producer or mixing engineer to take advantage of.
When compiling a song or podcast together, it’s easy to get carried away and forget that maybe there are elements you want to work on separately, away from the main track. In order to do this, you need to learn how to export individual tracks in Pro Tools.

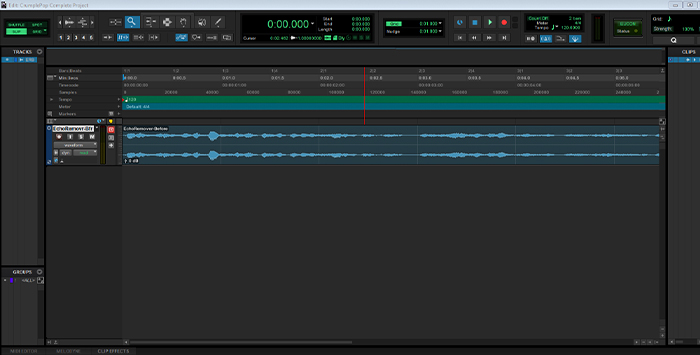
Firstly, load the audio files you want to work on into Pro Tools. Once the audio files have been loaded, select the track that you want to export.
Note that you can select multiple tracks you can mix the track down before exporting. You can even select all the tracks. But for the sake of simplicity, let’s keep things focused on one individual track.
Once you have selected the track, go to the Edit menu and choose the Consolidate Clip option.
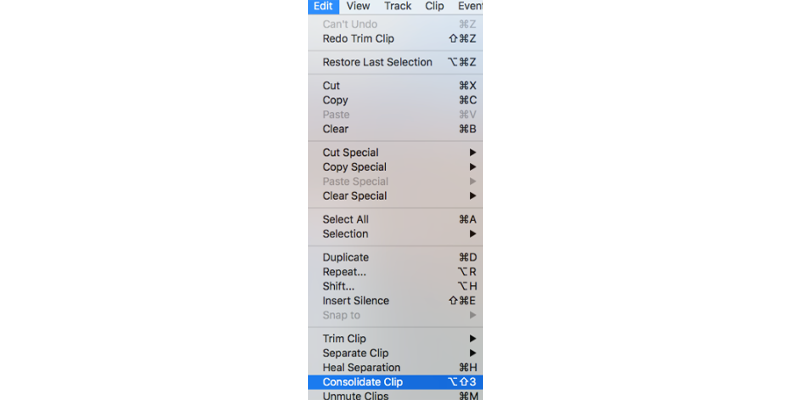
You need to do this when you are exporting multiple clips from Pro Tools to ensure that they are all the same size and same length and will line up properly when loaded back into your DAW.
This is also important if your track is spread across multiple recording blocks. Joining them together via consolidation will create a single track and make it easier to work with when it’s loaded back into a DAW (even if the DAW in question isn’t Pro Tools.)
However, it is good practice to do this even if you are working on a single, individual track. And it’s worth getting into the habit of doing this so you always remember.
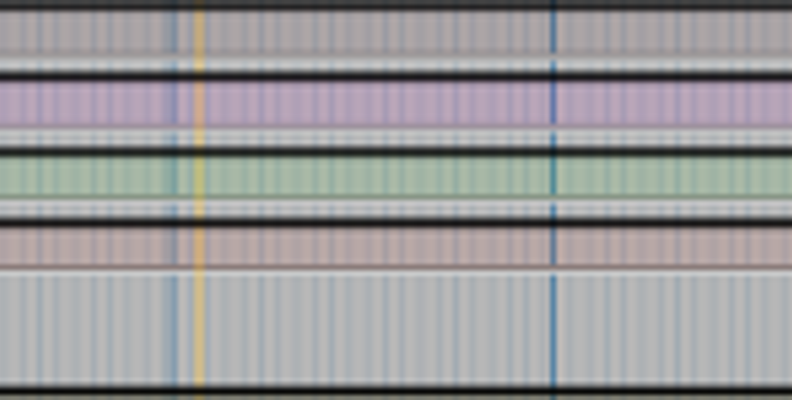
In order to consolidate all the blocks or audio clips on a track, you need to drag your cursor to select all of the blocks of audio. Ensure that you drag the cursor to the beginning of the timeline and to the end of the project. Then you are ready to export clips.
When the consolidation has been done, open the Export box.
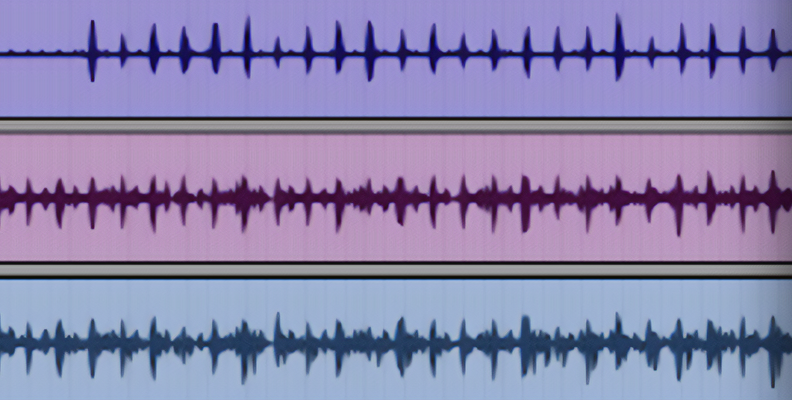
When the consolidation process has been completed, the clips will appear like this.
This makes it easy to identify what has been consolidated and what hasn’t. It also makes them much easier to manage for mixing and it can even increase the performance of your computer because the DAW has fewer files to read and play back.
When you are exporting your track you should always choose the WAV or AIFF format. This is because WAV or AIFF format have no loss of quality (this is known as lossless), so there will be no degradation in the quality of the track.However, you should always choose the same format so that the exports are consistent with each other.
If you choose to export it to MP3, the compression algorithm will strip out some of the audio data and even at the highest quality will result in the loss of some audio information.
You will then find a number of settings to choose from in addition to the file time.

There are three options here, Mono, Multiple Mono, and Interleaved. Mono will create a single, mono file. Multiple Mono will keep the left and right channels separate but keep each as a mono track. So for example, if you recorded a podcast with one host to the left of the microphone and one on the right, this would be preserved whereas with a mono recording, it wouldn’t be. Choosing Interleaved will result in a stereo audio file being created.
The options are 16, 24, or 32-bit. The higher the number, the higher the quality of your final output will be but the larger the resultant exported file will be. Depending on how many tracks you are exporting this can take a fair amount of storage space.
If you just need something quick to send to someone else, you could choose a lower bitrate but as a rule, stick to higher bitrates to ensure the least amount of loss when it comes to exporting your track.
Here you can choose from 44.1Khz, 48KHz, or 96Khz. The same logic with bit depth applies here — the larger the sample rate, the better quality the result but the larger the final file size will be. Higher quality remains the watchword here, so go for the highest sample rate available.

There’s also an additional option available here, Bounce Online or Offline. Bouncing tracks is the act of consolidating everything into a single track. So if you have blocks or audio clips across the tracks, the Consolidation process will bounce them into a single track. If you are only exporting a single track then the track isn’t being bounced but the process is still the same.
If you choose to Bounce Online, Pro Tools will bounce your track in real time, so if your track is five minutes long it will take five minutes to complete the bounce. However, you will be able to hear the bounce live, to check and confirm everything is how it should be. The Bounce Offline option will be considerably quicker but you won’t be able to hear playback during the bouncing.
When you export the track from Pro Tools, because you have high-quality settings selected, it may take a little time, depending on how powerful your computer is and how much memory you have available.
It’s better to take a little time to allow this to happen rather than reduce the quality of the track. The little extra time it takes to export the track is far more important than saving a few seconds or minutes instead of risking the quality of what you’re working on.
Once you have made your selections, give the exported track a name and save it to your computer. It’s good practice to have a separate folder for any individual tracks you have exported so there’s no chance of confusion later on. This is especially true if you are working with a song that has many tracks when it’s easy to become lost in a sea of similar filenames and locations.
Once the track has been exported, you’re finished and have successfully exported a single track from your Pro Tools project.

Although Pro Tools can sometimes seem like an intimidatingly huge piece of software to learn, breaking it down into individual aspects helps get it under control and improves how easy it is to understand.
Additionally, knowing about facilities such as being able to export and individual track helps to give producers real control over their work. Thankfully, now you know how to do this!


