Marco Sebastiano Alessi
Mar 16th, 2022Mastering is the black magic of music production. With the exceptions of those who know the dark arts of how to master a song, everyone else involved in the publication of an album can’t help but stand in awe of the work of these modern sonic sorcerers.
And yet, the mastering process has a tangible impact on the sound of your song. Each recording engineer has skills and tastes that differentiate them from the others. So, how is it possible that such a crucial step in audio production still seems so mysterious to most?
This article will clarify what mastering is and the necessary steps needed to master your own music from scratch. Just like anything in life, mastering processes are a craft that requires a lot of practice, listening sessions, and patience. However, by the end of this article, you’ll have a clear understanding of the path that awaits you.
Mastering is the final step of post-production that ensures your entire track will sound good on any device and whether it’s played on CD, vinyl, or Spotify. The term “master copy” refers to the final copy that will be duplicated and reproduced into different audio formats.
The publication and production process of a song can be divided into three parts: recording session, mixing, and mastering.

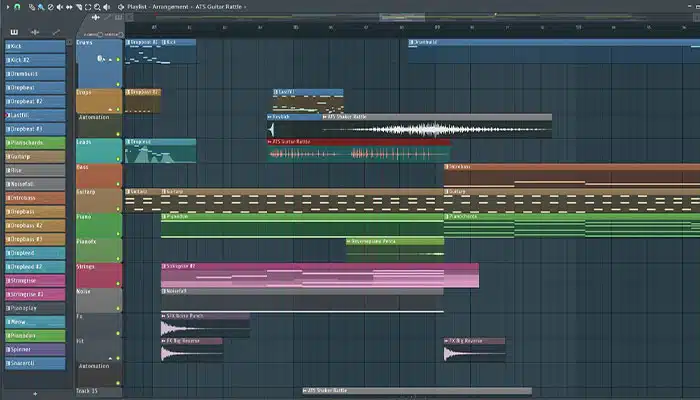
The recording session is when artists record their songs. Each instrument is often recorded separately on individual tracks. Then, the music is put together in a Digital Audio Workstation (or DAW), a software that allows recording, mixing, and editing audio.

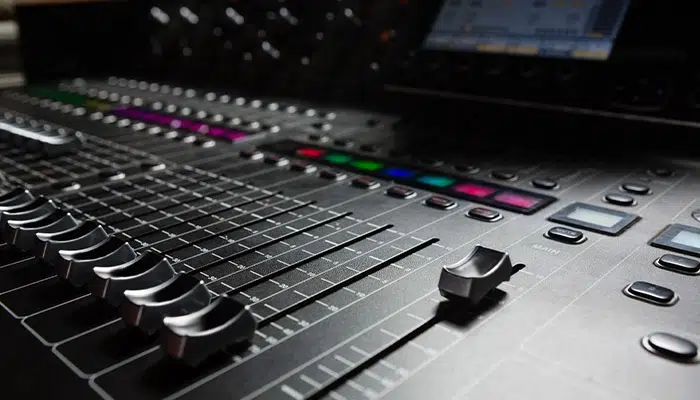
The second part of mastering is mixing. When the recording session is over, and artists are happy with the result, the mix engineer takes the separate audio tracks from the recording sessions. Using these, they create a coherent, balanced stereo track by lowering and increasing volumes, adding effects, and removing unwanted noise. The sounds you’ll hear after the recording session will sound raw and (sometimes) disturbing. A good mixing will add dynamic balance to all instruments and frequencies.
The final part of the process is mastering. The mastering engineer’s role is to make a song or entire album cohesive and up to the standards of the genre used as a reference. Also, volume and tonal balance are enhanced during the mastering phase.
The result is a song that should be compared, in terms of loudness and audio quality, to tracks of the same genre that have already been published. A good mastering will dramatically improve your song without affecting the sound you envisioned during the recording session. On the other hand, lousy audio mastering can compromise a piece by cutting off the low-frequency range and pushing loudness to intolerable levels.
Engineers have to take into account the artists’ desires and the music industry standards to deliver a product that’s satisfactory to both. They do so by following the guidelines provided by the musicians. Ensuring the master sound will be in line with the listeners’ taste.
You may also like: What’s the Difference Between Mixing and Mastering
Mastering is crucial if you want to publish your song online or release it physically. It’s the way professional artists make their songs sound perfect on any playback system, from cheap earphones to high-end hi-fi systems.
Mastering also ensures all songs in an entire album will sound consistent and balanced. Without mastering, songs may sound disjointed. This is because they were recorded differently or because of changes during the mixing session. Mastering guarantees a professional result. It’s the final touch to a creative work you want to release in the best possible way.

The mixing process involves adjusting the multiple audio tracks from the recording sessions to make them sound balanced as a stereo mix and in line with what the artists envisioned. The mixer’s work is to take individual instruments and adjust their sound so that the overall quality and impact of the song is the best it can possibly be.
Mastering takes place once the mixing is done. The mastering engineer can work on the stereo output (a single track with all instruments). At this point, changes to the song are more subtle and mainly related to enhancing and optimizing the overall audio without touching individual instruments.
When mastering a track, preparation is essential. There are some necessary steps to take before you put your headphones on and start making your song louder, especially if you’re a newbie.
Unfortunately, most people think mastering is pushing the volume of a song to its limit before publishing it online. However, a song’s loudness is just one of the many improvements mastering will bring to your music. When done right, a mastered track sounds more coherent, consistent, and harmonious.
Before they start working on a new album, engineers spend some time listening to the songs they’re working on. They make sure they understand the vibe and atmosphere the artists are aiming for. This is a crucial step. The artists and the engineer must clearly identify where the song is heading.
A professionally made audio mastering that doesn’t follow the artists’ requirements is a master that didn’t fulfill its purpose and most likely will need to be redone from scratch.
Though they may sound tedious, I believe these pre-mastering steps are fundamental if you want to take your song to the next level. Follow these steps thoroughly, and I guarantee you won’t regret it.

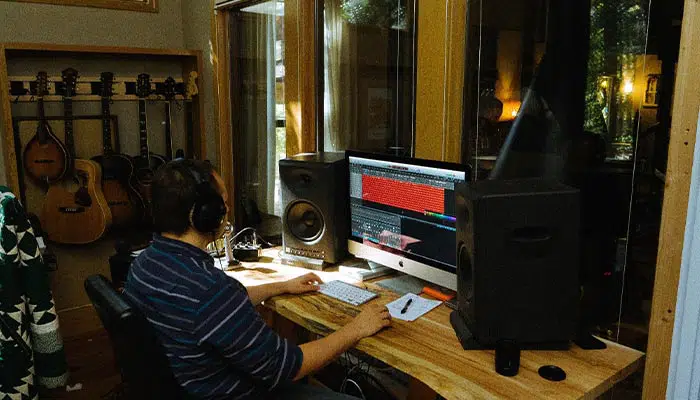
Choosing the right room is the first step towards success. Why? When mastering a track, you’ll need absolute silence and concentration for some time. Therefore, working on your track in a noisy place won’t do even if you’re wearing headphones, as some frequencies from outside will still disturb you and have an impact on your decisions.
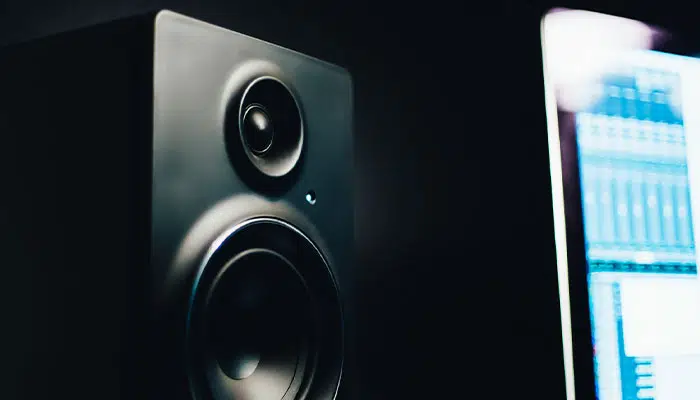
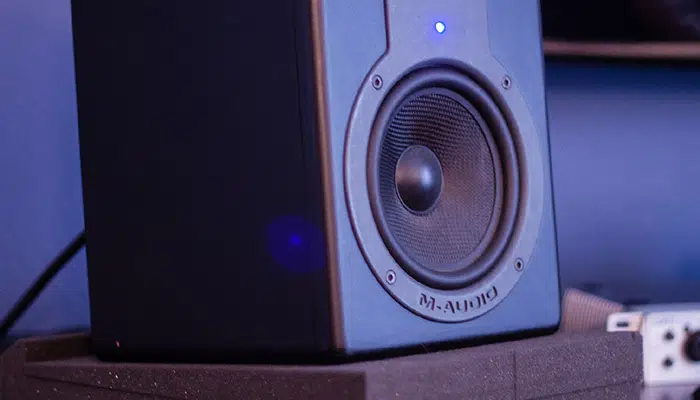
As for the equipment, though you can master your own song just with headphones, I suggest alternating headphones and speakers as it will help you achieve optimal results. I wrote an article about studio monitors recently, and since many good quality speakers are quite inexpensive, I recommend you get a pair if you’re serious about this.
As I said before, mastering is all about making a sound perfect regardless of how it’s reproduced. If you listen to your master through headphones and speakers, you’ll have a much clearer understanding of how it’ll sound to other people once you publish it.
Depending on your music genres, there will be songs that have already been published that are in line with the sound you envision. By extensively listening to these songs, you’ll be able to identify the necessary steps to make your mixes sound similar to the songs you appreciate.
If you thought that mastering was all about making a song louder, as mentioned earlier now you know you were wrong. A professional mastering engineer will ask you for a reference track so that once the recording session is over, they can use this reference track as an indication of the sound you’re aiming at.
The frame of reference these tracks give the engineer will ultimately define how your own master will sound. Therefore, regardless of whether mastering on your own mixes or hiring an engineer, spend some time deciding which songs truly represent the way you want your music to sound.
Obviously, you should consider as reference songs compositions of a similar genre, instrumentation, and vibe to yours. For instance, if you’re an instrumental rock trio and have a track with wind instruments and a string quartet as a reference song, you won’t achieve the result you hope for.
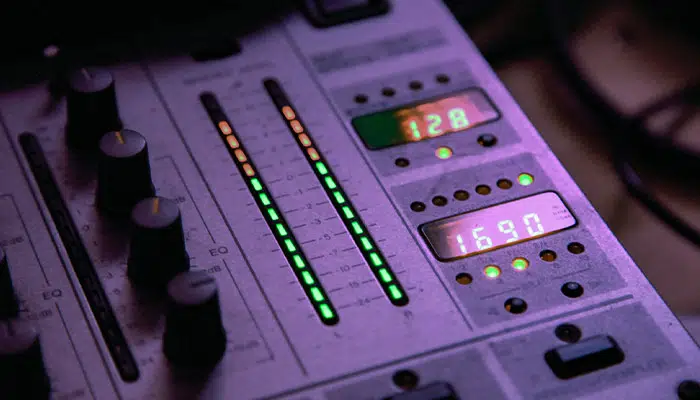
If the mix engineer knows what they’re doing, then you’ll receive a stereo file mixdown with audio peaks anywhere between -3dB and -6dB.
How do you check your audio peaks? Most DAWs allow you to monitor the loudness of your song, so all you need to do is listen to the loudest part of your song and see how loud it is. If it’s between the -3dB and -6dB, then you have enough headroom for your processing without creating distortion.
If the mix is too loud and you don’t have enough headroom, you can either ask for another mix or gain reduction on the track until it allows enough headroom for your processing. I’d suggest you go for the former option as the mixing engineer has access to the multiple audio tracks from the recording sessions and will be able to do a more thorough job at reducing the dBs.
Another term you should become familiar with is LUFS, or Loudness Units Full Scale. This is how most streaming platforms evaluate the loudness of a song, which is not strictly related to its volume but more to how the human ear “perceives” the loudness.
It’s a bit complicated, but to give you a more practical tip, consider that the content uploaded on YouTube and Spotify has an audio level of -14LUFS, which is almost 8 decibels quieter than the music you’ll find on a CD.
Here comes the biggest issue! When you upload a track on Spotify, for example, the platform will automatically lower the LUFS of your track until it reaches the standard of the music present in the streaming service. This process is done automatically, which means your song will be dramatically affected by the LUFS lowering, especially if it’s very loud.
To stay on the safe side, you should reach something between -12LUFS and -14LUFS. The above range will allow you to stream your song online with the quality you desire. Furthermore, lower LUFS guarantees a more dynamic sonic experience and adds depth to your piece.

Throughout the song, is the volume balanced? Can you hear digital clipping and distortions that shouldn’t be there? Before proceeding, make sure the mixed song is perfect and ready for the final step.
You shouldn’t analyze the song from a creative point of view. After all, the mixer already went through this phase with the musicians themselves, which means that the song you received sounds precisely as they want it to.
The role of an engineer is to provide a pair of fresh ears, analyze the product in all its details, and ensure they can make the final adjustments to express the musicians’ vision fully.
At this point, take a step back and listen to your reference tracks once again. Even though they’ll sound louder (because they went through the mastering already), you should be able to imagine the differences between your song and the reference tracks.
Most likely you’ll find the lower frequencies are more enhanced in the reference tracks, the sound seems more enveloping, and so on. Write your impressions down, describing each aspect you think you should work on.
Once you’re ready, it’s time to start mastering your song.
Some mastering engineers start by adjusting loudness, while others work on the dynamic range first and then make the song louder. It all comes down to personal taste, but personally, I prefer starting with the EQ.
With this article, I want to focus on the most crucial aspects of mastering, leaving additional steps for another time as my purpose is to give you the tools to start mastering today without feeling overwhelmed.
The more songs you master, the better you’ll understand how to achieve the best sound based on your taste and music. For example, if your music is rich and dynamic, alternating quieter and louder parts, then loudness will never be your priority but rather something you’ll look into once you create a perfectly balanced soundscape. On the other hand, if you’re Skrillex, you probably just want your song to be as loud as possible.

Equalizing a song means removing or enhancing particular frequency bands on the frequency spectrum. This means the master will sound well-balanced and proportional without any frequency overshadowing others.
In my opinion, this should be the first step when you master music. It’s best to start by balancing all the frequencies and making sure the music sounds good on all playback devices.
Human ears can hear sound frequencies between 20 Hz to 20 kHz. The EQ ensures the overall sound of your song is harmonious, without frequencies that are too enhanced or have been overshadowed by others.
EQ manipulates sound frequencies so they don’t overlap. This is an essential tool when you have two musical instruments playing the same note and overlapping each other (an effect called masking.)
There are two different approaches to equalization. Additive EQ is when you use equalization to enhance specific frequency ranges to achieve the result you have in mind. On the other hand, subtractive EQ aims to reduce disturbing frequencies, which naturally boosts the frequencies left untouched.
Whichever approach you choose, bear in mind one thing: when it comes to equalization, less is more. If the stereo mixdown you have is of good quality, you won’t need to apply a lot of EQ to obtain a polished, professional sound.
Try to listen to your master before and after applying the EQ. Does the sound feel less “muddy”? Does the song feel more cohesive, with the musical instruments more “glued” together? If that’s the case, then you got it right!
After equalizing the track, you’ll have a song in which all frequencies are reproduced the way you want. At this point, the mastering compression will reduce the gap between louder and quieter frequencies.
Compression is a great way to make the sound levels consistent, but you have to use it carefully. Since the compression will affect the whole track, 1 or 2dBs of gain reduction will suffice and ensure you can increase the volume consistently throughout your song.
When you reduce the dynamic range between louder and quieter parts of your song, both will be heard clearly by the listeners. For example, imagine the difference in loudness between a soft vocal and a snare drum. In real life, the drum sound will completely cover the vocals, but with compression, these two sounds will be heard clearly without overlapping or overshadowing.
The final essential step to mastering is adding a limiter. Essentially, limiters prevent audio frequencies from going beyond a certain threshold, preventing peaking and hard clipping distortions. Limiters reduce the dynamic range even more than a compressor, giving your song the loudness necessary to reach standard industry requirements.
There was a “loudness war” a few years ago. With the advent of digital mastering techniques, the volume of songs was getting higher and higher.
Today, things are a little different. The actual loudness of music is not that important, or at least not as important as its “perceived” loudness. Perceived loudness is not strictly related to decibels but rather to how the human ear perceives a particular frequency.
Nevertheless, there are industry standards when it comes to loudness, so if you wish your song to reach the top of the charts, you’ll need to take this last, necessary step.
Set your limiter between -0.3 and -0.8 dB to ensure distortion won’t occur. I know what you’re thinking: if I set the limiter to 0.0 dB, my song will sound louder without clipping in speakers. I’d advise against it, as it’s very likely some parts of your song will clip, either on your speakers or on a listener’s speakers.
Here are some extra steps that can take your song to next level. While these steps aren’t required to finish a song. They can help add color and give your track some extra personality.
This is an effect that I love, but you must use it carefully. Stereo widening helps spread the sounds out. This creates a “live” effect that can be beautiful and enveloping. It sounds especially nice in music genres involving classical instruments.
The problem with adjusting stereo width appears when a listener listens to the song in mono. When that happens, the music will sound flat and empty, as if something was missing.
My suggestion is to use the stereo widening lightly and only when you think it’ll truly improve your song’s dynamics.
There are different types of saturations you can add to your master, like tape emulation or harmonic distortion. Their purpose is to add depth and color to your song.
The beauty of saturation is that it can smooth these parts when your music sounds too digital. Overall adding a more natural vibe to the overall sound.
The downside is that saturation will compromise some frequencies and the dynamic balance you created by adding distortion. Once again, if used carefully and only when necessary, it can add value to your master. If you’re not sure about saturation, don’t use it.

If you did everything correctly, you have a fully mastered song in your hands. Congratulations!
Now it’s time to review what you did and make sure you achieved the result you had in mind when you started. You can do this by listening to the song multiple times, analyzing the volume levels and dynamics, and comparing it with the mix by balancing their loudness.
Listen to the song and focus on how it evolves. There shouldn’t be any abrupt changes in volume, and even the highest peaks shouldn’t sound distorted. Otherwise, you’ll need to go back and reduce the limiter until the distortion disappears. If the distortion is still there, check the final mix to see if the distortion was already present in the file you received.
Loudness will affect the dynamics of your song, but it shouldn’t compromise them. Compressors and limiters do a fantastic job at enhancing frequencies and making your music louder. Yet they may deprive it of the emotions you want to express. This is why it’s important to listen to the master carefully and make sure the song fits the idea that you had when you started.

All DAWs and mastering software allow matching the volume of the mix and the master. These are fantastic tools that will enable you to compare the quality of the sound without being influenced by the lower volume of the mix.
If you compare your mix and master without matching the volume, you’ll always have the impression the master sounds better. This is because a higher volume gives us the possibility to hear more nuances, which provide more depth.
However, you may hear precisely the same subtleties in the mix if it was louder. Therefore, having the same settings for volume will help you critically analyze the result and make adjustments if necessary.

After all this hard work, exporting the master might feel like the easiest part. But, in reality, you should keep in mind a couple of things when bouncing/exporting your audio file.
First of all, you should export the file in a high-quality, lossless format. Wav, Aiff, and Caf files are the best choice.
Next, you should make sure the sample rate and bit depth/resolution are the same as the original mix. 16 bits and a sample rate of 44.1kHz is the standard format.
Regardless of the workstation or software you use, you’ll be able to adjust these settings if necessary. Sample rate conversion and Dithering become essential when you’re exporting your track at a different resolution, and only if you’re reducing the bit depth from 24 to 16 bits. This extra step will prevent unwanted distortions from appearing in your mastered track.
If your DAW asks you whether you want to normalize track, don’t do it. Normalizing will make your song louder, but that’s unnecessary since you have already mastered your track.
Finally, it’s worth mentioning automated mastering programs that do most of the work for you. Providing you with a track that sounds louder and (sometimes) better.
There’s debate about these software and whether their quality can be compared to the one offered by professional mastering engineers.
Over the years, I’ve used two of the most popular automated mastering services: LANDR and Cloudblounce. The good thing about these services is that they’re inexpensive compared to a mastering engineer’s fee. They’re also extremely fast (it takes them a couple of minutes to master a song.)
The downside is that the quality is nowhere near the work of a professional engineer.
There’s no doubt the AIs behind these services do a fantastic job. They enhance the lower frequencies and make the song louder. Yet they lack the human taste that allows choosing which parts require more dynamism than compression.
Overall, these services can be helpful when you want to publish a track online or release an album for free. However, I’d always go for a mastering engineer if I choose to release an album professionally.
As you can see, mastering is not magic. It’s a skill you can develop and improve over time by mastering songs made by you and others.
The steps necessary to enhance the audio of a track are basically the same regardless of the genre you’re exploring. This article can become your step-by-step guide on how to master a song. Overall, mastering makes your songs sound professional in any format or platform.
There’s an aspect about mastering your own songs I should warn you about. One positive about hiring a professional audio mastering engineer is that they’ll listen to your music with a fresh ear. That detachment is often necessary when mastering music.
You may think you’re the person who knows best what your song should sound like. In reality, a professional can see and hear things we often neglect. This is why it’s always good to have someone else listening to your tracks before you publish them.
Often, mastering engineers provide a reality check. They’ll show you the way towards a perfectly balanced and loud track without being affected by emotions.
If you can’t afford a mastering engineer, I’d suggest you give automated mastering services a try. The results are good enough to publish your song anywhere. Also, they’ll give you the chance to release music more often without going bankrupt.
Another positive aspect about these services is that you can edit the final master after their AI improves the sound. This means you’ll still be able to make adjustments to the master. Now you can use the AI’s audio settings as a foundation for the final result.
If you want to do everything yourself, you can start mastering your tracks today by following this guide. Comparing your result with reference tracks will show you whether you’re heading in the right direction or need to make some changes to your work.
I can’t stress enough the importance of listening to your song and reference tracks multiple times. During mastering, your song may have flaws you didn’t hear before and these will only become more apparent, which will compromise the final result.
Reference tracks are essential because they give you guidance while you work on your piece. Boosting the right frequencies to achieve the optimal outcome is much easier if you have other tracks as “sonic landmarks”.
In the example above, I started from the EQ. You can start from the compression or even by increasing loudness to optimal levels. As long as you leave enough headroom to add further processing, you can choose your approach depending on your song’s genre and needs.
Lastly, I suggest you invite someone who likes the music you’re working on to listen to your master and give you honest feedback. They don’t have to be a music expert as long as they are passionate about the music you’re mastering. They’ll be able to tell you if there’s something wrong with your master. They know the music genre and are familiar with the general sound this type of song aims for.
You should be grateful for negative feedback. As it most likely means the person listening to your music cares about your success and thinks you can improve even more.
I hope this guide will help you move your first step in the world of mastering. It can be a fantastic journey that will help you hone your music skills and become a more versatile creative person.
Good luck!