Marco Sebastiano Alessi
Oct 25th, 2022Splitting a clip is perhaps the most used feature in any video editing software, and it’s essential to know how to do it for any project, be it an amateur video or a professional video project. It can help us remove parts we don’t want, add a different scene in between or shorten the length of a video clip.
Today we’ll learn how to split video clips using Apple’s Final Cut Pro X, and don’t worry, you won’t need any extra Final Cut Pro Plugins to get things done!
If you’re a Windows user, jump to the alternatives section so you can find some other video editing software that’ll suit your needs.
The Blade is one of those video editing tools you’ll constantly use when working with Final Cut. With the Blade tool, you can make precise cuts on the Timeline to split videos into as many parts as you need.
Here are the steps to split one clip with the Blade tool:
1. Open your media files on Final Cut Pro from the File menu or drag them from the finder to Final Cut Pro.
2. Drag the clips on the Timeline window.
3. Play the video and find where you’ll be splitting the file into two video files.
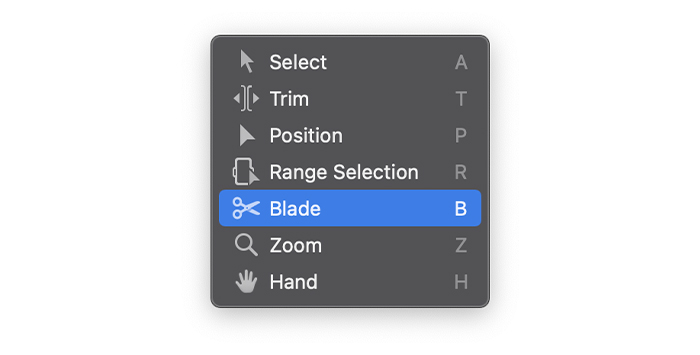
4. Click on the Tools icon on the top left corner of the Timeline to open the Tools pop-up menu and change the Select Tool for the Blade tool. You can also switch to the Blade Tool by pressing the B key.
5. Find the place where you want to do the split and click with your mouse on the clip.
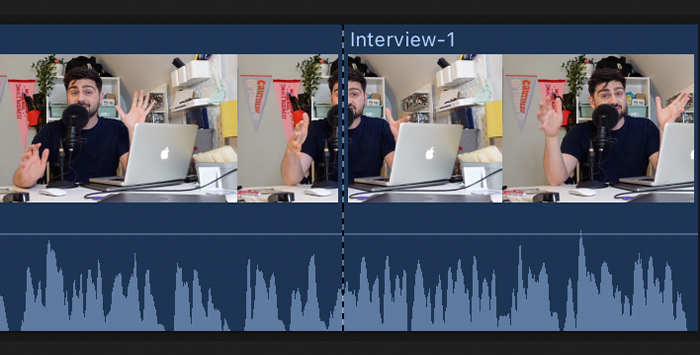
6. A dotted line will show the clip has been cut.
7. You should now have two clips on your Timeline ready to be edited.
By holding down the B key, you will briefly activate the Blade Tool until you release the key without needing to change between the Select and Blade Tool all the time.
Sometimes you might have trouble skimming the clip to find the correct position. Final Cut Pro allows us to use shortcuts to do faster splits while playing the clip or using the playhead.
1. After importing the media files, drag the clip you want to split to the Timeline.
2. Play the clip and press Command + B to do the split at the right time.
3. You can press the space bar to play and pause the clip easily.
4. If you can’t do the exact cut this way, try playing back the video or audio clip and manually adjusting the playhead, find the skimmer position, and press Command + B to make the cut where you want it.
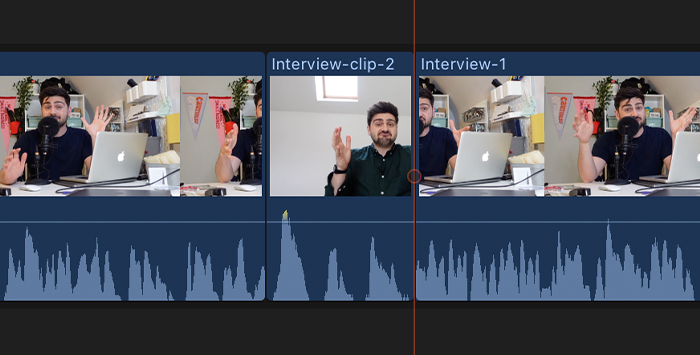
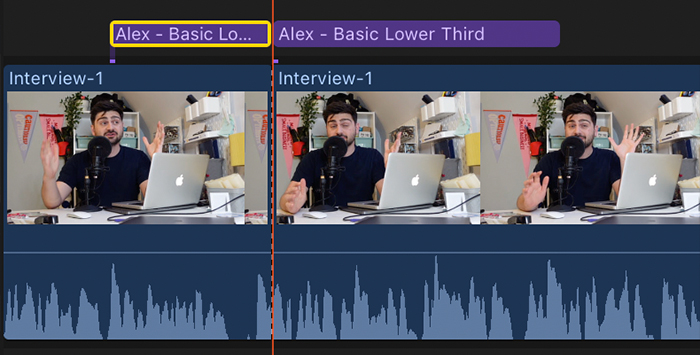
You can split clips by inserting a different clip in the middle of the clip in your main sequence. It will not overwrite the clip on the Timeline; it will only make the storyline longer.
1. Add the new clip you want to insert into the browser.
2. Move the playhead or use the skimmer to find the desired position to make the insert.
3. Press the W key to insert the clip.
4. The new clip will be inserted, creating a split between the two clips in the Timeline. The second half of the clip will resume after the new one.
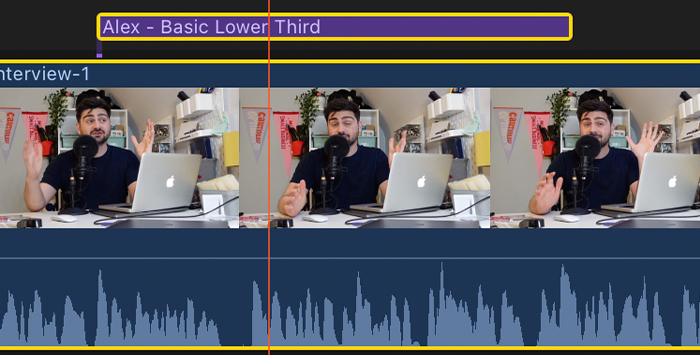
The Position tool works similarly to inserting a clip. The difference is that it will split the clip by inserting another but overwriting parts of the original clip. It can be helpful when you wish to keep the duration of the original clip and avoid the clips moving.
1. Make sure to have the new clip in the browser and the clip you want to split in the Timeline.
2. Move the playhead to a position to do the split.
3. Click on the Tools pop-up menu and choose the Position tool. You can press the P key to switch to the Position tool or hold it down to change temporally.
4. Drag the clip to the primary storyline.
5. The new clip will be inserted at the playhead position splitting the original clip in two but overwriting part of the original clip.
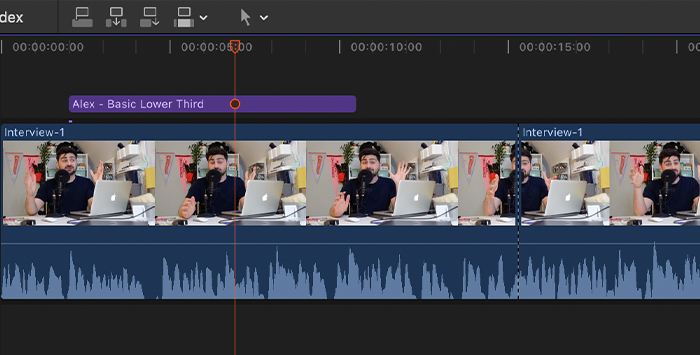
Sometimes we have many clips on the Timeline: a video clip, a title, and audio files, with all of them, already lined up. Then you realize you need to split them. Splitting each clip and reorganizing the project will take a long time. That’s why we’ll use the Blade All command to separate multiple clips with Final Cut Pro.
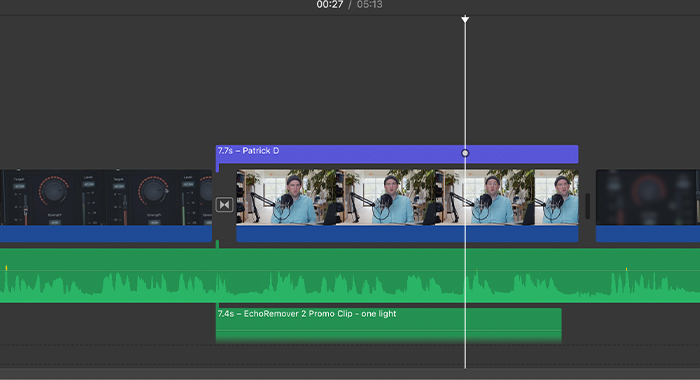
1. On the Timeline, move the skimmer to the position you want to cut.
2. Press Shift + Command + B.
3. The clips will now be divided into two parts.
If you want to split a selection of clips without affecting others in the Timeline, you can choose only those you wish to split and then use the Blade tool.
1. On the Timeline, select the clips you want to split.
2. Move the skimmer to a position to cut.
3. Switch to the Blade tool on the pop-up menu or press Command + B to do the split.
The split screen video effect is used to play two or more connected clips simultaneously on the same frame. To create a split-screen video clip, follow these steps.
1. Import your media files and drag them to the Timeline.
2. Arrange your files one on top of the other so they can play simultaneously when you use the split screen effect.
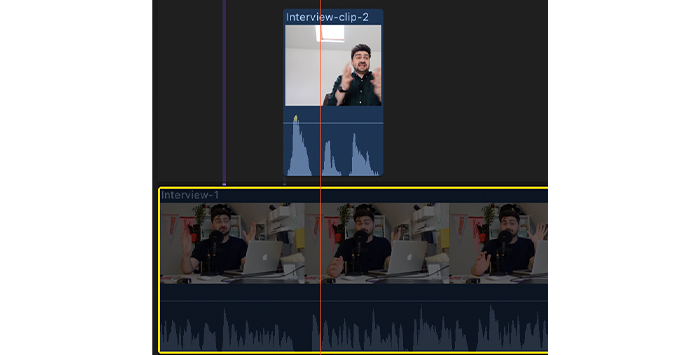
3. Select the video clips you won’t be editing first and press V. Now, you should be able to see only the clip you’ll start editing.
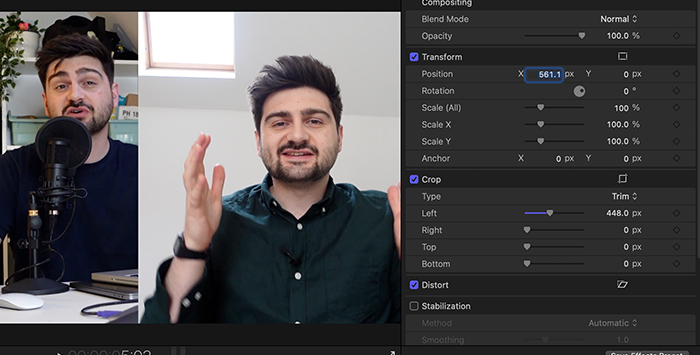
4. Go to the video inspector on the top right.
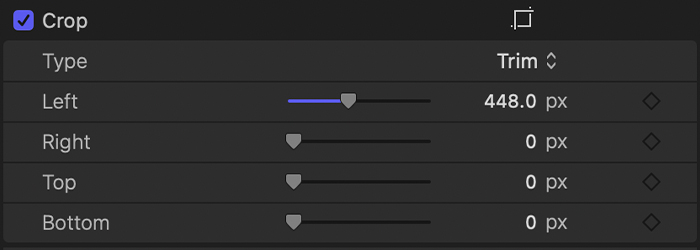
5. Under the Crop video section, use the controls Left, Right, Top and Bottom to adjust the video size.
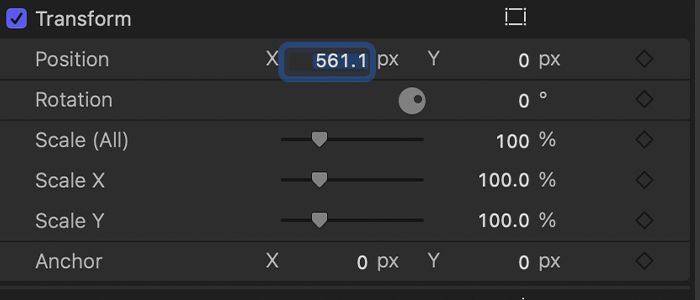
6. Now under Transform, adjust the Position of the clip with the X and Y controls to prepare the split screen view.
7. When you’re done, press V to deactivate that video and continue with the following clip.
8. Select the video to edit, press V to enable it, and repeat the process.
9. Enable all the video clips and preview the project. Now the split-screen video should be fully functional. From here, you can also adjust the split screen sizing if necessary.
One of the crucial tools of Final Cut, the split screen video tool is fundamental to ensure a balanced coexistence between different videos.
Using this tool to split-screen videos will undoubtedly save you plenty of time when you need to cut multiple selected clips and will also ensure your video tracks perfectly fit each other.
While we covered how you can use Final Cut Pro to split screen videos, now let’s take a look at the alternatives to split video with other editing software for Mac and Windows users.
1. Import the clips to split.
2. Drag them to the Timeline.
3. Move the playhead to a position to split.
4. Use Command + B to split the clip into two individual clips.
1. Import the video clip to split.
2. Create a new sequence or drag the clip to the Timeline.
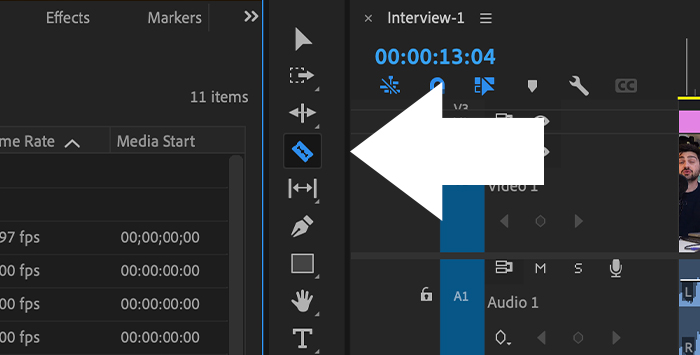
3. Select the Razor tool on the left panel.
4. Click on the position of the clip where you want to split.
5. You should see the clip split into two scenes.
Together with the split screen, splitting clips is one of the easiest things to do but also one of the most frequent actions when it comes to video editing. I hope you found this guide helpful and that you feel ready to make some awesome video edits with Final Cut Pro X.
You can have as many clips in your split-screen edits as you want. However, if you split-screen and have too many clips, I’d suggest separating them into different scenes so every clip will adjust better to the frame.
Yes, you can move the clips in the Timeline just by selecting and dragging them along the storyline. When it comes to editing video, Final Cut Pro is one of the most intuitive software on the market.