Graham Efurhievwe
Mar 19th, 2022
If you’ve ever seen the behind-the-scenes of any movie, you must have seen a green screen. Of course, this may leave you wondering what is a green screen?
Filming particular scenes can be challenging, and some are impossible without heavy post-editing. Whether it’s worlds that don’t exist or complex atmospheres to recreate, modern visual effects have been able to bring us to other places. How do they do this? That’s where a green screen or chroma key comes in.
The term chroma key is often used interchangeably with green screen, but there’s a slight difference. A green screen is a colored background you want to make transparent and remove from your shot. While keying is the act of making this background disappear. Chroma key is the technique used to do this.
From blockbuster Marvel films to television shows to the local weather forecast, chroma key compositing has become one of the most commonly used visual effects in all kinds of video making. Almost every movie made these days uses green-screen technology.
Nowadays, this digital technology is no longer reserved for Hollywood movie makers. YouTubers, streamers, and other types of video creators have found great satisfaction in the use of green screen work, as they no longer need studio backing or a huge budget to create desired effects on their work.
All you need is a digital camera, video editing software, and green paint or fabric to get started with green screen footage and start chroma keying.
Green screen photography produces excellent results, but the ease of use makes it such a gem. Those of all skill levels use it to achieve realistic-looking special effects and composite images without the need for high-end equipment.
Chroma key spread from professional film industry productions to news studios. Recently, they’ve gained popularity with online content creators and amateur media hobbyists.
If you regularly work on video and image compositing projects, green screen backgrounds can help you cleanly capture and isolate footage of your subjects, ensuring smoother post-production work.
Chroma-key photography removes a background or foreground by letting you quickly replace still images or video behind your subject. This allows you to combine footage or swap out scenes without a full-scale set.
They do this via the use of a background of chroma green or chroma/studio blue (ex., a blue screen). Video editing software can then pick up on these keyed colors, isolating unkeyed objects or your talent, so you can apply special effects or change the background however you want.
The background can be any solid color but is usually bright green or studio blue. This is because it is the particular color furthest away from human skin tones. The further away the background image is from skin tones, the easier it’ll be to key it out.
Blue screens were frequently used in early filmmaking and are still used in some instances. Blue screens are much better at night and are specially used for replicating night scenes.
However, blue screens require more light to properly expose than green. This can be suboptimal if you don’t have enough powerful lighting or the budget to supply it.
If you’re shooting a scene with a lot of green (for example, your subject wears green clothes), it is preferable to film with a blue screen, so it’s easier to isolate with less lighting.
Green is the best single color for digital shooting because most digital cameras use a Bayer pattern of red, green, and blue (RGB) photocytes in which there are twice as many green cells as blue and red. This makes digital cameras more sensitive to the green part of the spectrum.
Since green is by far the most common color used, most chroma-keying and post-production computer software are set up for green by default. This is an obvious advantage for green as it speeds up your post-production workflow, requiring more minor editing for a clean key.
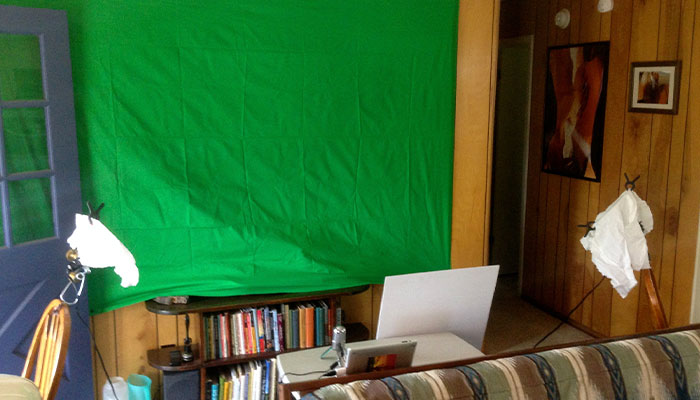
To set up a green screen and have it work properly, you need a source of uniform green background behind your subject. You can achieve this via:
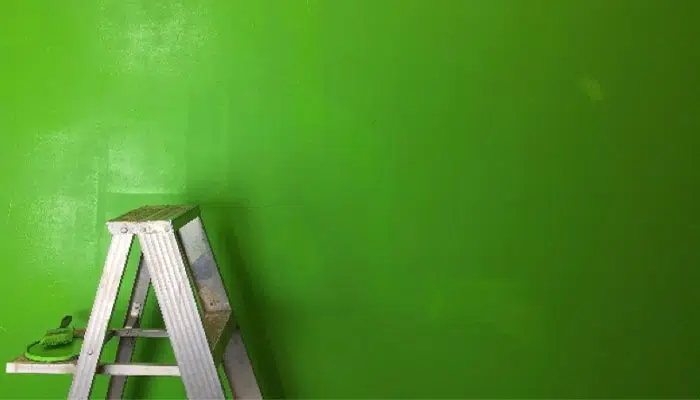
This is useful if you have a designated shooting space or don’t want to set up a green screen background every time you intend to shoot. It is labor-intensive and time-consuming to set up an entire background, but it’s permanent. Also, unlike the other two options, it is wrinkle-resistant. It’s also an excellent way to deal with wind interference if you’re filming outdoors.
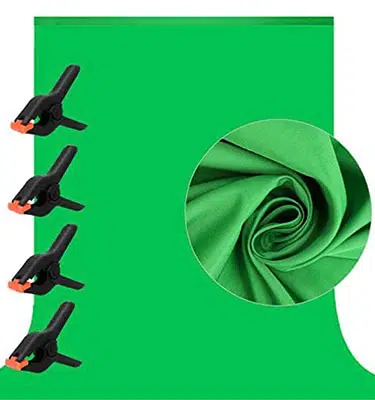
This green screen is a simple green fabric with a frame and clamps for stability. You can make the screen from paper, muslin, or foam-backed cloth. Ideally, the screen should make it from foam-backed fabric as it scatters light evenly so you can avoid luminous hotspots. Luminous hotspots are a common source of error in chroma keying.
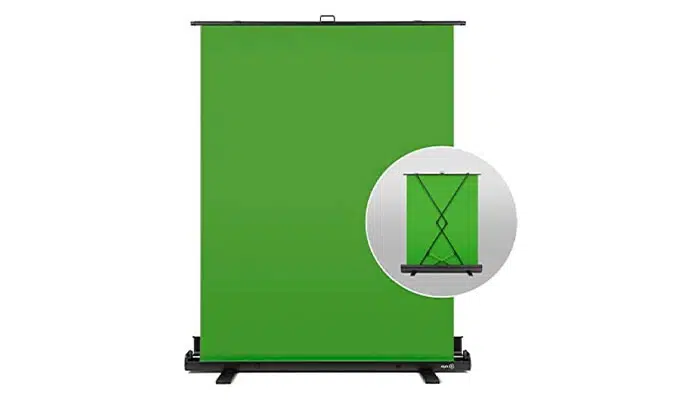
This is great for portable outdoor and indoor use. It comes with a foldable frame that keeps it from wrinkling. These are great for on-the-go filming.

One common problem you can run into is shadow. Shadows are problematic because now you have to key out multiple shades of green instead of just one, which can make your output tacky. To avoid this, make sure your screen is uniform by ironing or steaming if wrinkled.
Another way to avoid multiple shades of green is to keep your subject at least six feet away from the green screen. This also helps minimize spills. Color spill is the colored light that reflects onto your subject from the green screen. Avoiding reflective objects is usually the difference between good and bad VFX.
One of the most common areas affected by color spill is hair. Hair can be somewhat transparent. Often you’ll see the background through the edges of the hair. The lighter the hair color (especially blond hair), the more issues you’ll run into with color spill.
It’s important to make sure that no light or color is bouncing back on the subject. It might be helpful to make sure the area in front of the camera is covered in order to reduce reflection. Making sure that there is no spill before shooting will only make process easier for you moving forward. on
Let’s say you’ve filmed in front of a green screen, and after importing that footage, you find that most of your footage suffers from spill. The good news is that most editing programs feature built-in compositing tools that can reduce the spill. Beyond that, there are also several plugins and other tools available that can help minimize color spill.
Proper lighting and exposure are the best ways to avoid excess green light spill. Dark spots or ultra-bright spots can ruin your output, so you’ll need to make sure the green screen is evenly lit.
When lighting for chroma keying, it is better to light the screen and subject separately. You can always light both together if you don’t have multiple lights, but you’ll have to account for shadows and deal with a much more difficult post-production process.
In the guide above, we discussed what a green screen/chroma-keying is. Overall it is a smooth and cheap way to add the most complex visual effects to your videos.
If done right, chroma-keying will leave your subject with crisp, defined, natural-looking edges. But a lot of the time, digital glitches, jagged edges, and color spill can appear, making your work look choppy and cheap. Proper understanding of chroma keying can improve the quality of your work and add finesse to your videography.