JG McQuarrie
Dec 25th, 2023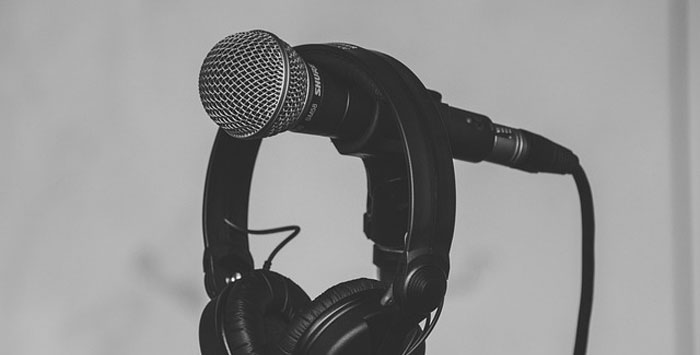
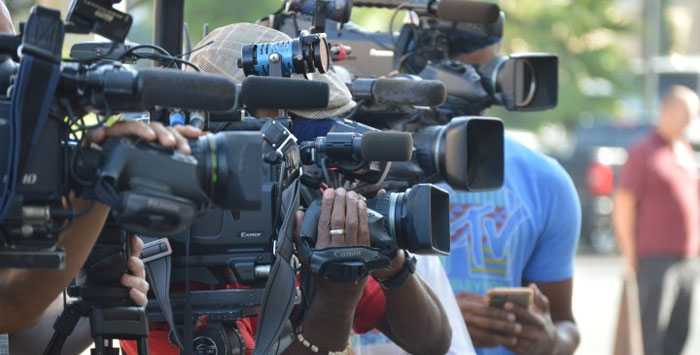
Whether you’re a podcaster, vlogger, or YouTuber, looking and sounding professional in your videos is paramount. At the beginning of their journey, many creatives tend to neglect the audio side and focus on getting the right camera and lights for their videos. But recording high quality audio is a crucial part of video production.
As you start building a fanbase and study your competition, you’ll notice how important it is to record audio that sounds loud and clear in videos. You can’t achieve by using the built-in microphone of your camera or computer.
Luckily, the audio and video production is booming, and the options for creating an ideal recording setup are close to endless. And there are plenty of post-production tools, like the CrumplePop suite of audio restoration and finishing tools, to help.
When it comes to improving the quality of your audio, nothing surpasses CrumplePop. Whether you need to ensure that everything sounds crystal clear or clean up sound that has aspects to it you don’t like, CrumplePop has something for you.
Our plugins work with all major DAWs (Digital Audio Workstations) and integrate seamlessly into the software to provide the ultimate in audio restoration. Whether you need to take out the ambient sound of a room with AudioDenoise, reduce echo with EchoRemover, or even remove wind noise from outside recordings with WindRemover, there’s a plugin to ensure even the worst-sound audio can be made perfect.
And there’s now a standalone SoundApp which allows you to combine multiple plugin effects simultaneously rather than sequentially. Simply upload your audio file, choose what plugins you want to apply to your audio, choose the strength and let the app do the work. If your audio requires multiple different plugins this is a really efficient way of getting the best results in the least time.
However, getting your sound just right is no trivial task and generally takes a lot of trial and error. Getting it right the first time will save a lot of time and effort in the long run.
Today I’ll analyze how you can record audio and edit it for video to make it sound professional and clear.
I’ll look into the audio gear you’ll need, the ideal environment to capture high quality audio professionally, and the tools necessary to bring to top quality audio. Let’s dive in!
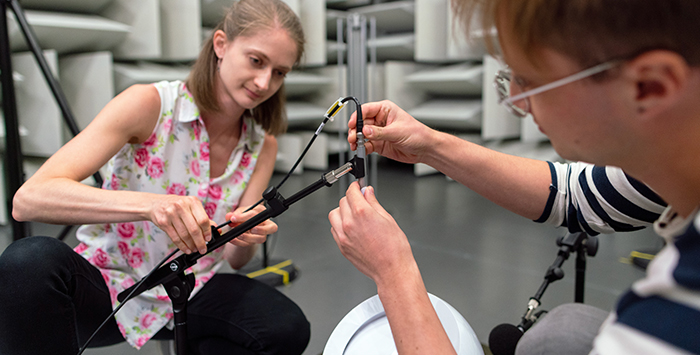
When we talk about how to record audio for video, there are some “enemies” you’ll need to consider when setting up your audio recording space. Whether it’s a podcast studio or a home recording studio, the approach is the same.
Background noise, echo, PC, and air conditioner noise are all sounds that can easily be captured by your microphone and compromise your audio quality.
You can use audio editing tools to remove unwanted sounds (like our noise reduction plug-ins), but the best option is to not capture the audio you don’t want in the first place.
Here Are a Few Suggestions When Choosing Your Recording Environment:

Recording audio outdoors brings its own set of challenges. Since each environment is unique and far from being optimized for audio recordings, you’ll need to have versatile and “forgiving” recording equipment.
I’ll describe the types of microphones you can use for recording audio for video in the next paragraph; however, what’s essential when recording outdoors is ensuring the raw audio is as clear as possible.
It’s recommended that you use microphones that can capture the primary audio source while leaving all other audio sources in the background.
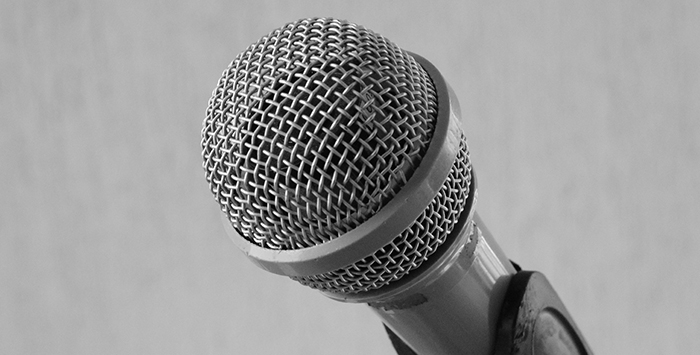
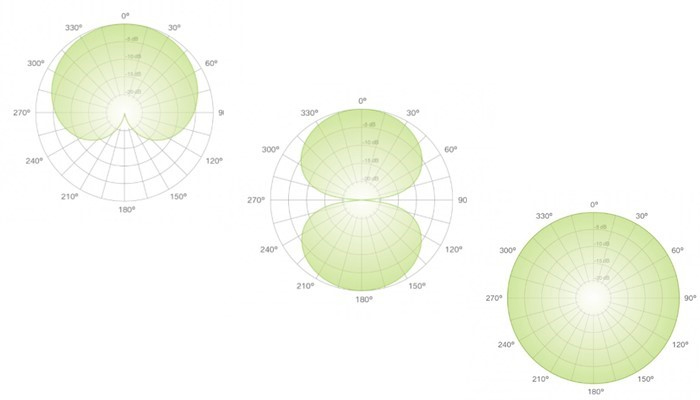
Generally, cardioid microphones are ideal for these situations, as they focus primarily on what’s ahead of them. They are a unidirectional microphone, in other words.
Now, let’s take a look at the audio gear you’ll need to capture great audio.
Depending on the type of content you’re recording and the environment you’re in, there are a few available options that can help you achieve high-quality audio recordings.
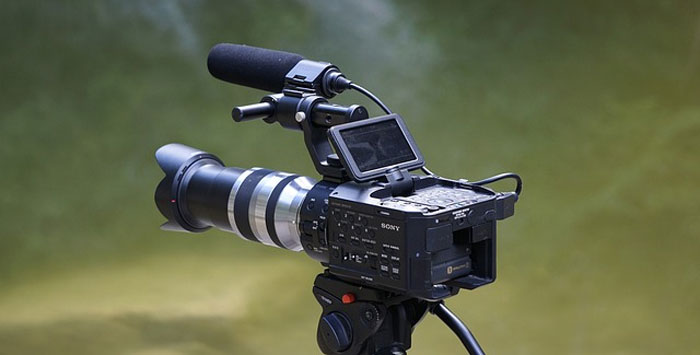
Using an external audio recorder, rather than equipment’s built-in mic, will always result in better quality audio.
All options mentioned below can provide professional audio quality, but each one is specifically designed for certain recording environments.
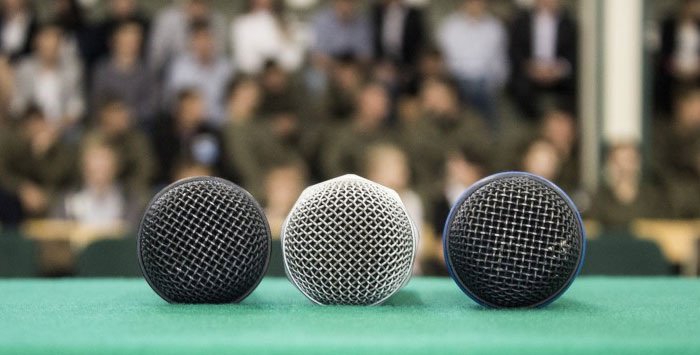
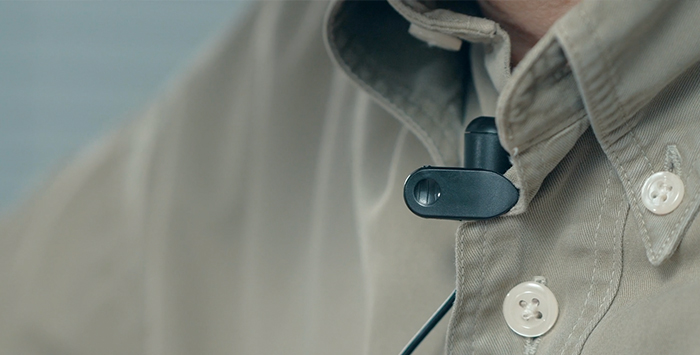 Lavalier microphones are placed on the speaker’s clothing near their chest. They’re small and often omnidirectional, meaning they can capture sounds coming from all directions in equal measure.This type of microphone is a great choice when you’re interviewing someone or in a public speaking environment.One downside is they tend to capture rustle noises caused by clothing friction and the speaker’s movement. However, there are some excellent rustle removal tools for that too.
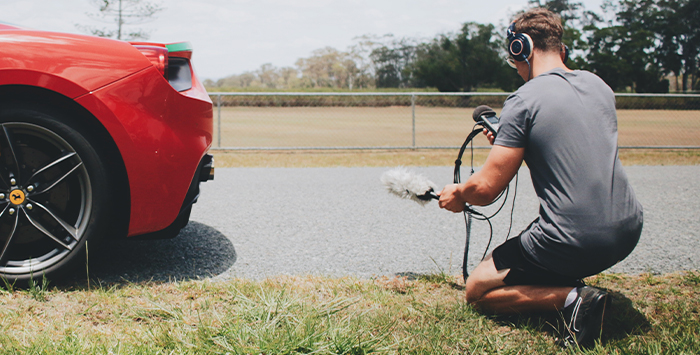 I’d say these are the most common microphones used by YouTubers and vloggers because they’re professional and not particularly expensive.They also have a high sensitivity that allows them to capture lower frequencies compared to other mics.Shotgun microphones are commonly used as boom mics because they deliver the best audio quality when recording voices.With Shotgun Mics, Consider Your Mic PlacementYou should note that these microphones are more directional compared to standard cardioid or supercardioid microphones.This means the mic will have to point straight towards you if you want to achieve the best result, especially when you’re recording in a professional studio.
 Similar to the lavalier mics, these microphones can be used in situations when the speaker moves frequently and in public speaking environments. Omnidirectional microphones are much more forgiving compared to shotgun mics, as they can capture sounds coming from all directions.
Microphones are important but are not the only piece of equipment you’ll need if you want to sound professional.
If you’re building your own recording studio, you have the opportunity to buy equipment explicitly tailored to the environment you’re filming in.
This is a great advantage as you can define the best recording settings and leave them untouched for the following sessions, making the audio quality of your videos consistent in the long run.
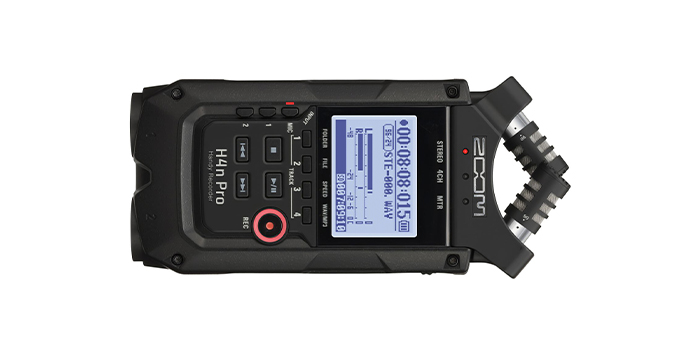
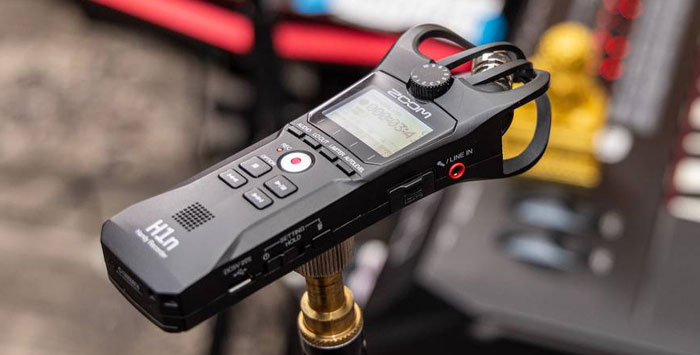
Portable audio recorders give you the chance to connect multiple microphones and adjust their settings independently.
Furthermore, if you buy an audio recorder with the option to connect it straight to your camera, you won’t have to edit two files in post-production (one video and one audio), as everything will be recorded and exported together.
Portable audio recorders also come with powerful pre-amps that can enhance the recording qualities of your microphones and add clarity to the audio.
To choose the right portable audio recorder, you’ll need to take into account a few factors. First and foremost, the number of XLR inputs you’ll need when recording audio for video.
If you’re recording audio using more than one mic at a time, then you’ll definitely need an audio recorder with multiple XLR inputs.
You can get an affordable and compact audio recorder with four XLR inputs, giving you plenty of options to record great audio.
Make sure you invest in an audio recorder that’ll meet your needs in the long run. Long battery life, efficiently-recorded audio, phantom power, a USB port, and an SD card port are some of the things you need to look for to achieve good audio quality.
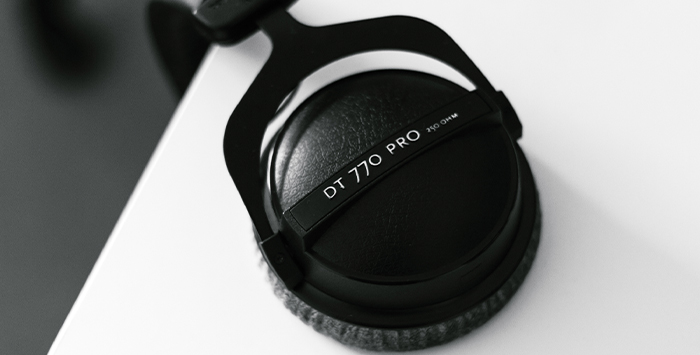
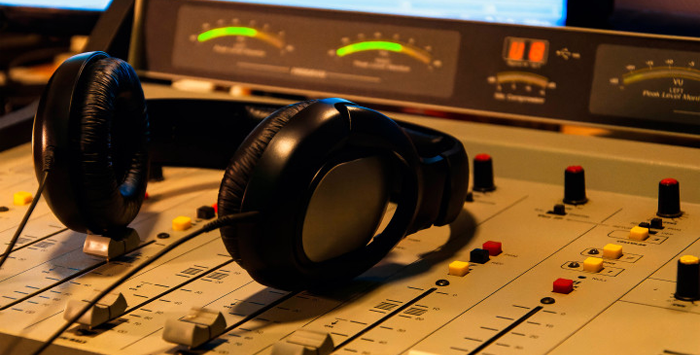
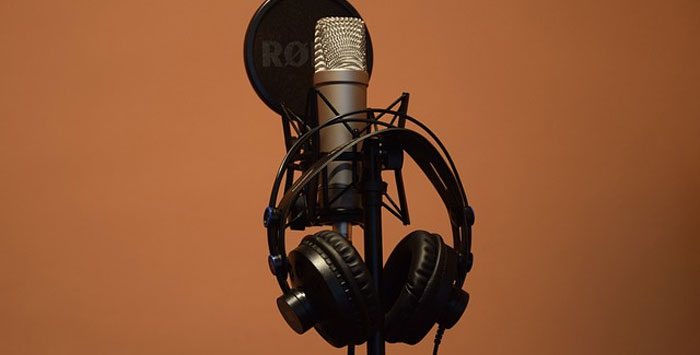
Checking your audio with professional headphones is fundamental, as they reproduce the sound as it is without enhancing or reducing certain frequencies.
The difference between standard and studio headphones is that the former tend to emphasize specific frequencies to make them sound more captivating.
However, when you’re improving your audio quality, you should listen to the audio file without any sort of enhancements so you can analyze the entirety of the frequency spectrum and make the necessary adjustments accordingly.
Furthermore, studio headphones will help you during the post-production phase, giving clarity and transparency necessary to edit audio.
We already talked about positioning lavalier microphones but what about the other mics?
The great thing about shotgun mics is that you can place them just outside the range of your video shot and have them pointed directly toward you. This is the only type of microphone that you can easily place outside the shot and still get professional audio quality. That makes them great for use as field recording microphones.
You’ll need to try different options before finding the perfect position for your microphone. The best starting point is to place it high in front of you, so it’ll capture your voice without obstructing the view.
Whether you’re using an omnidirectional, cardioid, supercardioid, or hypercardioid microphone, you’ll need to place it in a position where your voice will be the primary audio source.
If the microphone naturally rejects audio sources coming from anywhere except the front, make sure the microphone points right to your face to optimize the audio recording quality.
After you recorded your audio for video, you’ll need to polish it using effects designed to enhance audio quality.
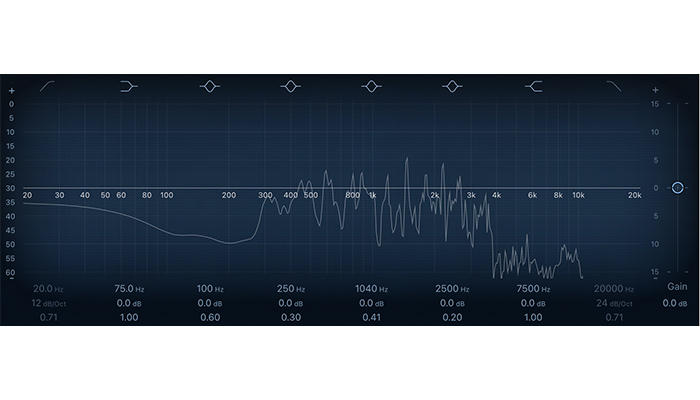
Use an equalizer to enhance or mitigate certain frequencies and get an overall clearer sound.
If you listen to your audio without any effects, you might notice that some parts sound muddy or undefined. This is because audio frequencies tend to interact with each other and sometimes can have a negative impact on the audio recordings.
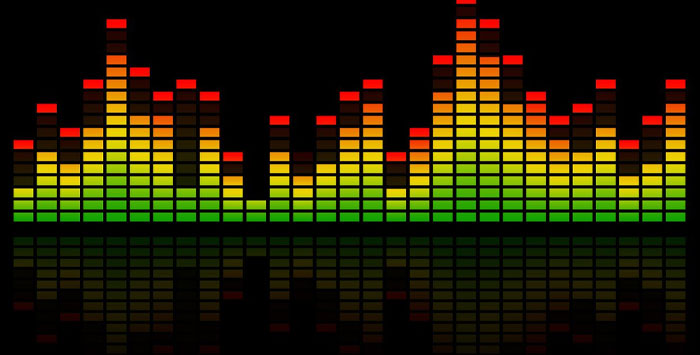
The best way to fix this is by analyzing each frequency and choosing which ones to adjust to get clear voice.
With EQ settings, there’s no one-size-fits-all: audio recordings are affected by a variety of factors that determine the type of adjustments necessary, namely the type of microphone, the recording environment, and your voice.
Most likely, you’ll be able to remove the lower frequencies without affecting the overall sound quality. If that’s the case, you should do that to leave more room for additional effects and remove potential interferences with higher frequencies.
Since speech frequency is between 80 Hz and 255 Hz, you should focus your attention on this range and ensure everything within these boundaries sounds loud and clear.
If you understand the principals of equalization you can really make a difference to the clarity of your sound.
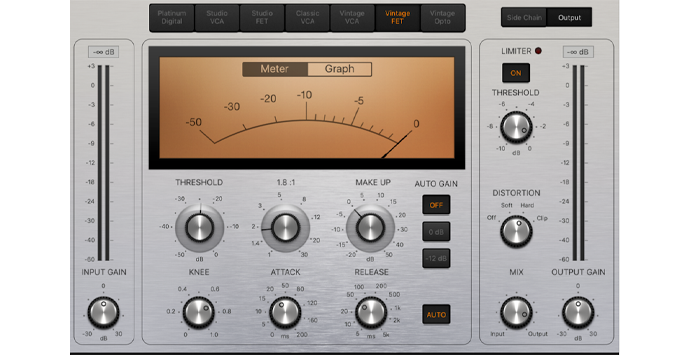
A multiband compressor allows you to segment the frequency spectrum and apply compression to separate sections without affecting others. This is a fantastic tool to enhance specific frequencies that will make your voice sound richer and more enveloping.
A multiband compressor is a fantastic tool because it allows targeting specific frequency ranges. For instance, you may want to reduce the sibilance on the higher end of the spectrum without touching the rest of the spectrum. The multiband compressor is the right tool for the task.
After splitting the frequency spectrum into high, mid, and low sections, you can compress specific frequencies until the resulting audio is consistent from the lowest to the highest audible frequencies.
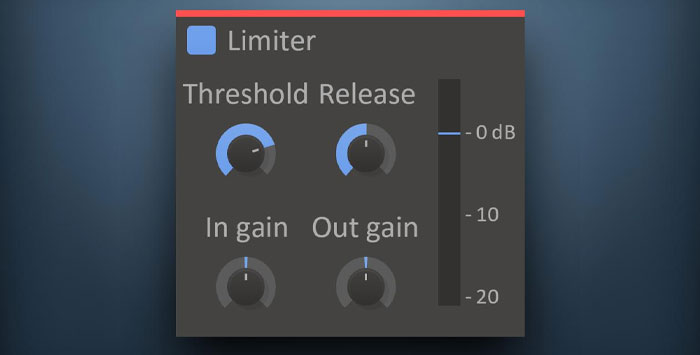
The final step is to add a limiter to ensure the audio won’t clip regardless of the effects you’ll apply to the audio file.
This is a crucial effect as you might have original audio without clipping, but after adding the EQ and compressor, some frequencies might be too high and compromise the quality of your recording.
If you adjust the settings of your limiter to about -2dB, it’ll bring down the highest peaks and make your voice more consistent throughout the recording.
However, whether you need a limiter vs compressor will depend on your use audio. You may need one, both, or neither, so be careful and selective about their use.
I hope this guide helped clarify the most crucial aspect of audio recordings for video.
I can’t stress enough the importance of high-quality raw audio material. If you want to record high quality audio, a professional microphone and the appropriate recording environment not only will give you better results but also save you a lot of time and hassle in the long run.
There will be a lot of trial and error before coming up with the perfect recording settings. Many variables are involved, so sticking to a specific setup or audio recording equipment for all situations is definitely unwise.
Good luck, and stay creative!


