JG McQuarrie
May 05th, 2023
Audio editing is something that more and more people need to do. Whether you have your own podcast, post content to social media and video-sharing sites, or record your own music… whatever the reason it’s a skill that’s becoming more and more in demand.
While some professional audio software can be prohibitively expensive, for years Audacity has provided a free alternative for anyone who doesn’t have the inclination or budget to pay for more expensive packages.
And while Audacity is a great package — especially since it’s free! — some pointers and tips for those who are just getting started are always worth exploring.
Audacity comes with a range of built-in tools but, as with all DAWs (digital audio workstations), one of its great features is the ability to expand the range of tools available with plugins. These allow you to add a whole host of new features, and CrumplePop’s range of audio restoration plug-ins is a perfect example of what can be achieved.
Whatever the state of your audio, CrumplePop’s plug-ins can help get them to sound pristine. If you have been recording outside, for example, and you need to remove wind noise from video then the WindRemover is the perfect way to eliminate a common problem.
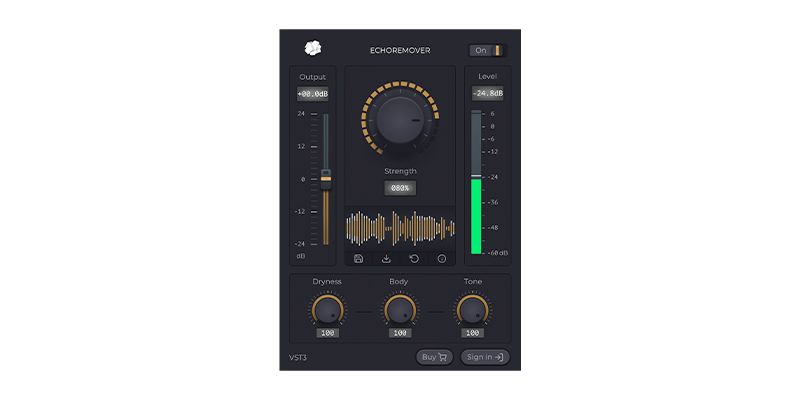
Or if you have recorded audio somewhere with echo, the EchoRemover can, with the simple turn of a dial, remove all echo from your recording so it sounds clean, clean, and easy to listen to.
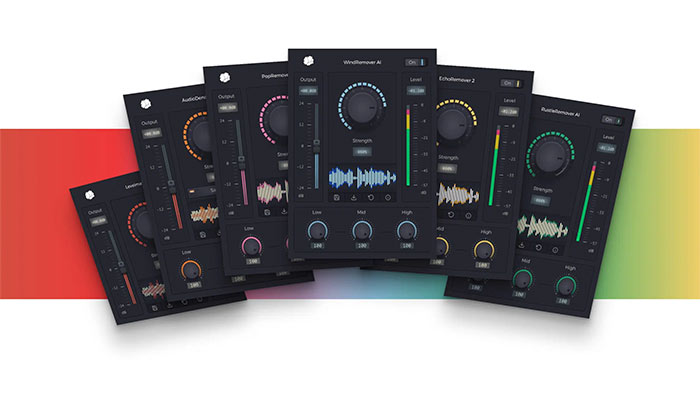
With a range of available plug-ins, as well as the newly-developed SoundApp, whatever problems you have with your audio can be easily addressed and fixed.
Of course, there are thousands of plug-ins available for audio recording in Audacity, so finding the right one for your needs is worth spending some time on. It can make all the difference to the quality of your audio track.
Being able to move and rearrange audio in a DAW is one of the most simple and basic features the software can provide. There are two different ways to do this in Audacity.
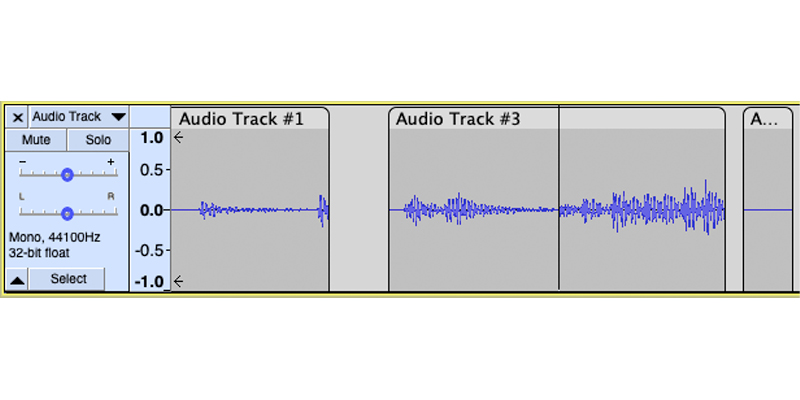
Firstly you can do this on a single track. If you have multiple audio files on a single track you can simply left-click on the title bar and drag them to wherever you need them to be. Note that this will only allow you to move your audio files next to each other — you can’t make them overlap.
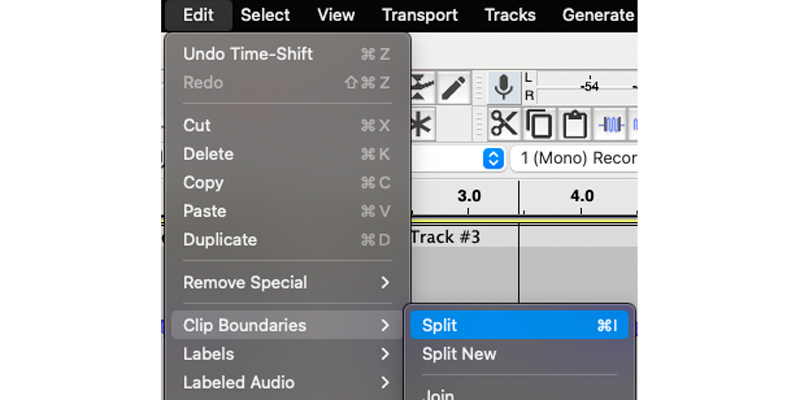
If you want to move a portion of one audio file, choose it by left-clicking your mouse and dragging it to select the portion of the audio. Then go to the Edit menu, select Clip Boundaries, and choose Split.
Secondly, you can use multiple tracks. This is the technique you need to use if you want your audio clips to overlap. Simply create a new track by going to the Tracks menu, selecting Add New, and creating a new track. You can now arrange your tracks vertically. You can then drag clips onto the new track and move them in the same way, by clicking the title bar and dragging them wherever you need them to go.
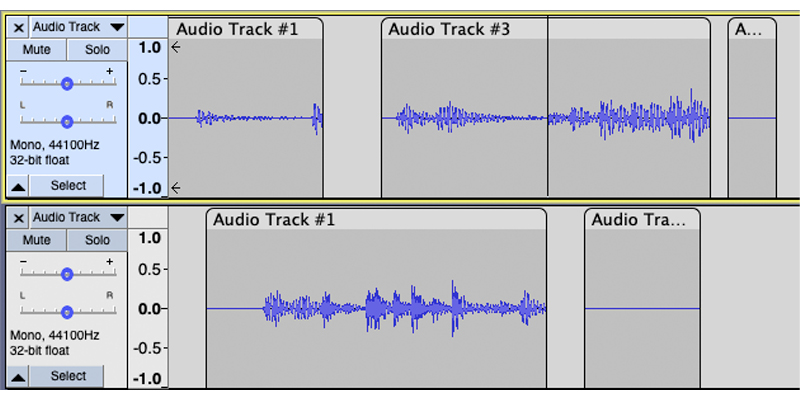
Moving tracks in Audacity is simple, intuitive, and takes virtually no time at all to get acquainted with.
Recording audio isn’t an exact science and even the best would-be producer can end up with audio that just sounds too quiet. Perhaps your subject was too far away from the microphone, or simply not loud enough in the first place. Audacity has a simple fix for this most common of problems.
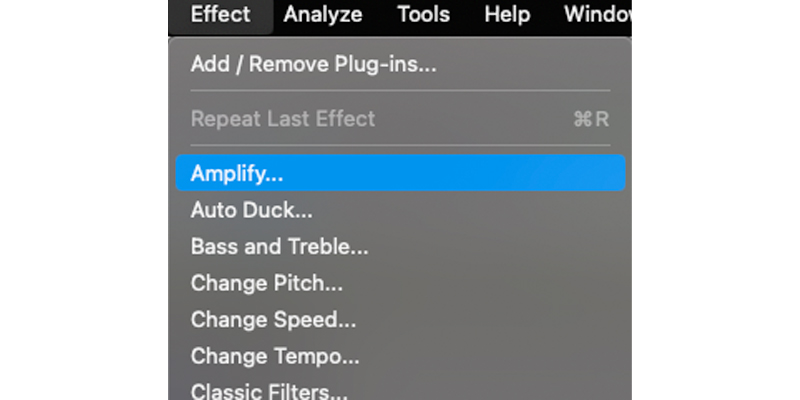
Load your audio file and either select the entire track or the portion of the track you want to amplify by left-clicking your mouse and dragging to select it.
Once you have done this, go to the Effect menu and choose Amplify. You can then set a value in decibels for how much you want Audacity to increase the volume. Click OK and Audacity will apply the effect.
You can set the amount of amplification by using the Peak Amplitude settings as well, so your volume increase won’t go beyond that. If you leave the Allow Clipping box unselected, Audacity will stop your audio from clipping (distorting because it has been over-amplified). If you select the box, your audio can be distorted if you apply too much amplification to it.
There’s also a Preview button so you can play around with the volume settings until you are sure you have them right before you apply the amplification to your track.
Audacity’s Amplify tool is an absolute live-saver when it comes to quiet audio and couldn’t be easier to use.
If you are recording a podcast or conducting an interview, the rhythm of natural speech creates pauses. If, for example, a host needs to think for a few seconds or maybe consult some notes, there will be a gap in-between one person speaking and another following on.
In normal speech, this isn’t normally noticeable but it can really stand out on an audio recording. Audacity’s Truncate Detected Silence is a simple way to deal with this problem and saves a lot of time during editing.
Firstly, load your audio file into Audacity and select the portion of audio you want to apply the effect to (or use CTRL-A (Windows) or COMMAND-A (Mac) to select the whole track).
Once done, go to the Effect menu, then choose Truncate Silence.
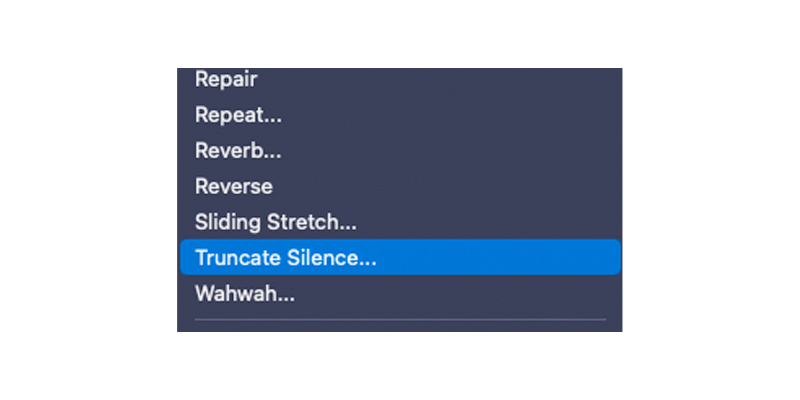
Select the Truncate Detected Silence option under Action. Audacity will then analyze your audio and remove the silence.
While the default settings are effective, you can adjust the volume (in decibels) and length under the Duration Section. You can also adjust how much silence the truncated silence is replaced with. The default here is half a second — this is normally fine but if you want to you can adjust this setting as well until you reach a satisfactory alternative.
Recording audio in any environment can be challenging but one of the most common mistakes made by podcasters, singers, or anyone else who’s being recorded is not keeping a consistent distance between themselves and the microphone.
Keeping a constant distance between them and the recording device helps to keep levels the same and produces better-quality audio.
However, if the person you are recording doesn’t keep a constant distance it will create parts of the audio that are too quiet (if they are too far away) and parts that are too loud (if they are too close). Audacity has a solution for this with its Normalize tool.
How Audacity Loudness Normalization work. Load your audio file, select the part of it you want to normalize, then go to the Effect menu and choose Normalize.
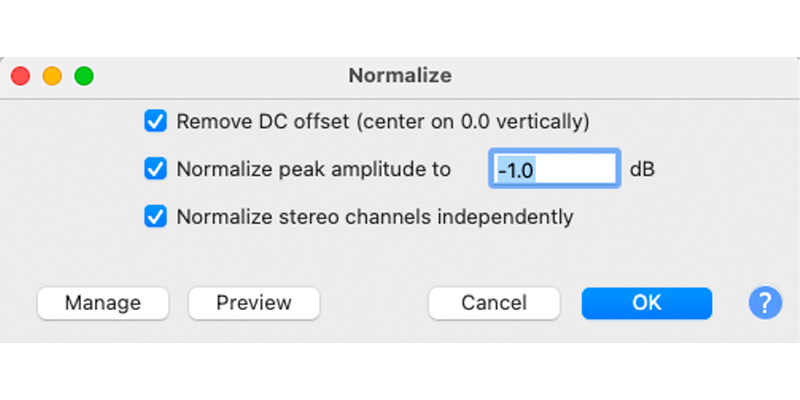
You will see three settings.
Once you are satisfied with the settings, simply click OK and Audacity will normalize the volume of your audio.
Background noise can be picked up at any point in the recording process and invariably causes problems when you are trying to create easy-to-listen-to audio. The last thing you want is for your listeners to be distracted by something going on in the background when they should be listening to your recording. Audacity’s Noise Reduction tool can help with this.
Firstly, load your audio, then find a section that only has the background noise, such as in-between two people speaking. Select this portion of audio by left-clicking your mouse and dragging it so that a few seconds are selected.
Go to the Effect menu and select Noise Reduction, then click on Get Noise Profile.
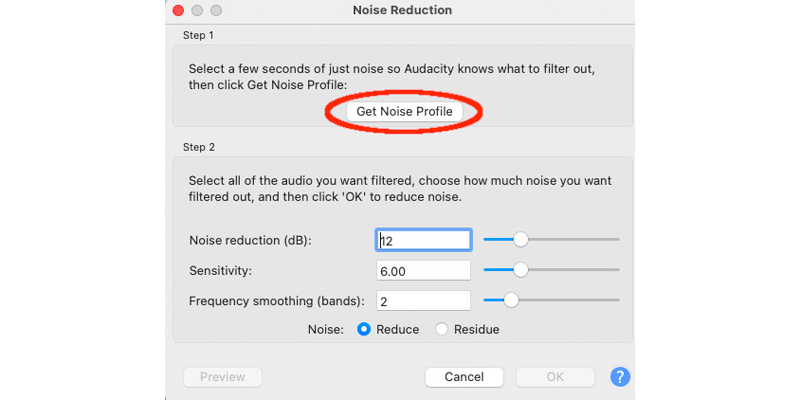
The noise profile tells Audacity to analyze the selected audio and understand that’s what needs to be removed from your recording.
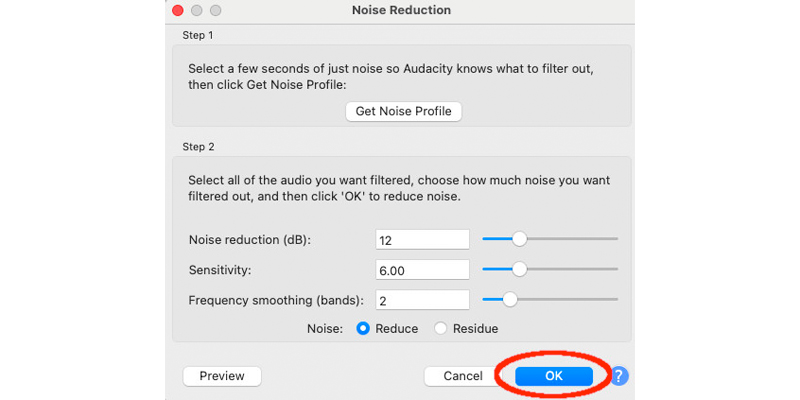
You can then go back to your audio and select the part of it you want to remove the background noise from. Go back to the Effect menu and choose Noise Reduction again. This time, just hit OK and Audacity will apply the noise reduction to the selected audio.
The differences can be really dramatic, and the Noise Reduction tool is one of Audacity’s big plusses. However, it is worth noting that it is most effective on constant noise, such as hum, rather than variable noise like background conversation.
But there’s no doubt that Audacity’s Background Noise removal tool can make a huge difference to even the worst-sounding audio.
For a free piece of software, Audacity has a remarkable number of ways to help save any producer’s day. From simple problems to more complex issues that require a bit of practice, Audacity has a plethora of settings and tools to turn your audio into something really special.
And now you know how to start making use of those tools, all you need to do is record some great audio projects you can work with!


