JG McQuarrie
Jul 31st, 2022Audacity is an excellent tool for both producers just setting out on their first podcast or recording adventure and for more experienced hands.
Quite apart from the most obvious benefit — it’s free! — Audacity is a powerful piece of software that can really produce excellent results. And one tool well worth learning to use is Loudness Normalization.

This is the process by which recordings can be made to sound like they are at the same volume, but without changing the relationship between the loud and the quiet parts of the recording. So your loud parts are still loud, your quiet parts are still quiet, but during playback, everything sounds like it’s been recorded at the same volume, in the same way.
Most commonly, loudness normalization is used when you have two or more tracks at different volumes that need to be the same — more technically, their dynamic range needs to be the same.
If you record a podcast with two hosts in different locations, one might sound very loud and the other very quiet. This process will make the audio tracks sound like they’re at the same volume. But, importantly, the loud and quiet parts of each recording stay the same. The end result is that the perceived loudness is the same for both sources.
Audio normalization is also very useful if you have sounds that have been recorded in a number of different locations which need to be joined together.
Say you conducted a vox pop with people in the street and wanted to mix the results of the interviews with hosts discussing what was said in a studio. You would use audio normalization to make all the segments the same volume level so there wasn’t a sudden jump or falling away of loudness between the segments recorded in different locations.
You can also use loudness normalization to boost the volume on a very quiet track.
Though similar, it’s important to understand the differences between these two terms.
To put it simply, amplify will adjust loudness on an entire track, whereas normalization changes the differences in loudness between tracks. Amplify can be used to achieve a similar effect to normalization but the results are cruder and less likely to be as effective.
Firstly, import your track to Audacity so it’s ready to work on.
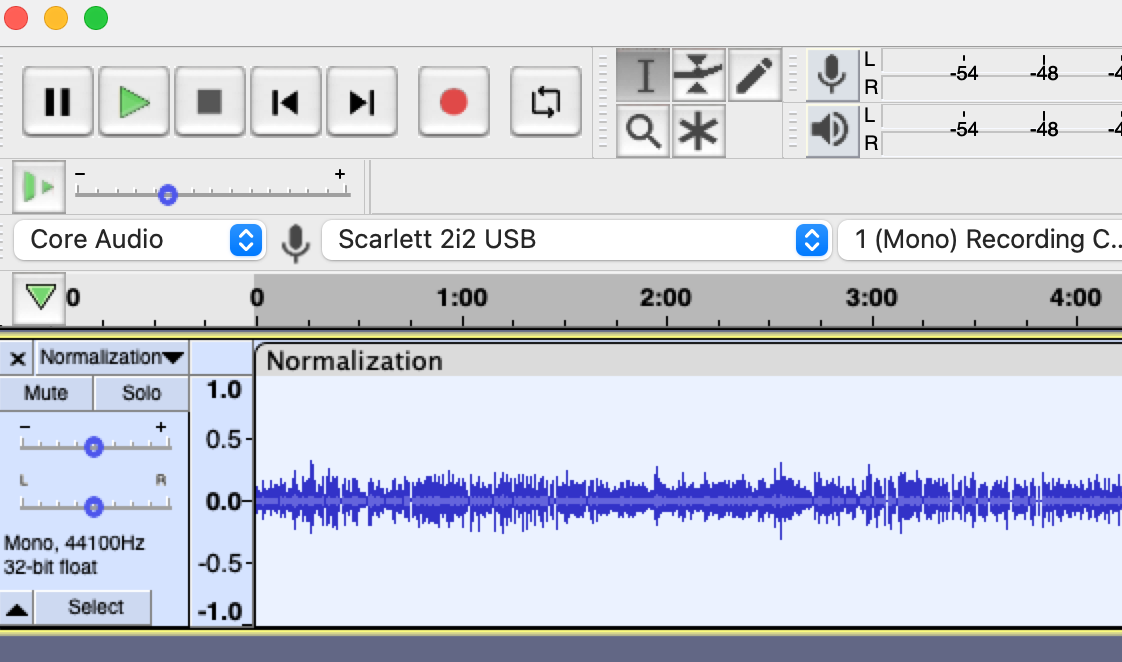
Select the whole of your track by going to the Select Menu and choosing All.
When done, you will see the audio changes color to let you know it’s been selected correctly.
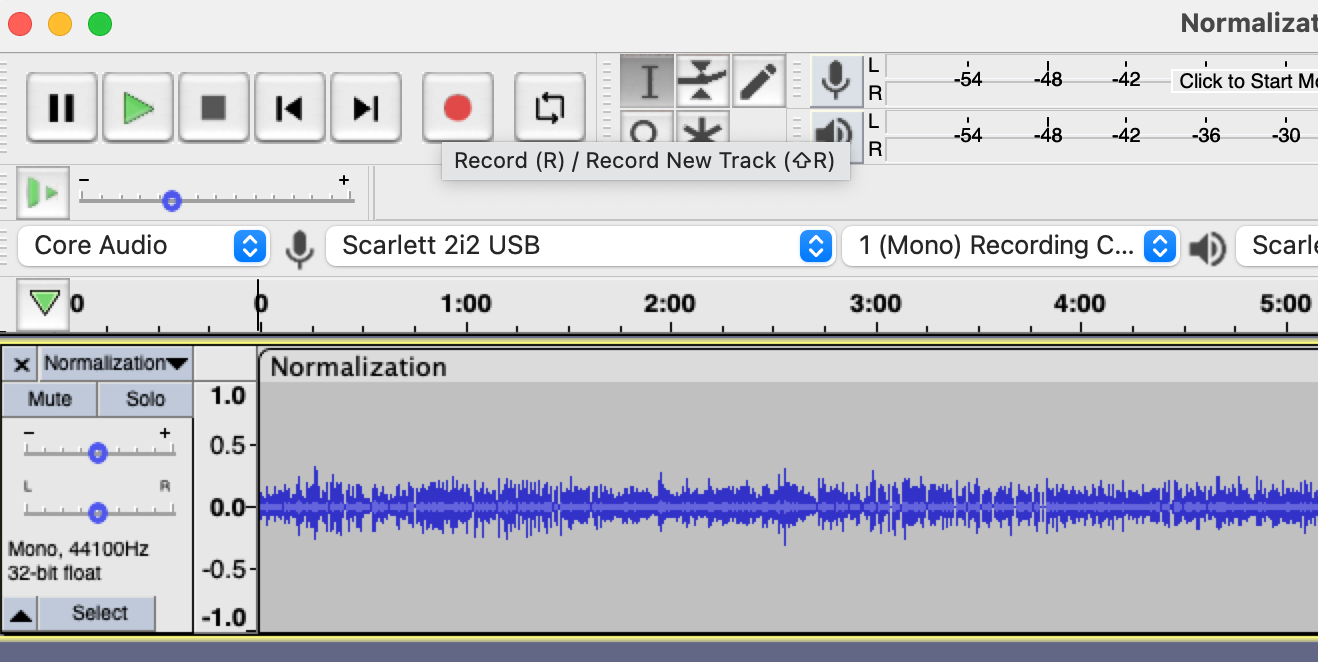
Once the track is selected, go to the Effect menu and choose Normalize from the list. This will bring up the Normalization dialogue box which will take effect on the selected audio.
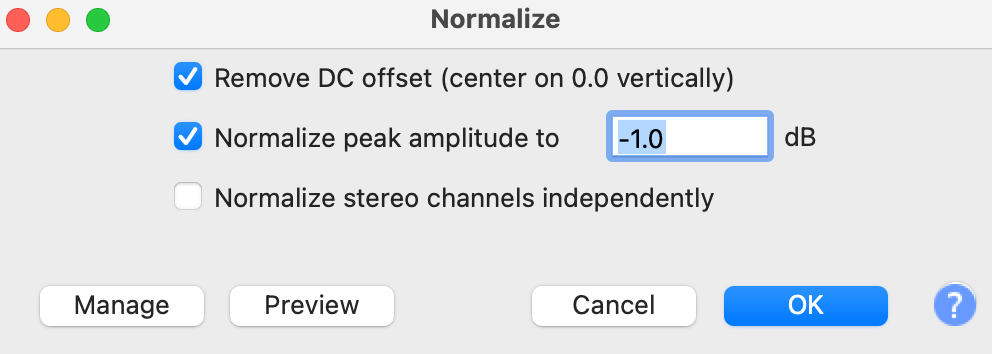
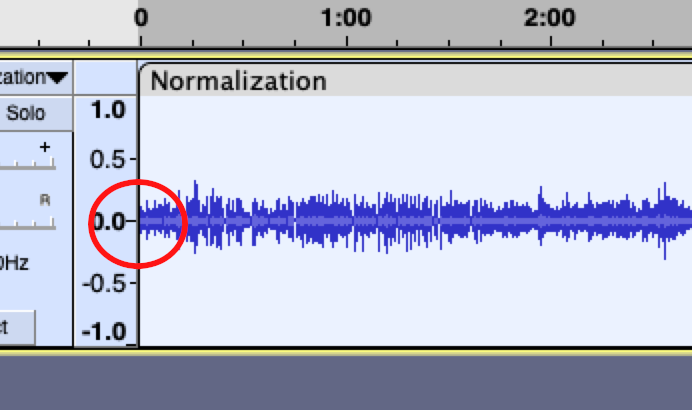
All this means is that it will center your audio at the zero position. This is important because if the DC offset is not at zero it can cause distortion in your audio. You can leave this option selected by default pretty much all the time.
Peak amplitude is another way of saying this is the loudest your audio files will be, and is measured in decibels (dB).
This is normally set at a value of -1 dB because it’s a little below maximum and leaves some room for effects, processing, etc. You can lower it as well, but it’s inadvisable to adjust it up. This can cause distortion, resulting in clipping on the track, and lead to other issues, limiting how good the final tracks will be.
You want to keep your volume levels high so they can be heard, but not too high. The -1 dB value achieves this.
This is a really important setting, so it’s good to understand the Normalize Stereo Channels Independently setting.
Say you have a stereo track, with a different recording on each track. This is a recording of a podcast featuring two hosts, with each host on a separate stereo track. One host is the waveform at the top, and the other is the waveform at the bottom.
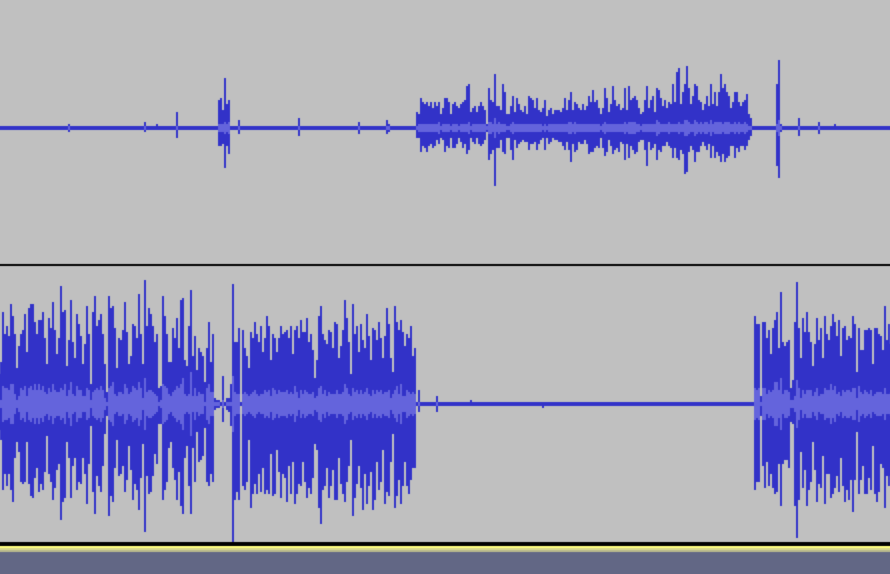
When the Normalize Stereo Channels Independently box is left unchecked (which is the default), the Normalize effect will work on both channels of the stereo track — both waveforms together. That means it will adjust the selected audio by exactly the same amount on each of the channels. So if both hosts are as loud as each other, this tidies up the peak level in the volume by the same amount.
However, if you enable the option, the normalization will adjust the amplitude separately on each of the channels.
You might want this if both hosts have been recorded at different volumes, as in the example, where the waveforms are visibly different. This would mean that they end up at the same volume.
Once you are happy with your settings, the Manage option allows you to save them, or load settings from another installation of Audacity. The Preview settings, as you would expect, allow you to preview the changes you have made to your track without committing them.
In addition, Audacity also has a Loudness Normalization Option in the Effect menu.
Loudness Normalization is in essence the same as normalization but allows for more detailed control over the changes.
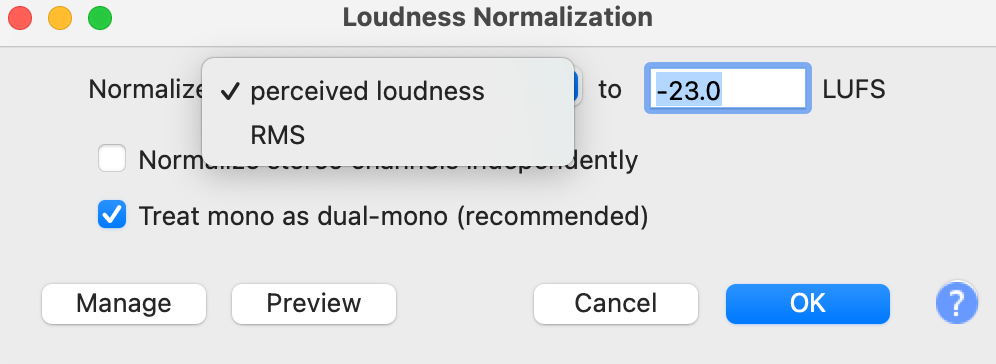
The two main settings, Perceived Loudness, and RMS are measured in LUFS, which stands for loudness units full scale. You would use this setting if your audio had to comply with a particularly strict standard, for example, broadcast standards.
RMS, which stands for root mean square, is just a way of calculating the average sound within a particular recording or waveform. However, for everyday use, especially when it comes to podcasts, the RMS and Perceived settings are likely to be beyond any requirements you have, and the more common normalization setting will be more than sufficient for your needs.
Audacity has a range of excellent production tools when it comes to processing your audio, and the normalization setting is one of the best. It’s simple to use, yet can make a huge difference to the quality of your final product with very little effort.
It’s worth having a play around with to determine what works best for whatever project you’re working on, but whatever it is, the normalization setting will have you covered.
Additional Audacity resources:


