Marco Sebastiano Alessi
Nov 18th, 2022DaVinci Resolve is one of the most intuitive video editing software options, offering high-quality tools while being free and compatible with most operative systems. Plus, with the DaVinci Resolve plugins, you can expand the effects library at your disposal and bring to life truly professional content.
With DaVinci Resolve, you can edit video and add and edit audio tracks in no time. Today, I want to talk about how to add text in DaVinci Resolve to create titles, subtitles, captions, and other forms of text to your video content.
In this guide, I’ll walk you through all the necessary steps to add text to your videos with DaVinci Resolve, an amazing (and free) video editing software.
Let’s dive in!
Let’s start with the first settings you need to adjust before adding text to your video editing software. There are three ways to import media in DaVinci Resolve:
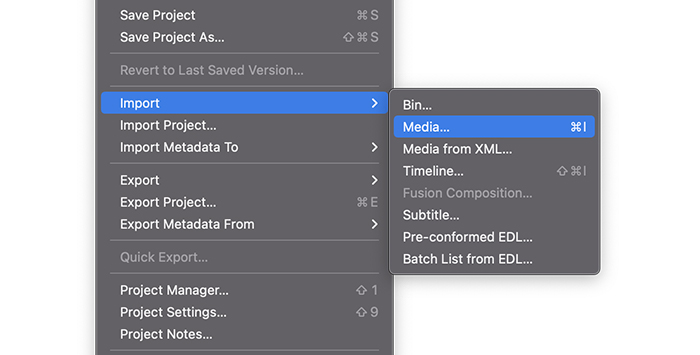
1. On the upper menu, go to File > Import File > Media. Find the folder where your clips are and click Open.
2. You can also import media with CTRL+I on Windows or CMD+I on Mac.
3. The third way to import a video or folder is by dragging it from your Explorer window or Finder and dropping the video clip into DaVinci Resolve.
Now, you should see a video clip in our media pool. However, you can’t edit it from there: you need to create a Timeline.
You need to create a new Timeline to add the clip you just imported. First, make sure you change your view to the Edit page from the icons at the bottom. As customary with DaVinci Resolve, there are different ways you can create a new Timeline.
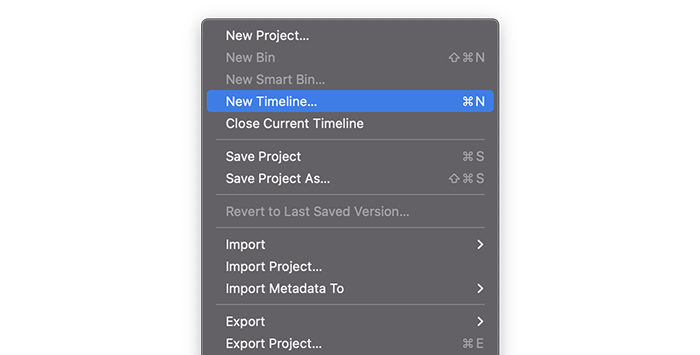
1. Go to File on the menu bar and select New Timeline. In the pop-up window, you can choose your settings, such as Start Timecode, change the Timeline name, and select the number of audio and video tracks you want and the audio track type.
2. If you prefer working with shortcuts, you can bring the Create New Timeline window with CTRL+N or CMD+N.
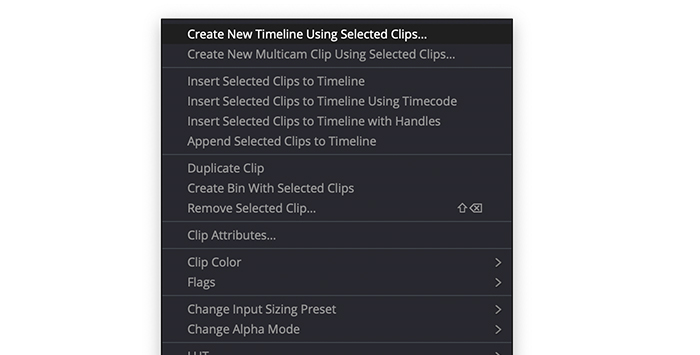
3. You can also create the Timeline from the Media Pool by right-clicking the clip we imported and selecting Create New Timeline Using Selected Clips.
4.Dragging and dropping the clip to the Timeline area will also create a new Timeline from the video clip.
add
DaVinci Resolve has many effects that allow you to include text. Let’s take a look at four different types of texts you can find in DaVinci Resolve: Titles, Fusion Titles, 3D Text, and Subtitles. I’ll show you how to add each one of them and what you can do with these types of text.
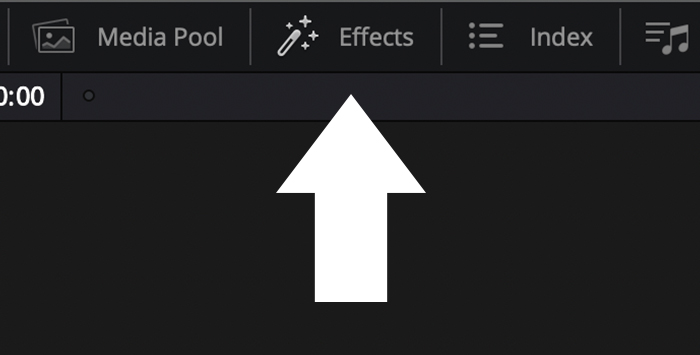
1. Click on the tab Effects library on the upper left menu if you cannot see the Effects Control Panel.
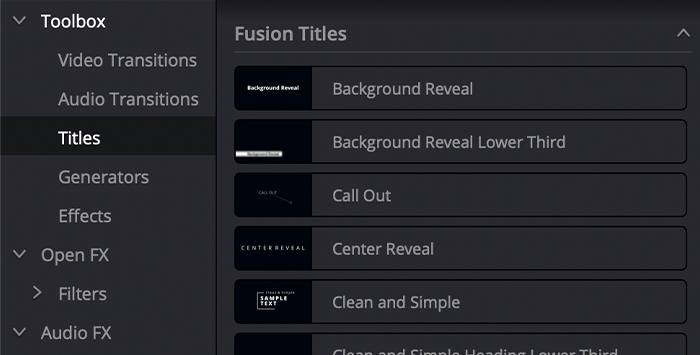
2. Select Toolbox > Titles.
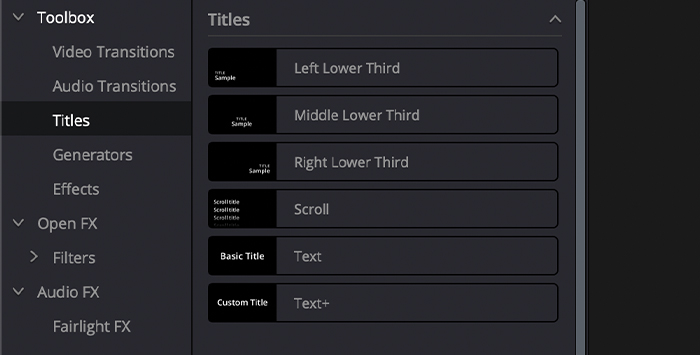
3. You’ll see many options available separated into three categories: Titles, Fusion Titles category, and Subtitles.
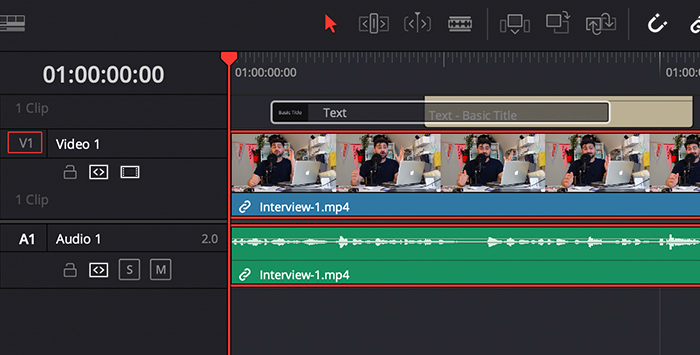
4. To add the effect, drag and drop it to your Timeline above the video clip.
5. In the Timeline, you can move the title where you want to place it.
This is how you can add text effects to your video, but now, let’s delve deeper into each type of text effect.
In Titles, you can choose between some preset Titles to appear on the left, middle, or right side, scroll titles, and two types of simple text. We’ll create a basic title using the Text effect.
1. On the Effects library, go to Toolbox > Titles > Titles.
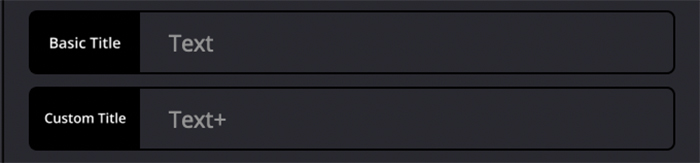
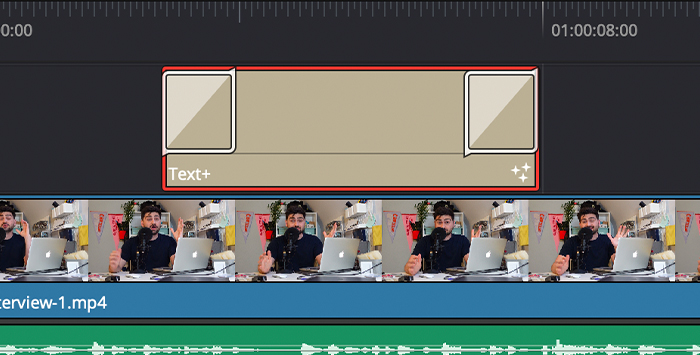
2. Below Titles, scroll down to find Text or Text+. These two are simple titles, but Text+ has more advanced options than the other.
3. Drag the effect to your Timeline above the video clip.
We can change the font, font style, color, size, positions, background color, and many other settings from the Inspector. Follow these steps to edit a basic title.

1. In the Timeline, select the text and open the Inspector tab on the upper left menu.
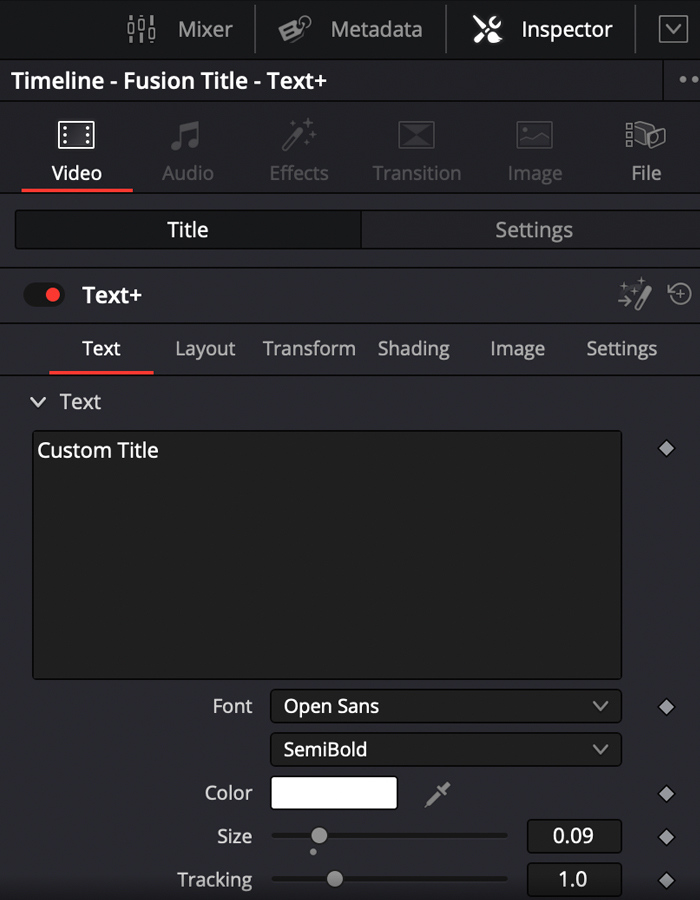
2. In the Title tab, you can write the text you want to appear on your video.
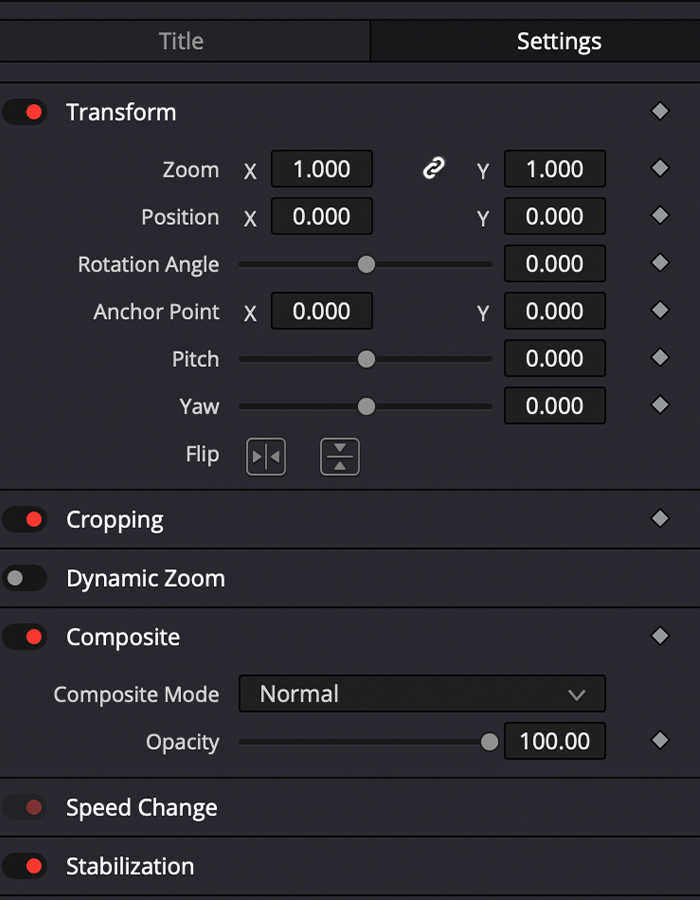
3. Under the Setting tab, you can adjust the zoom, starting position, and rotation.
4. Adjust the settings to create the perfect titles for your videos, preview them, and exit the Inspector when you obtain the desired effect.
After making changes, you can undo them with CTRL+Z or CMD+Z, so don’t worry if something goes differently than planned.
Fusion Titles are more advanced techniques to add text in DaVinci; most are animated titles or have a more complex design for movie titles or credits. Let’s add some Fusion Titles to our project in just a few clicks.
1. Follow the path Effects Library > Toolbox > Titles > Fusion Titles.
2. Under this category, you can preview each title if you hover the mouse over the effect.
3. To add a Fusion Title, drag and drop it to the Timeline like any other effect. It can be placed anywhere in the Timeline, but if you want your video to be visible with the title, put it above the video clip.
You can edit the Fusion feature in the Inspector as we did with the basic titles.
DaVinci Resolve offers an easy way to create subtitles for our videos. With this option, you don’t have to make a text effect for every line of dialogue on your videos. Whether you want to add subtitles in a foreign language or use them as captions for your video tutorial, follow the next steps to add text to your video.
1. Make sure you are in the Edit tab by clicking on it from the bottom menu.
2. Go to Effects Library > Toolbox > Titles.
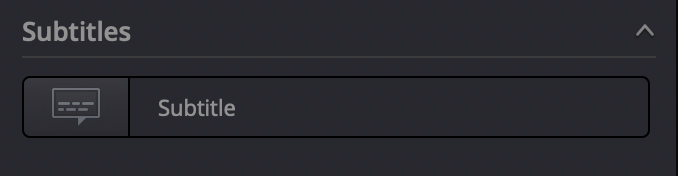
3. Scroll down to the end to find the subtitles category.
4. Drag and drop it into the Timeline to create a new track called Subtitles.
5. You can create the new subtitle track from the Timeline by right-clicking on the track area and selecting Add Subtitle Track from the dropdown menu.
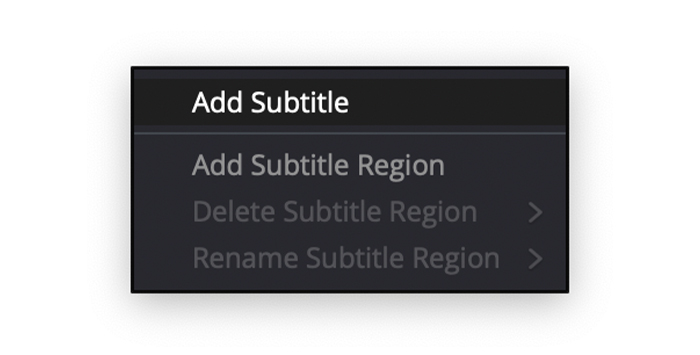
1. Right-click on the Subtitle Track area in the Timeline and select Add Subtitle from the dropdown menu.
2. The new subtitle will be created where we left the playhead, but you can move the new subtitles wherever you want and make them as long or short as you need them.
1. Select the new subtitle clip and open the Inspector to edit your subtitles track. You can also access the Inspector by double-clicking the subtitle clip.
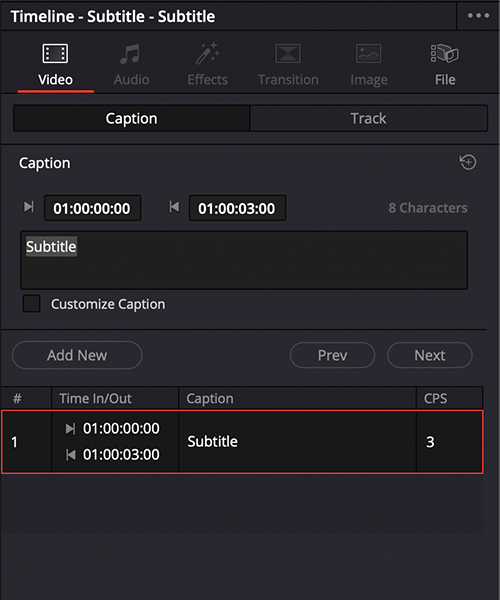
2. On the Caption tab, we can adjust the duration.
3. Next, we have a box to write the subtitles we want to audience to read.
4. The last option is to create a new subtitle from the Inspector and move to the previous or next subtitle to edit.
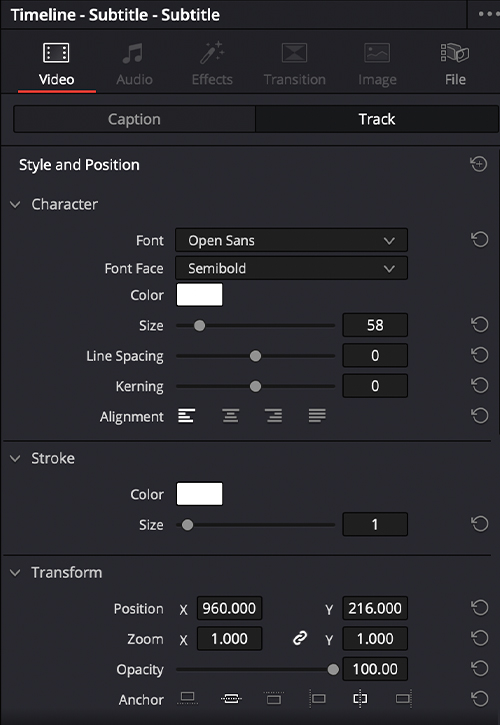
5. On the Track tab, we’ll find options to change the font, color, size, or position. We can add a stroke or a drop shadow and change the background color, with each section having its settings to adjust to your preferences.
3D text is another type of text we can use in our videos to make texts more dynamic. These simple steps allow you to add basic 3D texts with Fusion.
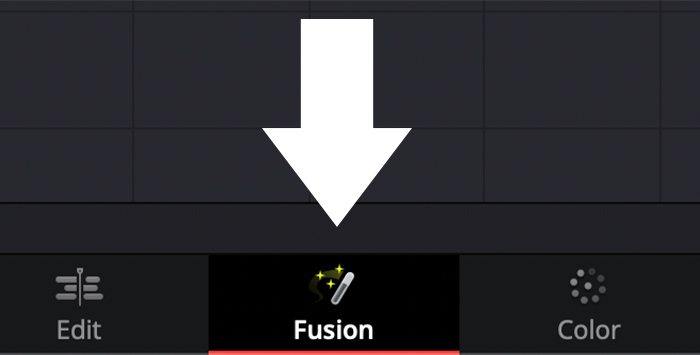
1. Switch to the Fusion tab on the bottom menu.
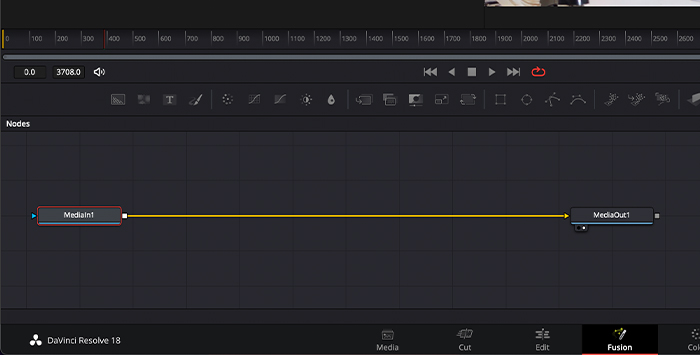
2. You’ll see right now there are only the MediaIn and MediaOut nodes.
3. Below the player controls are options to add all the nodes, separated by a bar in sections. The ones on the far right are the 3D options. We’ll add Text 3D, Renderer 3D, and Merge 3D nodes.
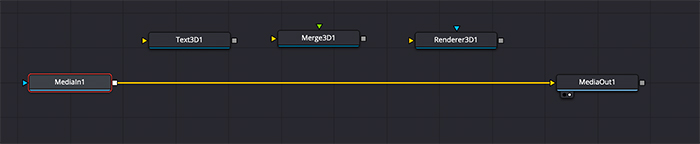
4. To add these nodes, click and drag them to the node workspace.
5. Connect each other in the following sequence: the Text 3D output to the Merge 3D scene input and the Merge 3D output to the Renderer 3D scene input.
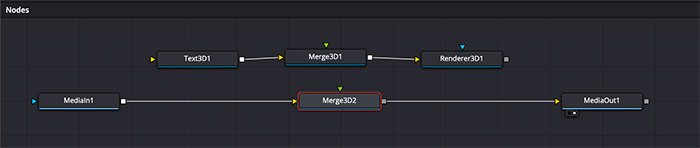
6. Once we have them all connected, we need to add a regular Merge between MediaIn and MediaOut. Drag it in the middle, and it will automatically connect between them.

7. Now we need to connect the output of the Renderer 3D to the Merge that we just added between MediaIn and MediaOut.
To see our video and text, we need to activate the viewers.
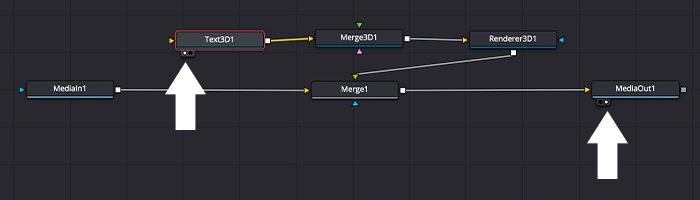
1. Select the Text 3D node. You’ll notice two little circles appear at the bottom, select one to display the text on the first viewer.
2. Select the MediaOut node, then select the second circle to activate the second viewer, where we’ll see the merge of the video clip with the text.
I won’t get too deep into Fusion because it’d require a separate article to describe all its functions; instead, I’ll provide you with a quick guide on creating 3D texts.
1. Double-click the Text 3D node to open the Inspector.
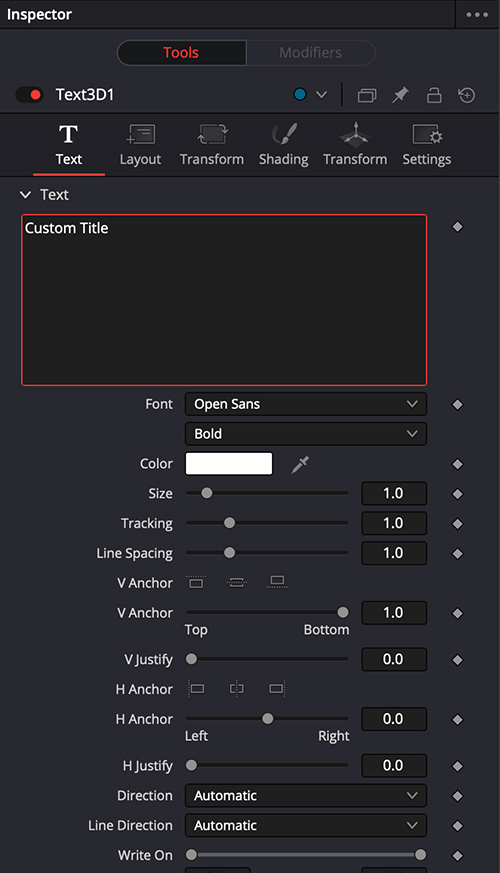
2. The first tab will allow us to write the text we want and change font, color, and size. The Extrusion Depth will add that 3D effect you need.
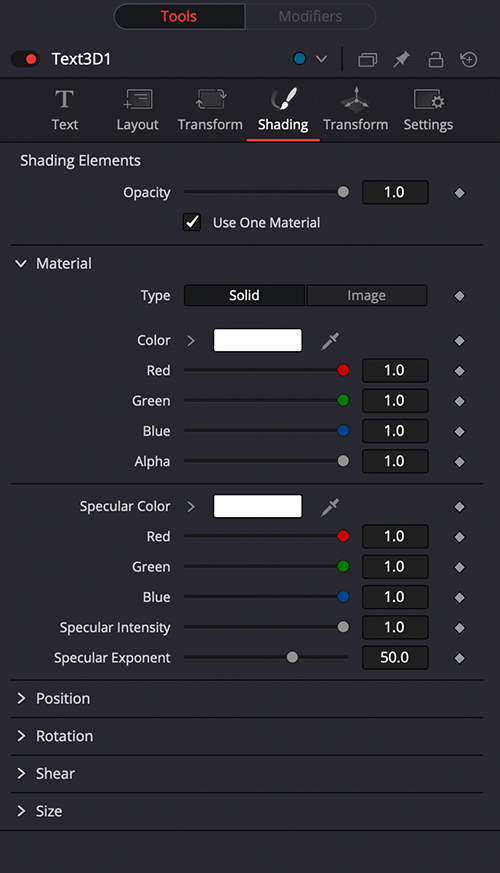
3. In the Shading tab, you can change the material of our texts under Material. Change from Solid to Image to add more settings at the bottom. Select Clip as the Image Source and then browse for the picture you want to use.
4. Play with the settings as much as you need to achieve creative 3D texts.
If you choose a basic title, you should animate your texts to give a nice touch to your videos. Let’s find out how to do it with transitions and keyframes.
We can add video transitions to our text clips to create an easy and fast animation for our Titles.
1. Select the text clip and go to Effects > Toolbox > Video Transitions.
2. Select the transition you like and drag it at the beginning of the text clip.
3. You can add an effect at the end too.
Keyframes will allow us to create a fade-in and fade-out effect on our texts in DaVinci Resolve. Let’s create a basic animation of the text entering from the left and disappearing from the right side.
1. Double-click on the text to open the Inspector.
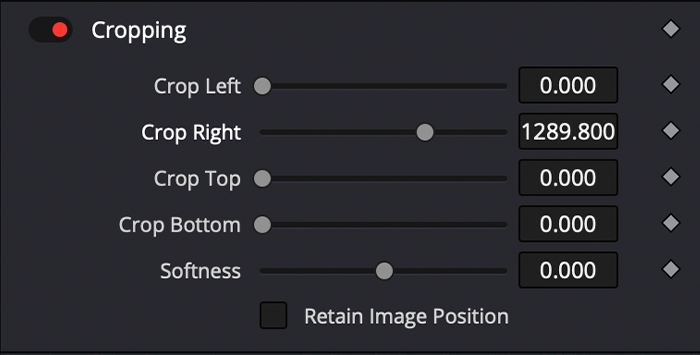
2. Switch to the Setting tab and scroll down until you find Cropping.
3. We’ll move the Crop Right slide until the words disappear and click on the diamond at the right to create the first keyframe.
4. Move the playhead and change the Crop Right slider until you see the words; it will add text in a second keyframe.
5. Now, move the playhead again and create a keyframe in the Crop Left slider for the fade-out effect.
6. Move the Playhead one more time where you want your words to disappear, and move the Crop Left slider to create your last keyframe.
7. You can preview the keyframes you created by clicking the little diamond at the bottom of the text clip. From there, you can rearrange them if needed.
Now that you have learned how to add text in DaVinci Resolve, you’re ready to upgrade your future projects with professional text! Adding text to videos is fundamental in many areas of filmmaking, especially if you’re working with commercials and need to add product information, need captions for dialogues, or want to create titles and subtitles for movies.
DaVinci Resolve has it all; it’s just a matter of diving into this video editing software, adding text, and letting your imagination run wild.
A 2D text is a two-dimensional form of text. It’s the classic text you see in videos as titles and subtitles. It’s flat and only has an X and Y axis.
The 3D text allows us to create more depth thanks to the Z axis. It’s a form of text with three dimensions, showing a more defined text that can be “filled” with colors and images. It can feature other effects, such as lightning reflections and drop shadows.
The Text effect will only allow us to change basic settings such as color, size, font tracking, zoom, background, and shadow color.
The Text+ Effect will allow us to adjust more settings rather than just text. You can change the layout, shading elements, properties, image settings, and much more.