Marco Sebastiano Alessi
Apr 28th, 2023The audio quality of your video could determine its success, which is why spending some time doing post-production to mitigate audio issues can make a difference when preparing videos for a client’s website, a YouTube channel, or a TV broadcast.
The topic of audio editing in video production is vast and intricate, but there’s one crucial tool that every video editor should know about: normalization.
In today’s article, I’ll review what normalization is, why it’s used in audio production, and when to use it in a single clip, multiple clips, and the mix track.
Whether you’re creating content for your website or wish to sound like Mike Russell from Music Radio Creative on your work presentations, learning how to normalize audio in Premiere Pro will help you achieve professional results.
Let’s dive in!
Audio Normalization is an audio processing used by audio engineers and video editors in post-production to boost the volume of an audio clip to a pre-established threshold. It doesn’t affect the audio clip beyond the volume level, which is why it’s a regular practice to normalize audio after applying noise reduction.
Normalization is not to be confused with compression. Normalization will adjust the volume level equally in all your audio clips and does not affect the dynamics or sound of your audio clip, unlike compression.
There are two main situations when you should use normalization: to get the maximum output level from your audio clips and to adjust a consistent volume level between multiple audio clips.
In the first scenario, you have an audio recording that’s too quiet, and you need to boost the volume. By simply increasing the volume, you’ll start to hear distortion noise, but with normalization, it’ll automatically adjust gain to its maximum without distorting.
In the second case, sometimes you need to record different audio sources using different microphones. By the end of the recording, you’ll have multiple audio clips with varying volume levels, which is when normalization will help you balance the volume of all audio clips.
Learning how to normalize audio clips will allow you to create a more professional sound on your video clips and achieve industry-standard quality.
In Adobe Premiere Pro, you can normalize audio for single and multiple clips through a stress-free process. Premiere Pro also allows you to normalize the mix track, taking all clips in your sequence and adjusting the audio levels.
Make sure to have your audio clips imported. From your project panel, select the clips that you want to add to the sequence. You can add multiple clips to a sequence by selecting them with Shift-click or CTRL + click if they are non-contiguous.
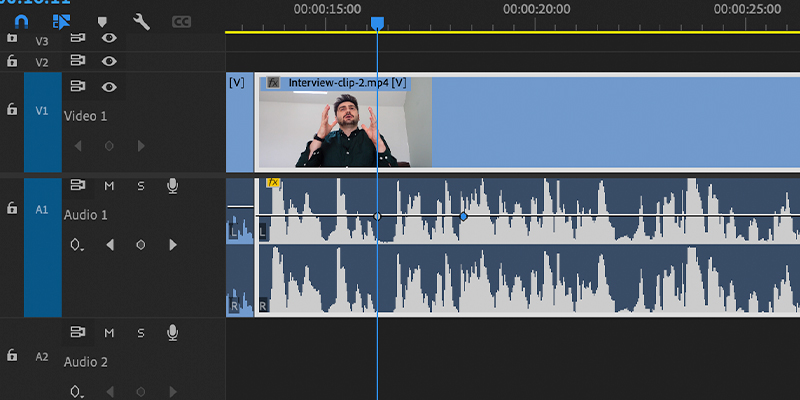
Drag them to the timeline and expand the audio track to see the audio wave bigger and visualize the high peaks. To extend the track, go over the track header and double-click on it. If it doesn’t work, hover the mouse cursor on the edge of the track and move it down.
You should import speech audio clips and background music to different audio tracks so that you can normalize speech, music, and other sound effects independently.
Play the sequence and keep an eye on your audio level meters. Go to Window and select Audio Meters to ensure they’re visible.
Right-click on the first clip you want to normalize in the timeline and choose Audio Gain. If you need to select multiple clips from the same track, you can do it with shift-click, or CTRL + click (CMD + click on MacOS), then right-click any selected clips and choose Audio Gain. Alternatively, you can press the G key to open the audio gain dialog box.
Again, use different audio tracks for each type of audio clip. You can change the label of each audio track to keep things organized.
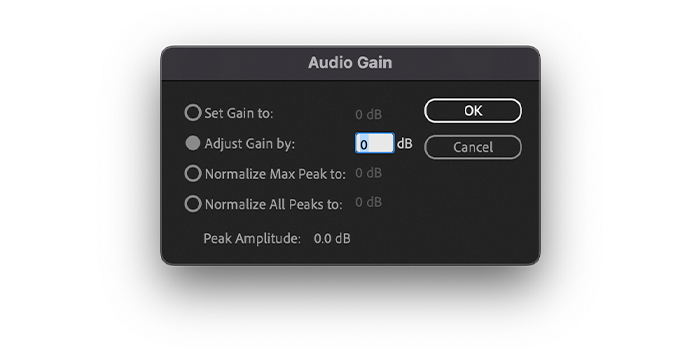
When the audio gain dialogue box appears, Adobe Premiere Pro has already calculated the max peak amplitude for your audio clips. It will be displayed at the bottom of the window, next to Peak Amplitude.
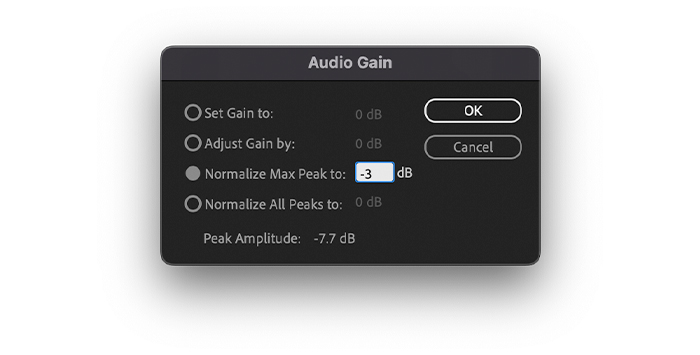
Select Normalize Max Peak and set the gain value if you’re working with a single clip. It has to be under 0dB to avoid clipping and distortion. Leaving some headroom is recommended as the volume might change after applying effects. Keeping it around -3dB should work great for speech.
If multiple audio clips are selected, use the second option: Normalize Max peaks and set gain target value. Premiere Pro will normalize all the selected clips and find the perfect audio levels instantly.
You can see how the audio waveform changes when you normalize audio.
Before closing the dialogue box, play your audio clips to ensure the result satisfies your needs. Make sure the level meters do not reach the red zone. Click OK to finish.
When you import audio clips into your current timeline, you can normalize them from the project panel to have them at your preferred volume level. Doing this from the project panel will ensure all audio clips are at the same level when you import them into a sequence.
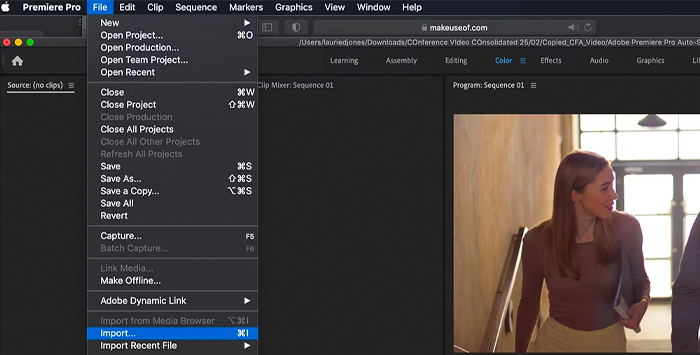
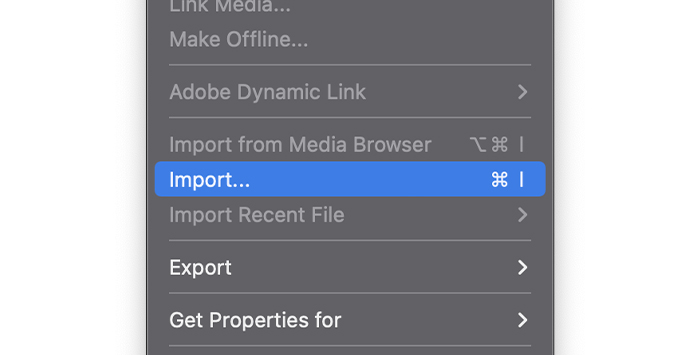
First, you must import the audio clips to Premiere Pro. Go to File > Import or press CTRL+I or CMD+I. Browse your audio clips and drag them to the project panel area.
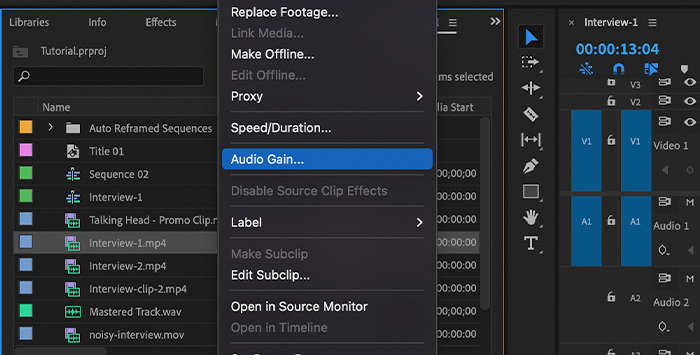
Select the audio clip and right-click it. Select Audio Gain from the drop-down menu to open the gain dialogue box.
To select multiple clips, use Shift + click, then press the keyboard shortcut G to access the gain dialogue box. If the audio clips you want to normalize are not consecutive, you can select each one while holding CTRL + click on Windows or CMD + click on MacOS.
In the audio gain dialogue box, set gain in dB next to Normalize Max Peak for a single clip. If you select more clips, use the option Normalize All Peaks. Click OK to finish.
Now all those clips will have the same volume when you drag them to different sequences.
When you have several clips you want to normalize, you can do it quicker by normalizing the whole audio track’s audio level instead of normalizing individual audio clips. With this method, Premiere Pro will automatically adjust gain for the audio track.
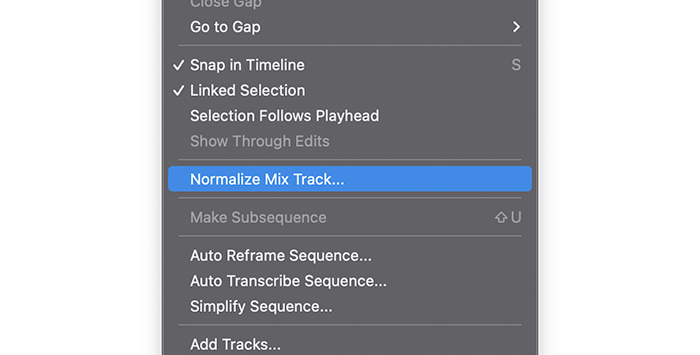
Make sure you have the sequence with the track you want to normalize. Go to the Sequence menu and scroll until you find Normalize Mix Track. Click on it to open the dialogue box.
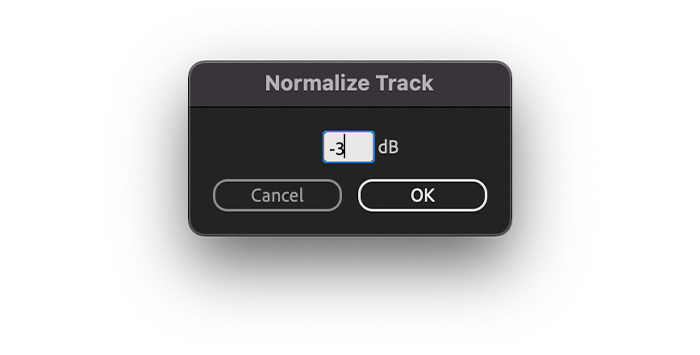
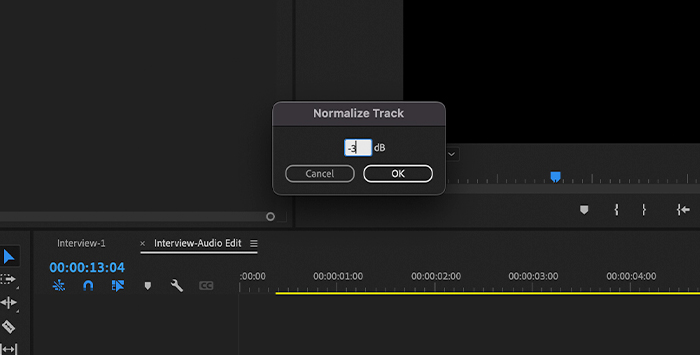
In the following pop-up window, type in the target dB you want to normalize your audio clips and click OK to close the window.
Learning how to normalize audio will allow you to have more consistent volume levels in your videos and help you get the best audio for different recorded media like DVDs, YouTube videos, or broadcasts on TV and websites.
Good luck, and stay creative!


