Marco Sebastiano Alessi
Jul 24th, 2023When working with audio, there are a lot of things you need to keep in mind, especially if you have a home studio or are recording a podcast in different locations. If you’re not careful, your microphones can pick up undesired background noise which is hard to remove during post-production.
Removing echo from your audio might be hard; however, some tools allow you to reduce echo and obtain a better audio quality. Some are in paid software, others are VST plug-ins, but there are also some good free alternatives.
Audacity is one of the most used free audio editors because it’s powerful, easy to use, and free. Plus, when you need to remove background noise, there are very few free tools that offer more than one noise reduction option to tackle unwanted sounds.
What I like about Audacity is that often there are many ways to do the same thing, so today, we’ll see how to remove echo in audacity using Audacity’s stock plug-ins.
At the end of this guide, I’ll provide you with a few tips to treat your room to avoid picking up background noise in your future recordings.
First off, go to the Audacity website and download the software. It’s a simple installation, and Audacity is available for Windows, Mac, and Linux.
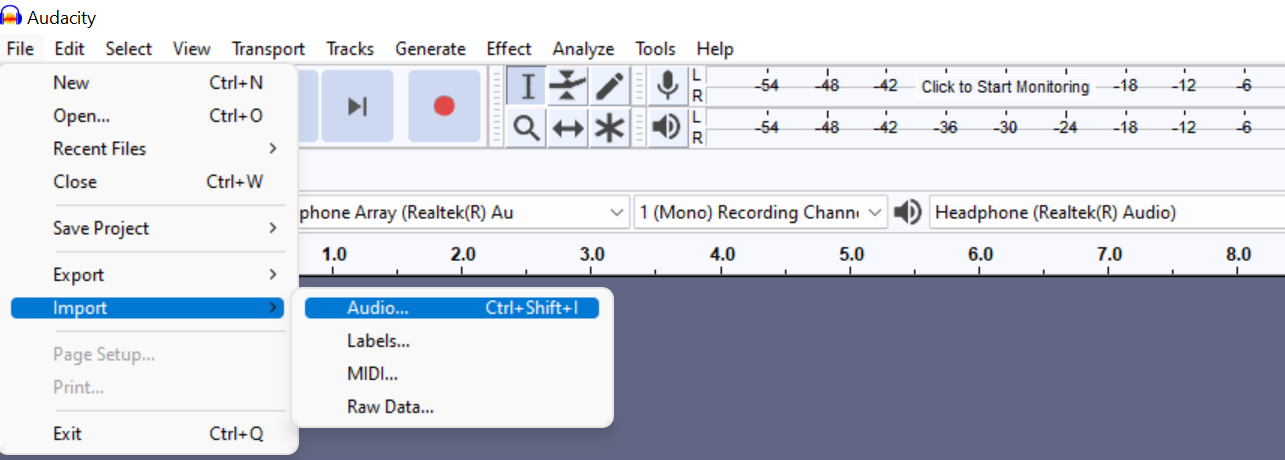
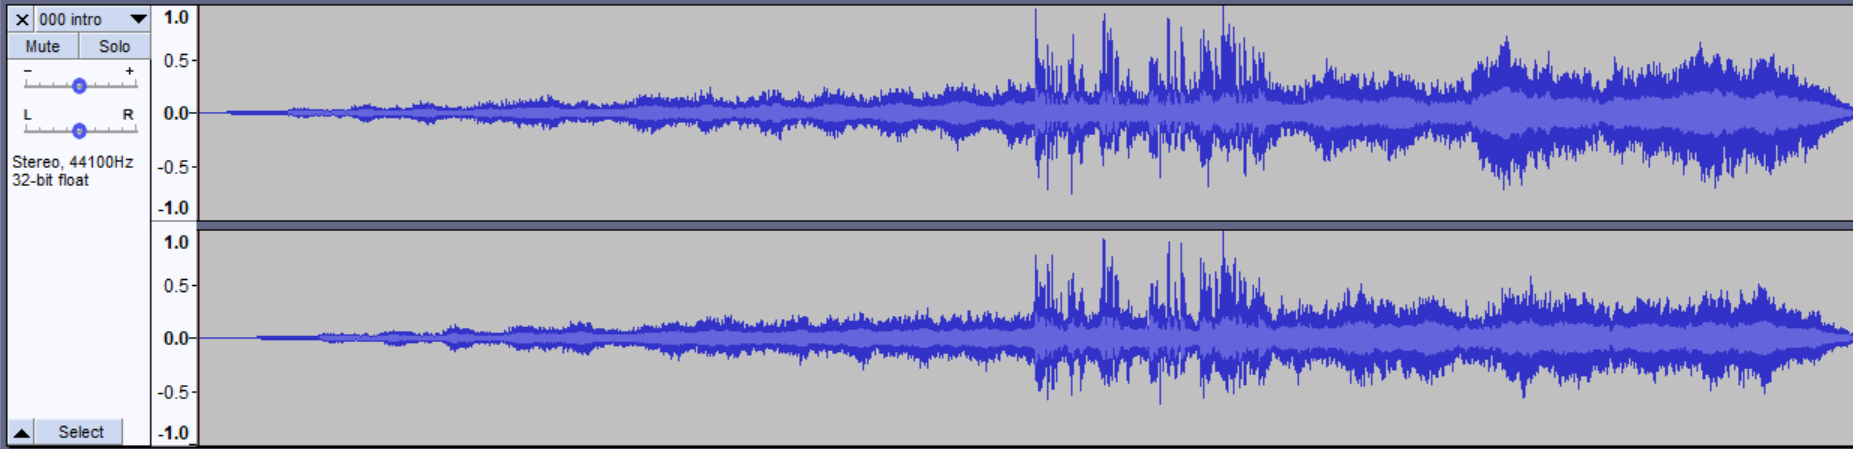
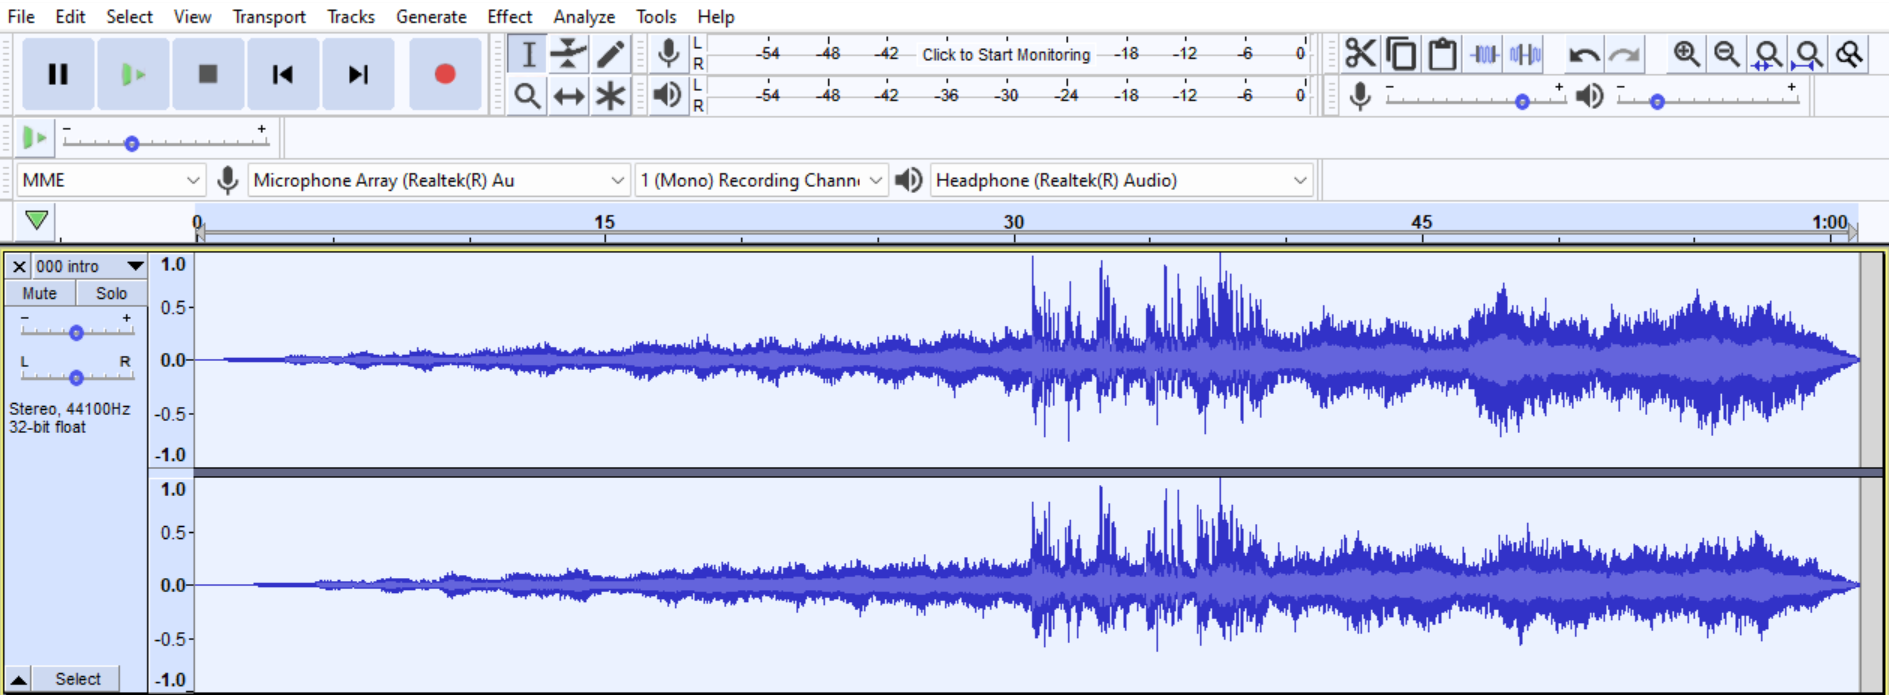
Once installed, open Audacity and import the audio you want to edit. To import audio files on Audacity:
To remove echo:

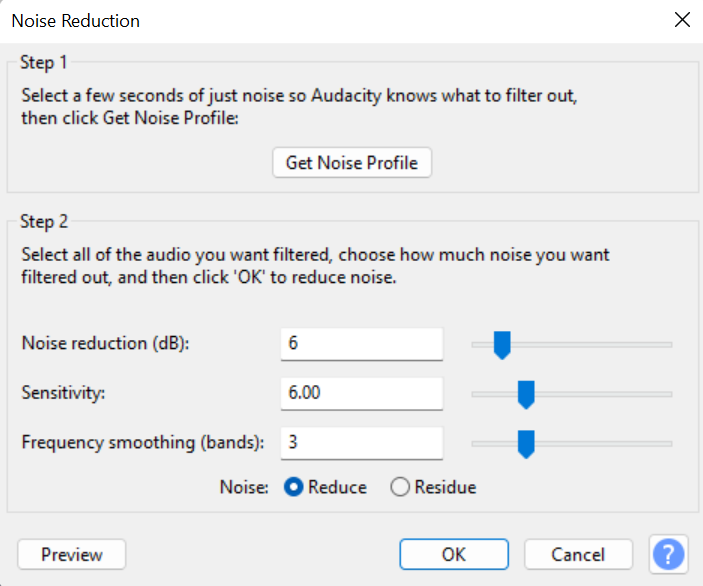
You will see the waveform changes. Replay to hear the result; if you don’t like what you hear, you can undo it with CTRL+Z or CMD+Z. Repeat step 3, and play around with the different values:
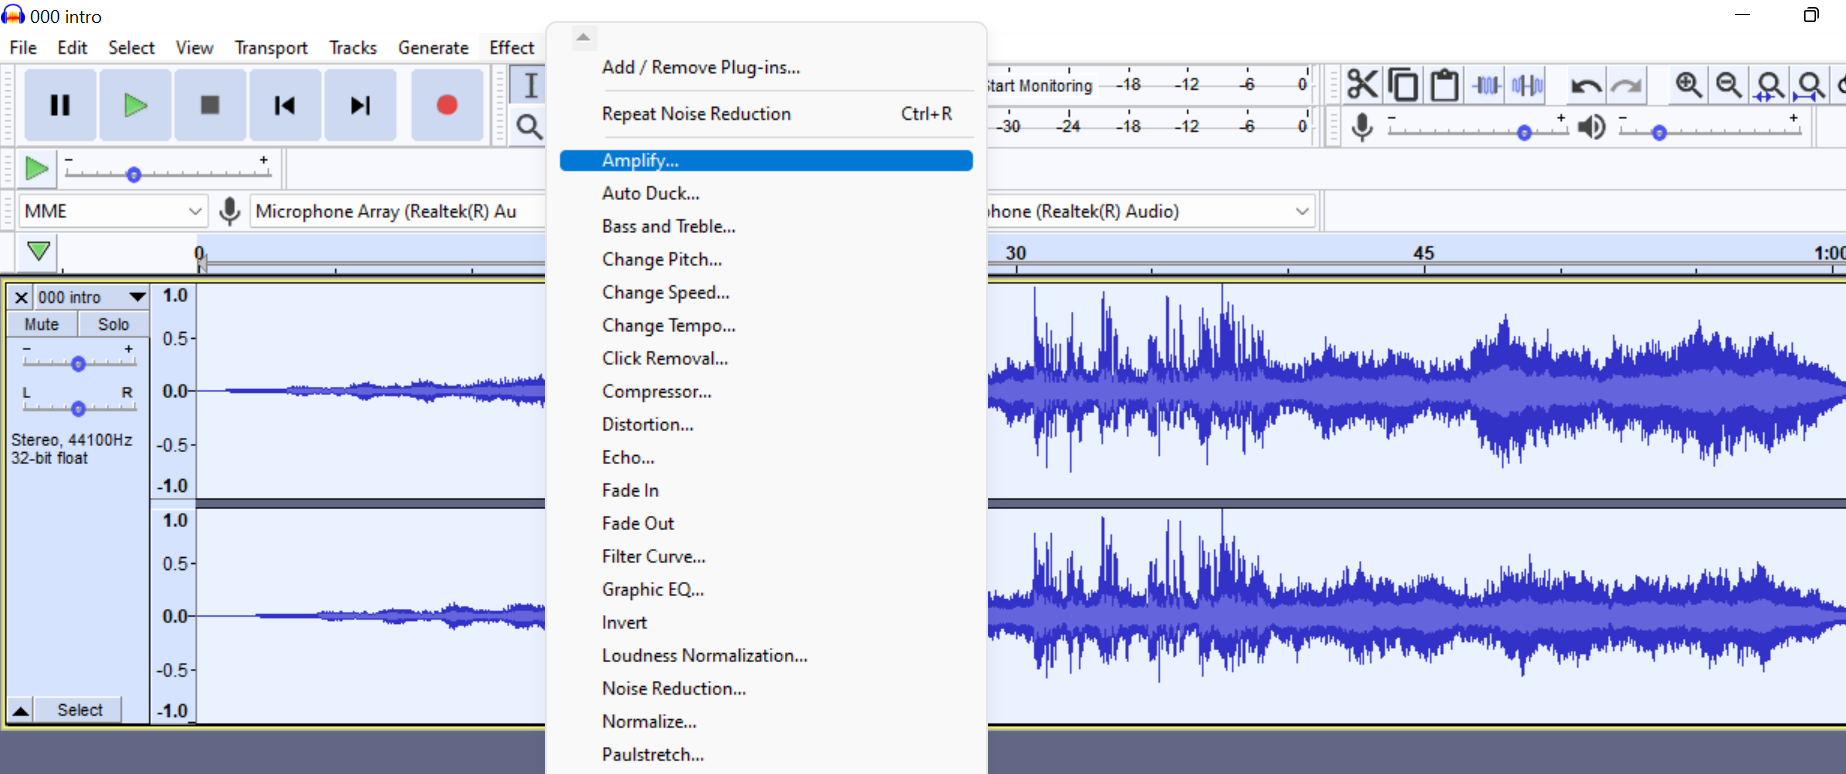
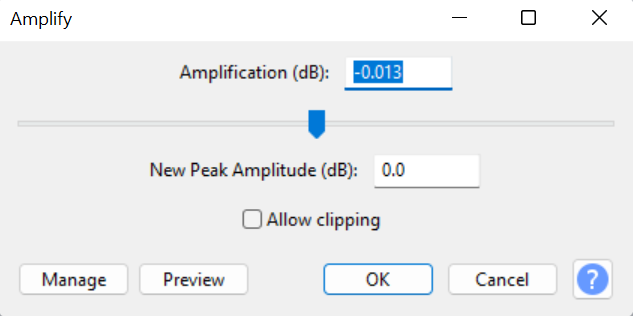
Once you like the result, you’ll notice the audio volume output is lower. Go to Effects > Amplify to bring the volume up again. Adjust the values until you find the ones you like.
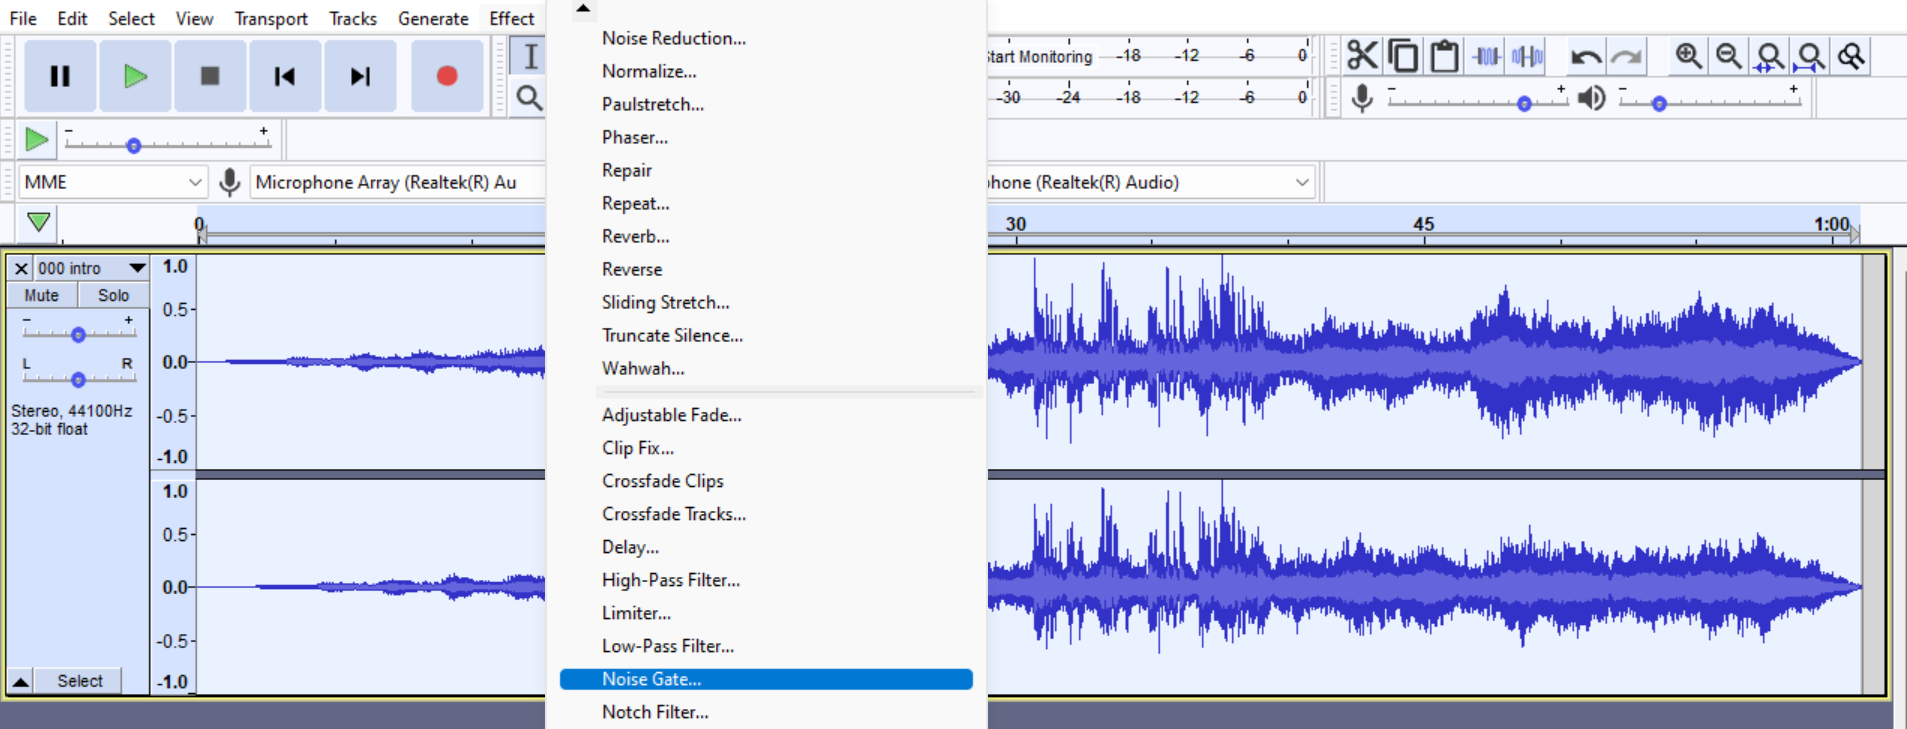
If the Noise Reduction method doesn’t work for you, the Noise Gate option might help you remove echo. It will allow you to make more subtle adjustments compared to noise reduction.
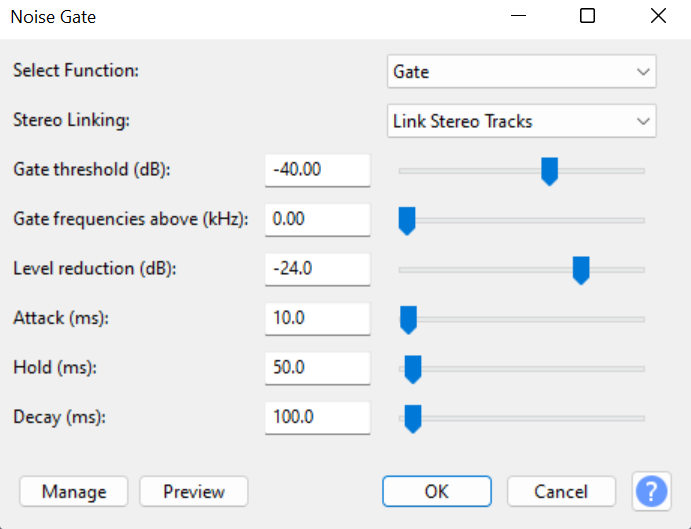
There are a lot more settings here:
Removing echo with EchoRemover is as simple as just dragging and dropping the plugin into the track.
Download and install CrumplePop plugins. Ensure you’re not running Audacity when installing; otherwise, you will need to restart it.
Open Audacity and import the audio file with an echo that needs to be removed.
Select the track and go to Effects. Scroll down to the second block until you see EchoRemover Complete. If you don’t see the plugin, you’ll need to scan your plugins from Effects > Plugin Manager > Rescan.
If you’re running a newer version of Audacity, you can add real-time effects from the Effects button on the Track Control Panel to the left. Click Effects > Add Effects > CrumplePop Complete > EchoRemover Complete.
Usually, you won’t need to adjust EchoRemover too much because it will automatically detect the echo from your track and remove it. But if you prefer to adjust the effect to your liking, you can use the strength knob to set how much EchoRemover to apply to the audio track. Adjust the Dryness, Body, and Tone knobs and the Output slider if the audio gets too low to balance sound quality and echo.
After editing your audio with either Noise Reduction or the Noise Gate function, you may need to add different settings to fine-tune your audio. It’s hard to completely remove background noise from an already recorded audio, but there are some extra effects you can add to clean your track.
Depending on your sound, you can use either a high pass filter or a low pass filter, which is ideal if you want to tackle only the instrumental part, or for vocal reduction, for instance.
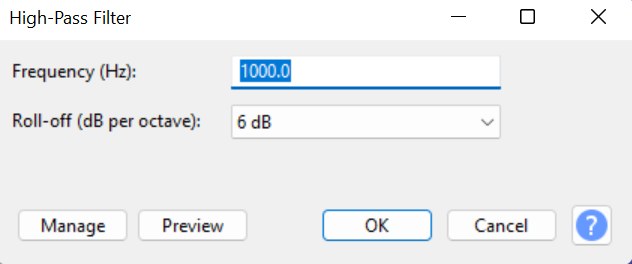

You can find these filters under your effect menu.
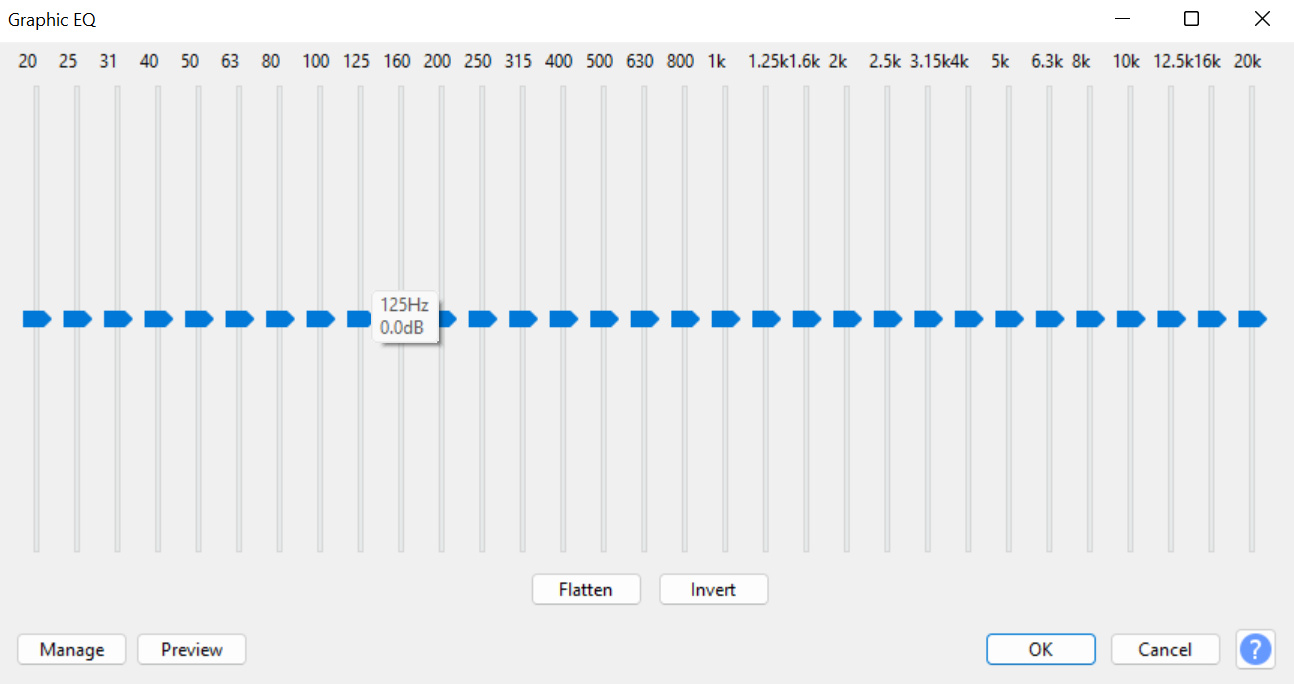
You can use EQ to increase the volume of some sound waves and reduce others. It may help you remove echo from your voice, but it’ll work best after using Noise Reduction to sharpen your sound.
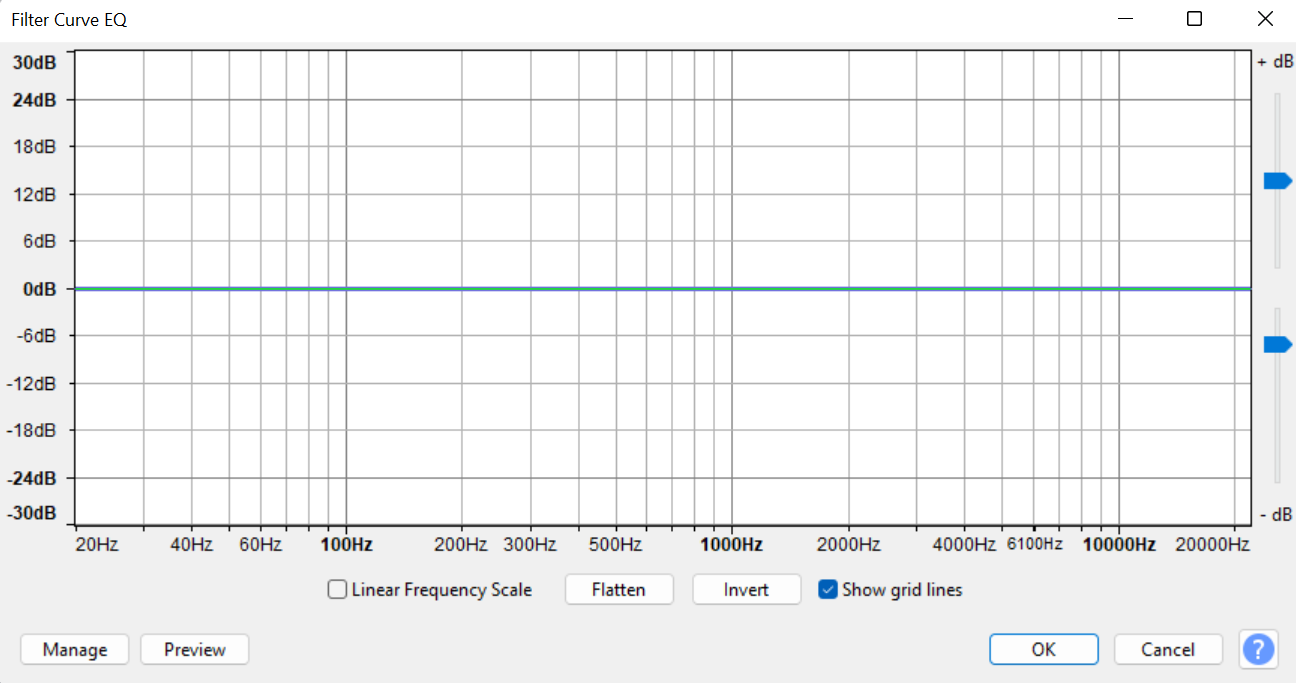
To apply EQ, go to your effects menu and look for Graphic EQ. You can also opt for Filter Curve EQ, but I find it easier to work in the graphic mode because of the sliders; in Filter Curve, you have to draw curves yourself.
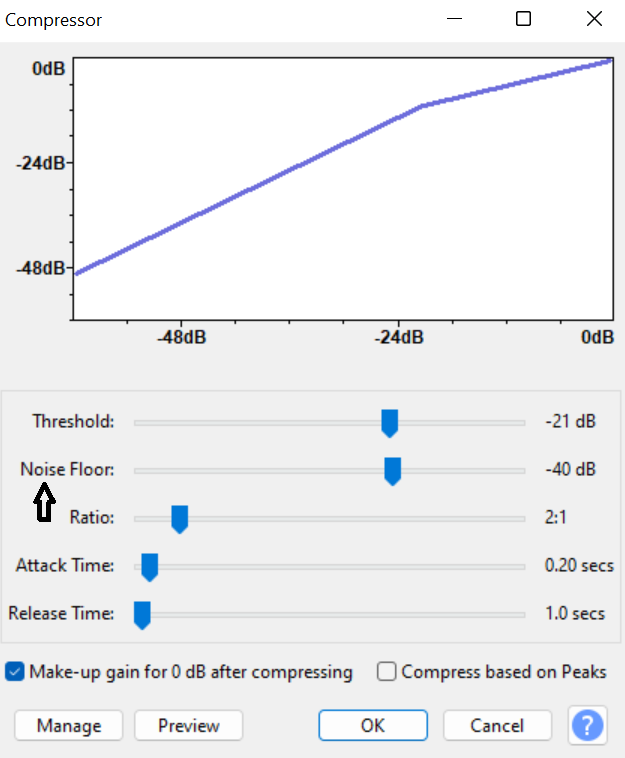
A compressor will change the dynamic range to bring your audio volumes to the same level without clipping; similar to what we found in the Noise Gate settings, we have a threshold, attack, and release time. What we are going to look at here is the Noise Floor value to prevent background noise from being amplified again.
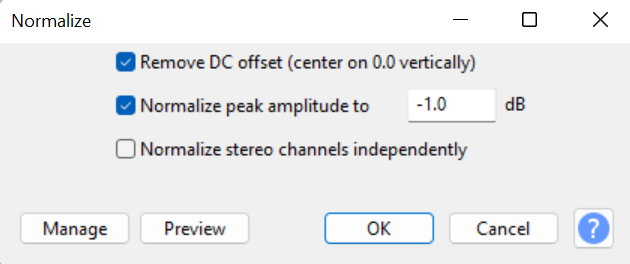
As a final step, you can normalize your audio. This will increase the volume to its highest level without affecting the sound’s authenticity. Just don’t go over 0dB, as this will cause permanent distortion on your audio. Staying between -3.5dB and -1dB is the safest option.
Whenever we are ready, export the edited audio file:
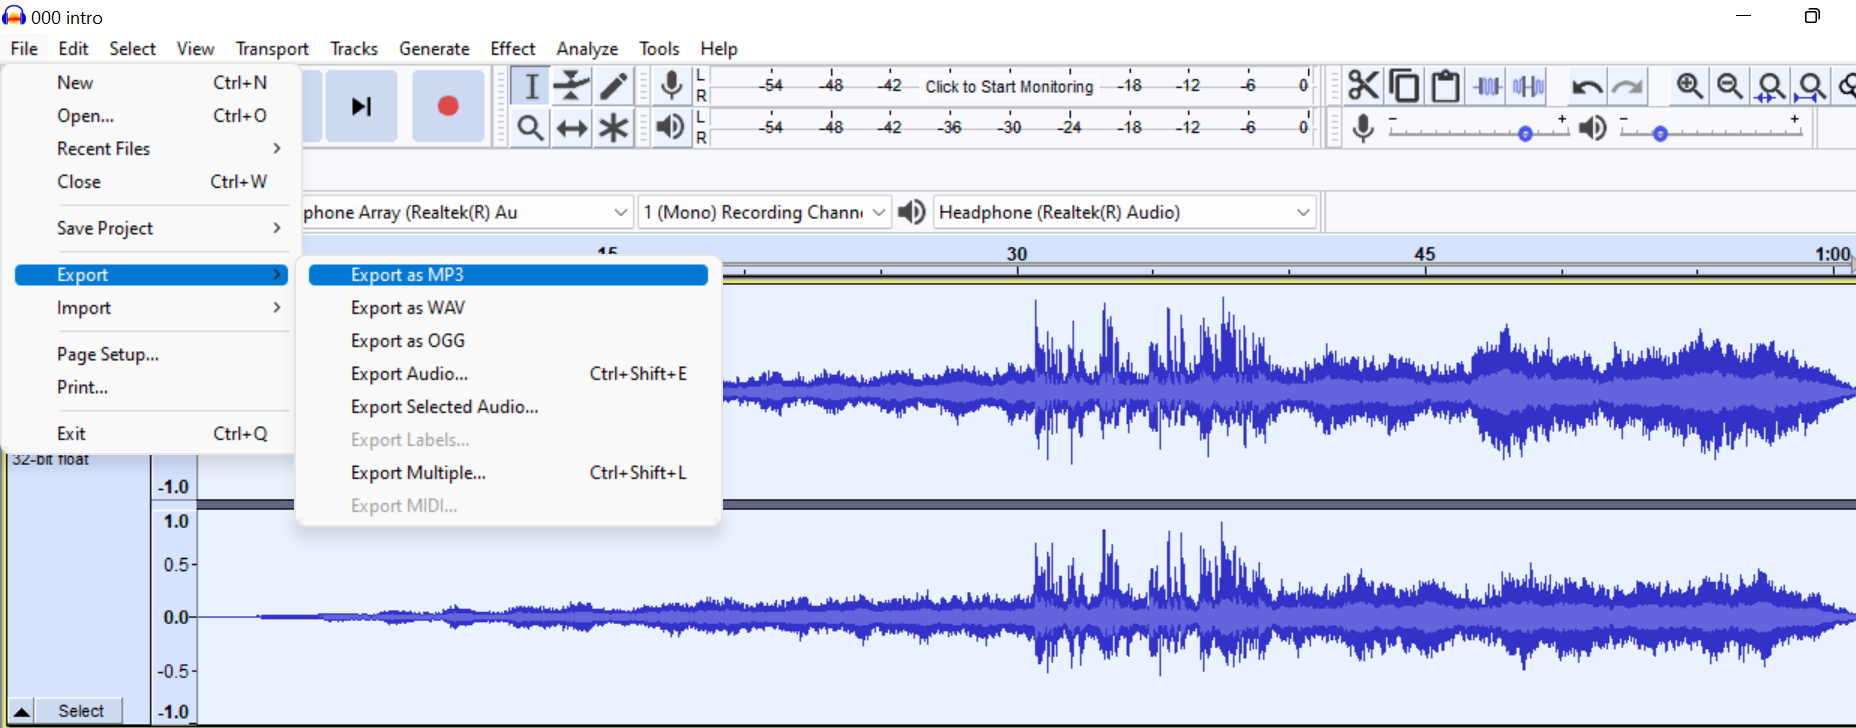
And you’re done!
If you still want to go further, Audacity allows VST plug-ins, so you can add external noise gate plug-ins to try. Remember, there are different ways to remove echo in Audacity, so try them all for yourself and find what works best for your specific project. I know it can be tiring, but it will help you enhance your audio considerably.
If you are constantly finding an excessive echo in your audio recordings, probably your recording settings require some adjustments. Before you run to your nearest electronic store to buy a new microphone or audio gear, you should pay attention to your environment and computer settings.
Larger rooms will create more echo sound and reverb; if your home studio is in a big room, having some sound-absorbing components will help to reduce sound propagation. Here’s a list of things you can add when changing location is not an option:
If an echo still shows on your recording after treating the room, then it’s time to try different recording settings and ensure every device works correctly.
Reducing echo from audio with Audacity is not a difficult process, but bear in mind that removing it entirely is a completely different matter. The best way to remove echo and reverb, professionally and once and for all, is to use a professional echo remover plug-in like EchoRemover AI, which identifies and removes sound reflections while leaving all the other audio frequencies untouched.
EchoRemover AI has been designed with podcasters and sound engineers in mind to provide them with an advanced plug-in that can automatically remove all unnecessary reverb while preserving the quality and authenticity of the original audio. The intuitive interface and sophisticated algorithm allow removing unwanted noise in seconds, adding clarity and depth to your audio files.


