JG McQuarrie
Dec 16th, 2022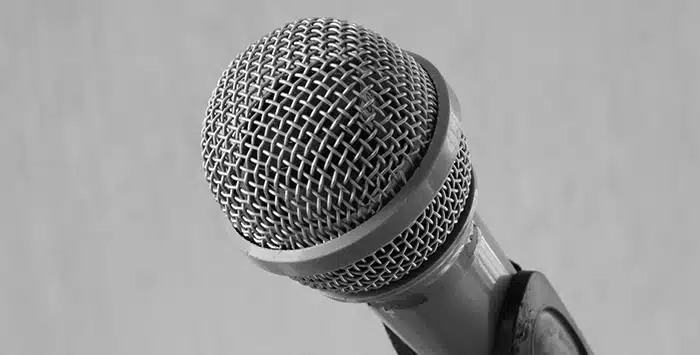
When recording audio, whether for a video or as part of a podcast or drama, keeping your recording as clean and clear as possible is very important. Nobody wants to be struggling to make out your drops of wisdom while background noise drowns out what you’re saying.
And hiss can be a real problem when it comes to recording. Hiss can be easy to miss when you are recording, but impossible to ignore when you are listening back.
There are, however, plenty of ways that hiss can be dealt with, if you know how to remove hiss from audio. And there are plenty of techniques that will allow you to banish it from your recordings forever.
A hiss noise is easy to point out when you hear it. It’s a long, sustained, sibilant sound in the background of your recording. It is a broadband noise you hear when you record audio. Just pronounce the letter S in a drawn-out way, like a snake, and you will immediately know what hiss sounds like.
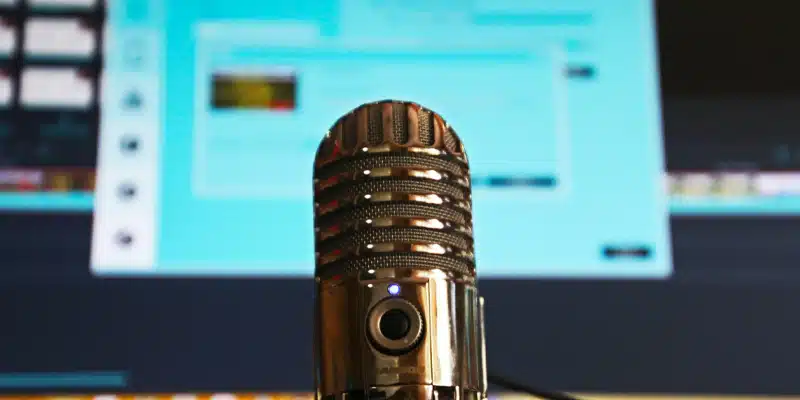
Sometimes you might not even be aware of it when you are recording. This is because hiss is often generated by what is known as “self-noise” — that is, the noise that is generated by your microphone itself.
All electronic components generate a degree of self-noise — unfortunately, it’s unavoidable. That’s because it is caused by the flow of electrons through electronics. If no electrons are flowing it means there’s no electricity and therefore no recording!
This unavoidable level of noise is called noise floor, or sometimes inherent noise. It is normally registered in decibels (dB). Like most audio, inherent noise is, as the name suggests, always present.
Different microphones will have different levels of noise floor. More expensive pieces of equipment are likely to have less self-noise, while cheaper ones are likely to have more.
But it’s not just microphones that can cause self-noise. Audio interfaces, and even computers, can cause self-noise too.
However, there are lots of steps a producer can take to remove microphone hiss from audio.

There are many ways you can remove microphone hiss from a recording.
So DAW tools can certainly help you tackle hiss. As a rule, though, DAW’s built-in solutions can be effective, but many third-party plug-ins can be better at tackling the problem.
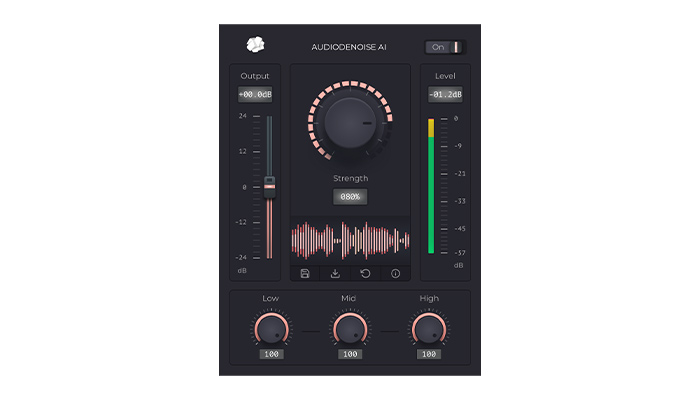
CrumplePop’s AudioDenoise AI Premiere plug-in is a perfect example of this. It’s a plug-in designed to work with most standard DAWs, such as Adobe Audition, GarageBand, and Logic Pro, as well as video editing software such as Final Cut Pro and DaVinci Resolve.
The plug-in is simple to use. Simply load your audio clip into the DAW you are using, grab the AudioDenoise plug-in and apply it to your track. Your noise reduction problems just fade away. It’s really that easy!
You can adjust the strength of the effect using the central knob until you find a balance you are happy with. If you need further refinements, you can adjust the low, med, and high parts of the frequency band until everything is exactly the way you want it.
With a simple plug-in, hiss and background noises can be easily eliminated.
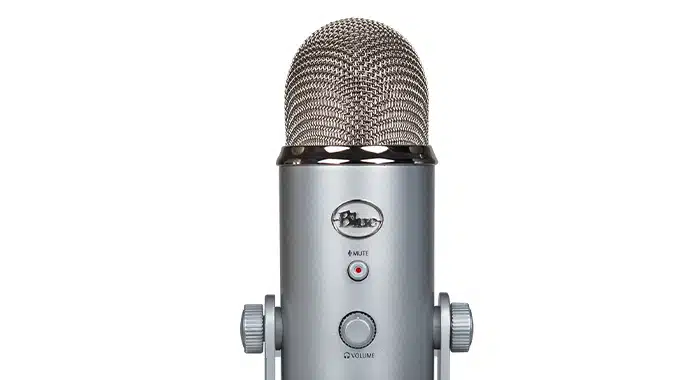
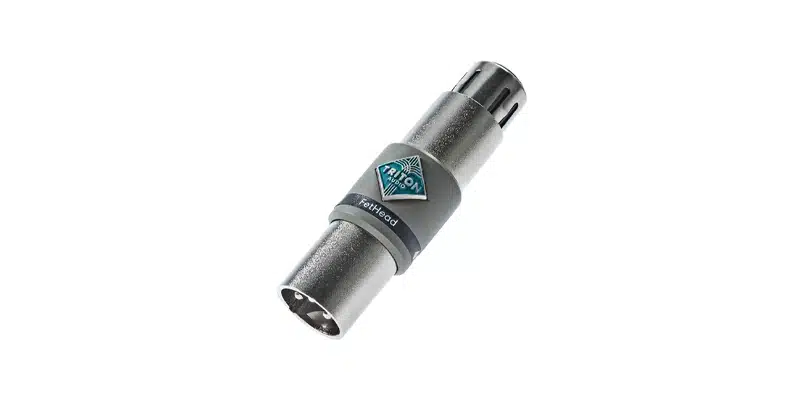
This is similar to preamps, but a built-in solution. Microphones with gain boost have a preamp built into them. This means that you can record at a lower gain, so you keep the hissing sound to a minimum, but still get a good strong signal when it comes to the actual voice you want to capture.
Many microphones which have built-in gain boost will have the option to have gain adjustment. This means that you can control the amount of gain the microphone provides.
In this way, you can balance the background hiss, gain, and volume of what it is you are recording until you find a level you are satisfied with.
You may want to vary the amount of gain boost you use depending on whether you are recording in a quiet or loud environment — a microphone with a controllable gain boost will let you do this.
The amount of gain a gain boost can provide will vary, but 20dB of clean gain is pretty standard and will make a big difference when it comes to eliminating background hiss.

If you are doing post-production work on your recorded audio, then the chances are your DAW (digital audio workstation) will have tools to help you deal with a hiss.
Noise reduction tools can be a good way to help analyze and remove hiss from your recording. These noise reduction tools work by taking a section of your audio and isolating the hiss which is present on it.
The software can then work out what frequencies the hiss is occurring at and eliminate that from the recording.
Adobe Audition has a great, flexible noise reduction tool that works not only for hiss but unwanted noise elimination as well. If you need to know how to remove background noise in Adobe Audition then the software is simple to use and intuitive. It is also powerful, so hiss and background noise can be reduced and eliminated from even the noisiest of recordings.
However, even free tools like Audacity have great tools for removing background hiss so it’s worth taking a look at what software package will best fit your needs (and budget!) when it comes to removing hiss.
Preamps are a great way to cut down on your microphone hiss. What they do is boost the microphone signal. That makes it possible to record your sound at a much lower gain.
Normally, if you turn up the gain on your microphone, it turns up everything, including ambient noise and audio hiss. So you will get a louder signal from the person you are recording, but the hissing noise and ambient noise, and indeed anything else the microphone captures, will also be increased. It’s just a much louder recording signal.
By using a preamp, you can keep the gain low, therefore keeping the background hiss low, while still increasing the sound of the person speaking.
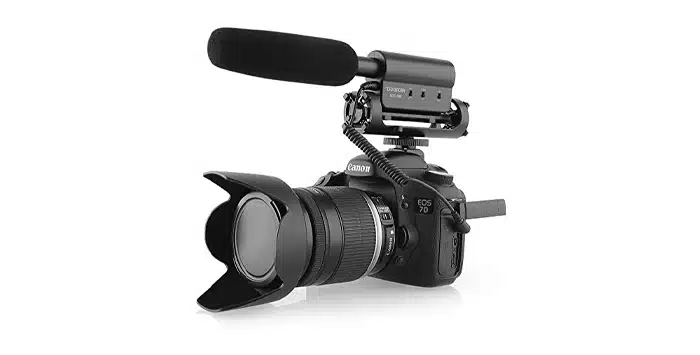
Some microphones, especially those built into video cameras, have a feature called Auto Gain. Camera Auto Gain control acts as a compressor on your audio — it’s a way to control the volume of the audio you record.
Basically, when something is quiet it turns up the gain and when something is loud it turns it down. By doing this, Auto Gain is trying to get a consistent gain across the whole of your recording.
This has its uses of course. Imagine you are recording in an environment where the sound is changing all time, like traffic whizzing past on a road.
Auto Gain will try and balance your sound by increasing or decreasing the gain depending on whether a vehicle is going past, to keep your sound levels consistent.
However, the problem with Auto Gain is that when it turns up the gain on your recording, everything gets increased. That means background hiss will be boosted as well as what it is you are trying to record.
Removing the hissing noise using a plug-in or software feature can be a challenge, but it’s a challenge made all the more difficult when the level of your hiss is inconsistent because the noise ratio is off. If the hiss is at the same level all the way through your recording it’s much easier for the software or plug-in to process that and eliminate it.
So while in certain circumstances Auto Gain can be useful, when it comes to best practices to help eliminate hiss it’s better to leave it off.
It’s worth noting that some cameras don’t have the option to turn off Auto Gain. If this is the case for your camera, you may need to invest in an external microphone.
It may seem like advice that’s obvious, but the best cure when it comes to microphone hiss is prevention.
That means checking not just your microphone, but all the pieces of equipment in your setup.
Your microphone is the first thing to check, of course. If you have a condenser mic, are the leads to your audio interface good? Is the phantom power being delivered consistently and at the right level?
If you have a dynamic mic, you need to check the connection to your input device.
Hiss can come from several places, so check your cables, leads, and adapters you might be using (for example, if you have an XLR microphone connected to a 3.5mm jack), and your audio interface.
The list of equipment that could potentially cause hiss is long, so taking the time to check each part of your setup can pay real dividends. The less noise reduction you need to apply the better!
And as a final recommendation, check your headphones! It could be you don’t have any hiss issue at all, but an old pair of headphones can also hiss and make it sound like you have an issue when there isn’t one.
A simple check, by connecting your headphones to a different setup, can’t your mind at ease and saves you from worrying over a problem that might not even exist!
Microphone hiss is a problem that many producers have to deal with. The cause is clear, but there are plenty of ways to deal with hiss, before, during, and after recording.
But with the right knowledge, it’s possible to eliminate the annoyance of hiss whatever the situation you are faced with!


